 Save to Pinterest
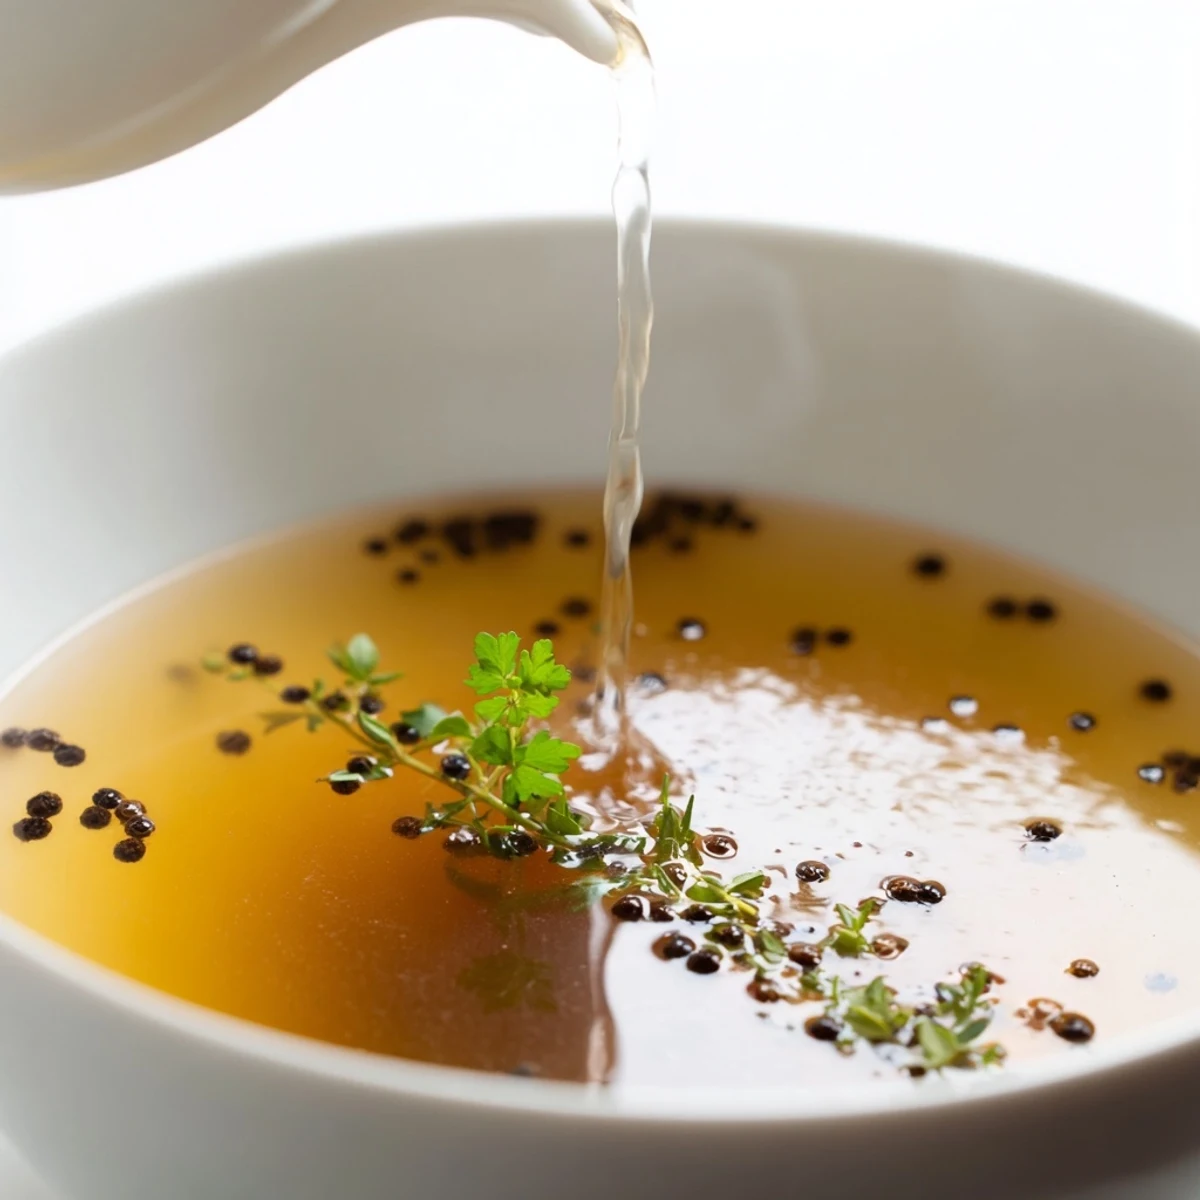
 This rich beef broth combines marrow bones and aromatic vegetables simmered gently for hours, creating a flavorful, hearty base. Carrots, celery, onion, garlic, and herbs like thyme and bay leaves infuse the broth with natural depth. Skimming impurities and careful seasoning ensure clarity and balance. Perfect served alone or used to enhance soups, stews, and risottos. For deeper flavor, roasting bones beforehand is suggested; refrigerated broth lasts up to 4 days or freezes well.
There's something quietly powerful about a pot of beef broth simmering on the stove while you go about your day. Years ago, I inherited my grandmother's stockpot—heavy copper with a dented lid—and I finally understood why she guarded it so fiercely. The first time I made a proper broth from scratch, the kitchen filled with this deep, savory warmth that made everything feel intentional. That's when I realized broth isn't just an ingredient; it's the foundation of every meal that matters.
I made this broth for my partner during a particularly dreary February, when neither of us felt like much but we both craved comfort. I'd let it bubble away while we sat at the kitchen table with coffee, and by the time it was done, the whole mood had shifted—the house smelled alive. We spent the evening making simple vegetable soup from that broth, and it became the meal we still talk about when the weather turns cold.
Ingredients
- Beef shank or bones with marrow (800g): The marrow is where the flavor lives; don't skip it or use boneless cuts. If your butcher has roasted bones, ask for those—they're already ahead of the game.
- Carrots, celery, onion, garlic, and leek: These aren't just flavor carriers; they're the backbone of the broth's sweetness and body. The leek especially adds a subtle depth that makes people ask what you did differently.
- Bay leaves, black peppercorns, thyme, and parsley: Use fresh herbs if you have them, but dried works beautifully too. These aromatics are what separate a good broth from an average one.
- Cold water (2.5 liters): Start cold so the proteins release slowly and the broth stays clear and clean-tasting.
- Salt: Add it at the end, not the beginning. Your taste buds will thank you.
Instructions
- Rinse and ready the bones:
- Hold the beef under cold water and rub gently; you're just removing surface debris, not sterilizing. Place everything into your largest pot—this is where patience begins.
- Layer in flavor:
- Add vegetables, aromatics, and seasonings directly into the pot with the bones. There's no need to separate; everything cooks together in harmony.
- Cover with cold water:
- Pour in the full 2.5 liters of cold water and make sure every ingredient is submerged. Cold water extracts flavor gently, unlike hot water which seals things in.
- Bring to a gentle boil:
- Turn the heat to medium-high and let it come to a rolling boil. This should take 8-12 minutes depending on your stove.
- Skim impurities:
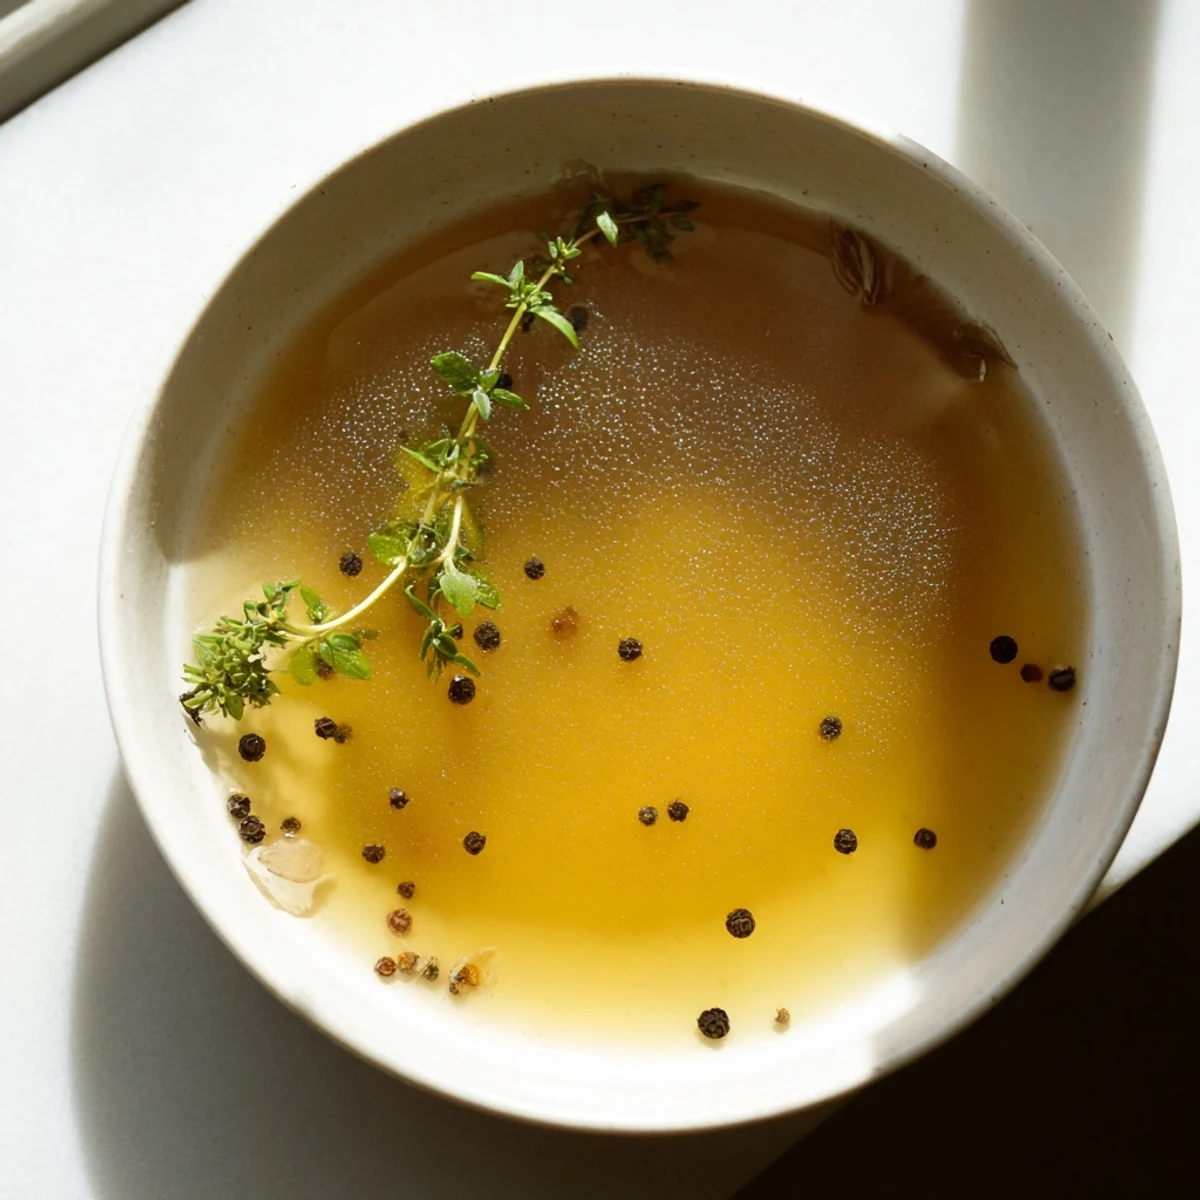
- Once it boils, you'll see gray-brown foam rise to the surface—this is protein and mineral debris. Skim it off with a ladle or spoon; this step is what keeps your broth crystal clear and refined-tasting.
- Simmer low and slow:
- Lower the heat until tiny bubbles barely break the surface—you want a gentle whisper, not a rolling boil. Let it go uncovered for 3 hours, occasionally skimming and adding water if the level drops below the solids.
- Strain and finish:
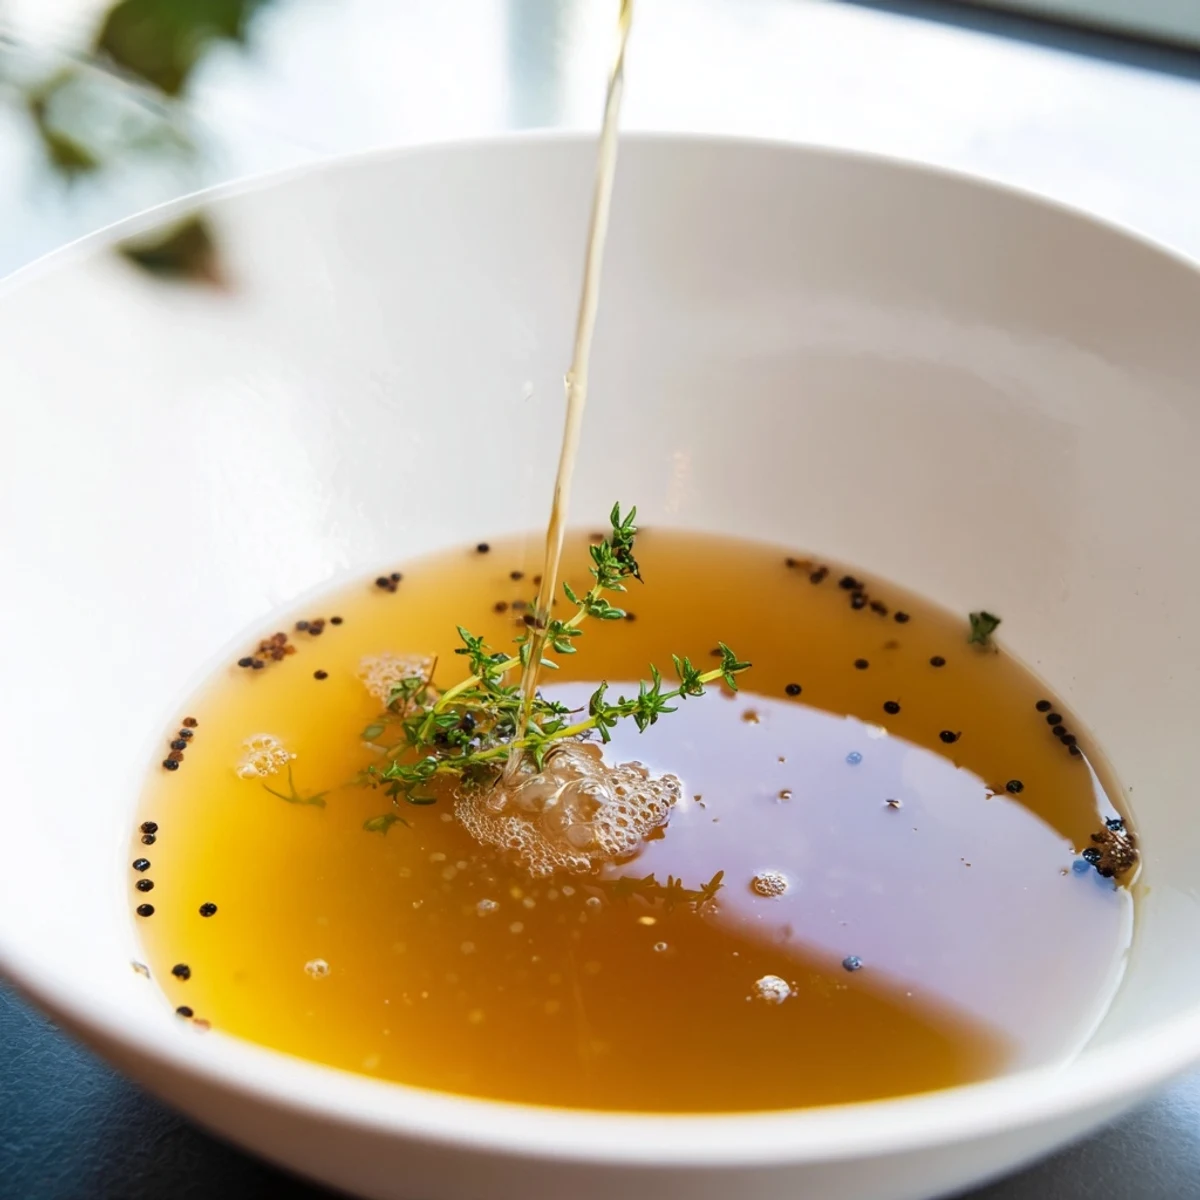
- Pour the broth through a fine mesh sieve into a clean pot, letting gravity do the work. Taste it, adjust salt, and you're done.
 Save to Pinterest
 One winter evening, a friend came over feeling unwell, and I warmed a cup of this broth while we sat by the window. She took one sip and her whole face relaxed—sometimes the most nourishing thing you can offer someone isn't complicated at all. That's when I stopped thinking of broth as just a cooking ingredient and started seeing it as a small act of care.
The Roasting Secret
If you have the extra 30 minutes, roasting your bones at 220°C before the broth goes into the pot transforms everything. The bones turn golden and caramelized, and that color translates directly into a deeper, more robust flavor. I didn't believe this mattered until I did it side by side with an unroasted batch, and there's no going back.
Timing and Temperature Matter
The gentle simmer is everything here—a rolling boil will cloud your broth and make it taste muddy. If you're not sure you're at the right temperature, look for just one or two small bubbles breaking the surface every few seconds. Three hours is the sweet spot; less and you haven't extracted enough flavor, more and you risk the broth becoming bitter or overly concentrated.
Beyond the Basic Recipe
Once you master the basics, there's room to play. Adding a parsnip or turnip brings a subtle sweetness that unexpected guests always ask about. Some days I add a star anise or a strip of kombu for an almost Asian undertone. The broth freezes beautifully for three months, so making a double batch on a quiet Sunday means you'll have liquid confidence ready whenever you need to cook something that feels a little more intentional.
- Store cooled broth in glass containers in the refrigerator for up to 4 days, or freeze in ice cube trays for easy portions.
- If you want a fat-free version, chill overnight and lift off the solidified fat before reheating.
- Use this broth as the base for soups, risottos, braised dishes, or even gravy—it's the secret ingredient that makes everyday cooking taste like you spent all day in the kitchen.
 Save to Pinterest
 Beef broth is one of those things that feels humble until you realize it's actually heroic—it's the quiet foundation that makes everything else taste better. Make a pot this weekend and see how it changes the way you cook.
Frequently asked questions about this recipe
- → What cut of beef is best for this broth?
-
Beef shank or marrow bones provide rich flavor and gelatin, creating a hearty, flavorful stock.
- → Can I roast the bones before simmering?
-
Yes, roasting at 220°C (425°F) for 30 minutes adds depth and complexity to the broth's flavor.
- → How long should the broth simmer?
-
Simmer gently uncovered for about 3 hours to extract flavors while maintaining clarity.
- → How to keep the broth clear?
-
Skim foam and impurities regularly during simmering and avoid boiling vigorously.
- → Can I add other vegetables for sweetness?
-
Adding parsnip or turnip can introduce subtle sweetness without overpowering the broth.
- → How to store leftover broth?
-
Cool and refrigerate up to 4 days or freeze for up to 3 months, skimming fat when reheating if desired.
