 Save to Pinterest
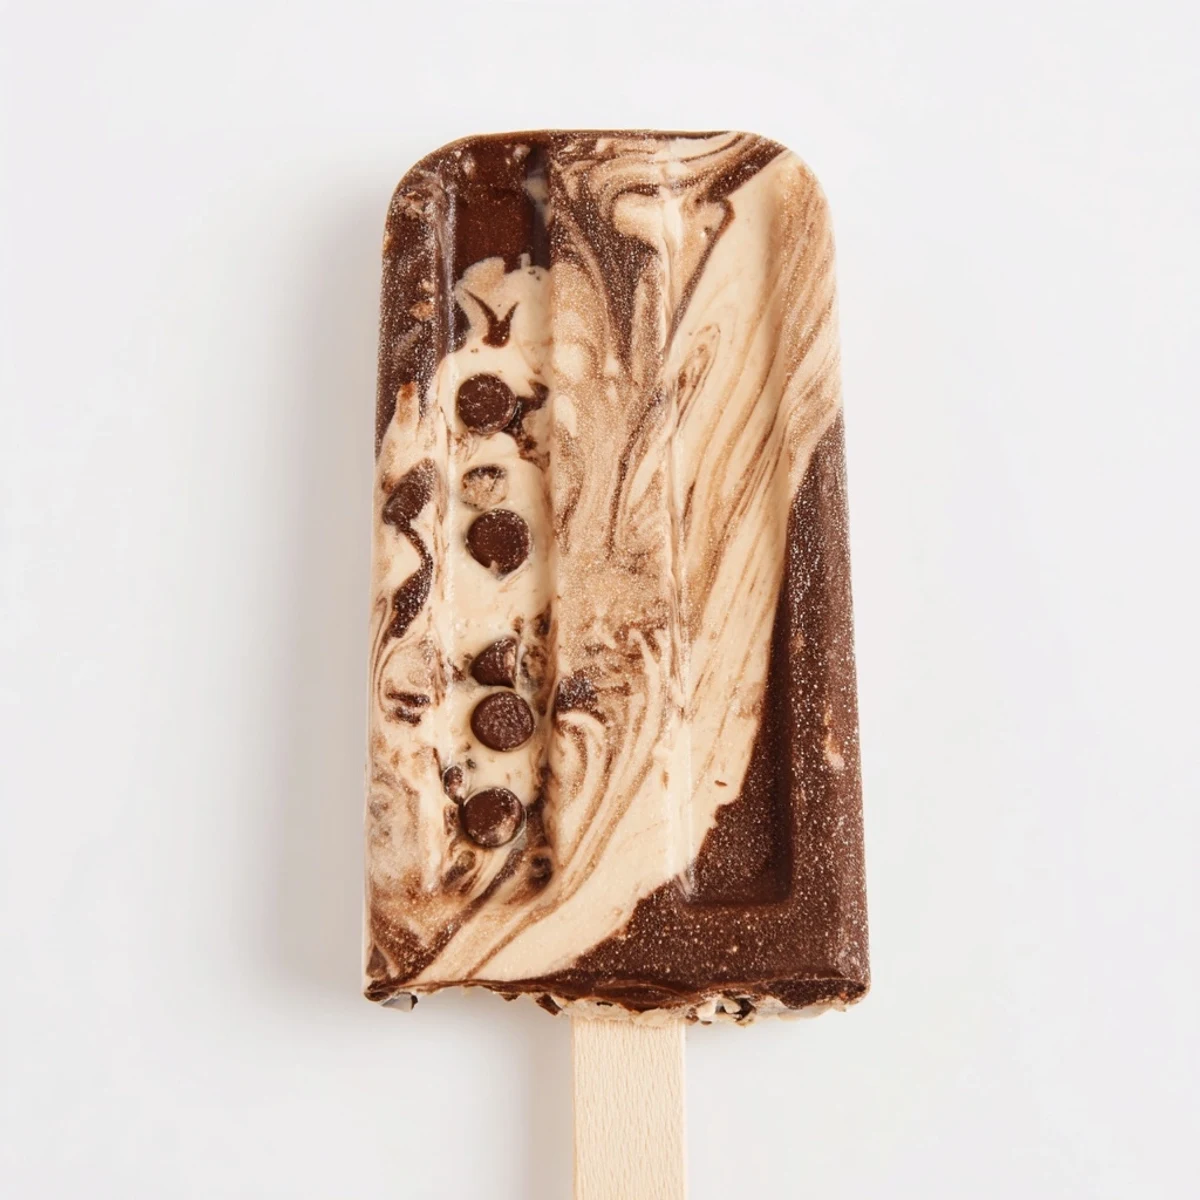
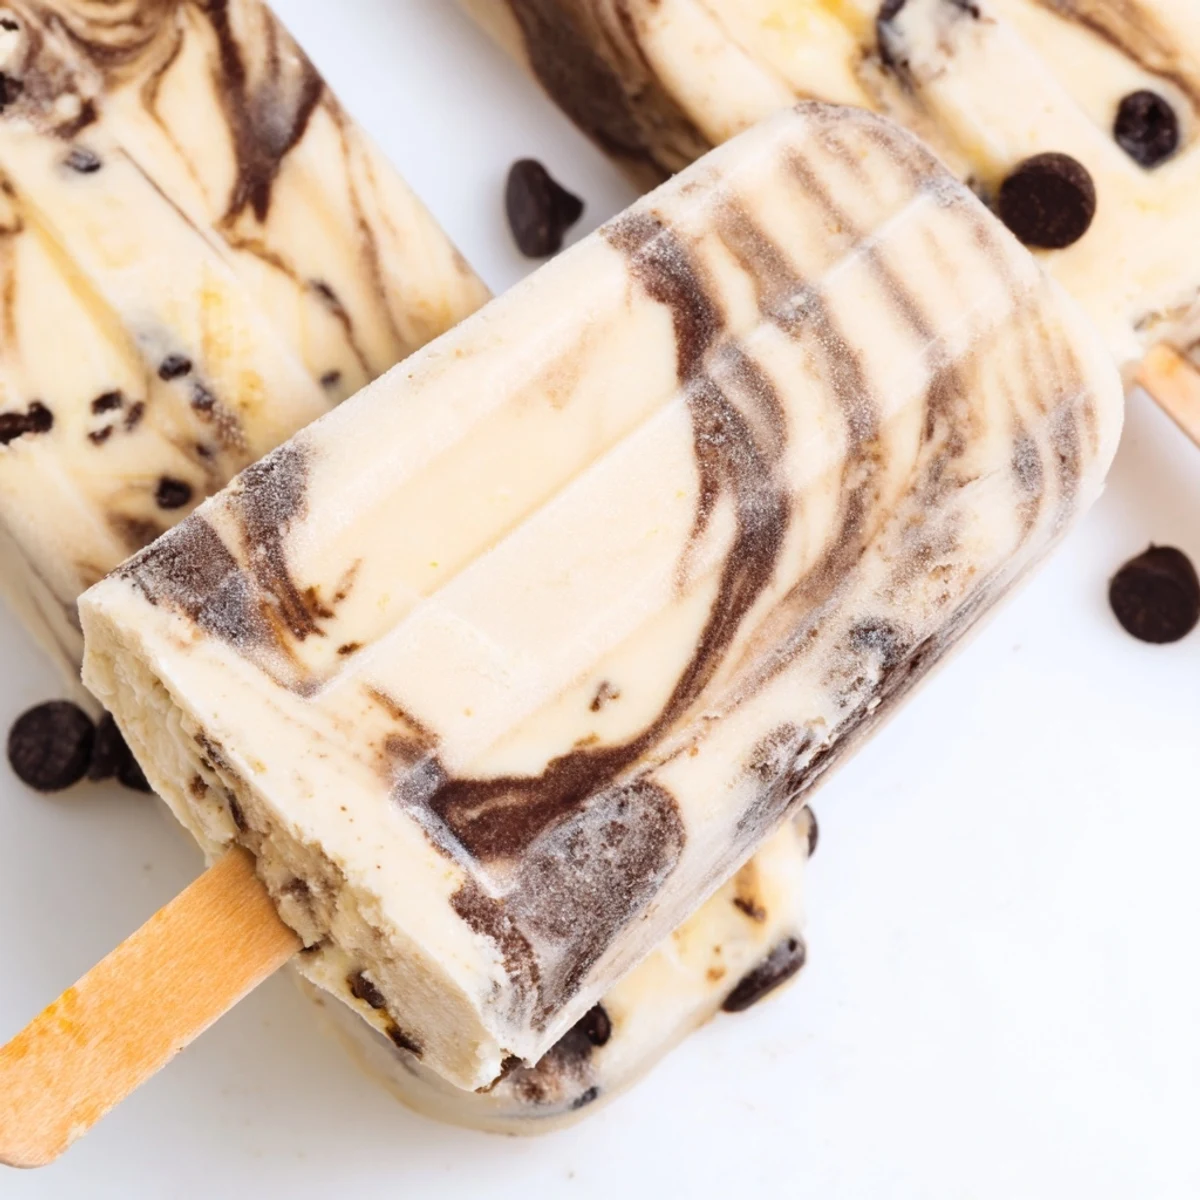
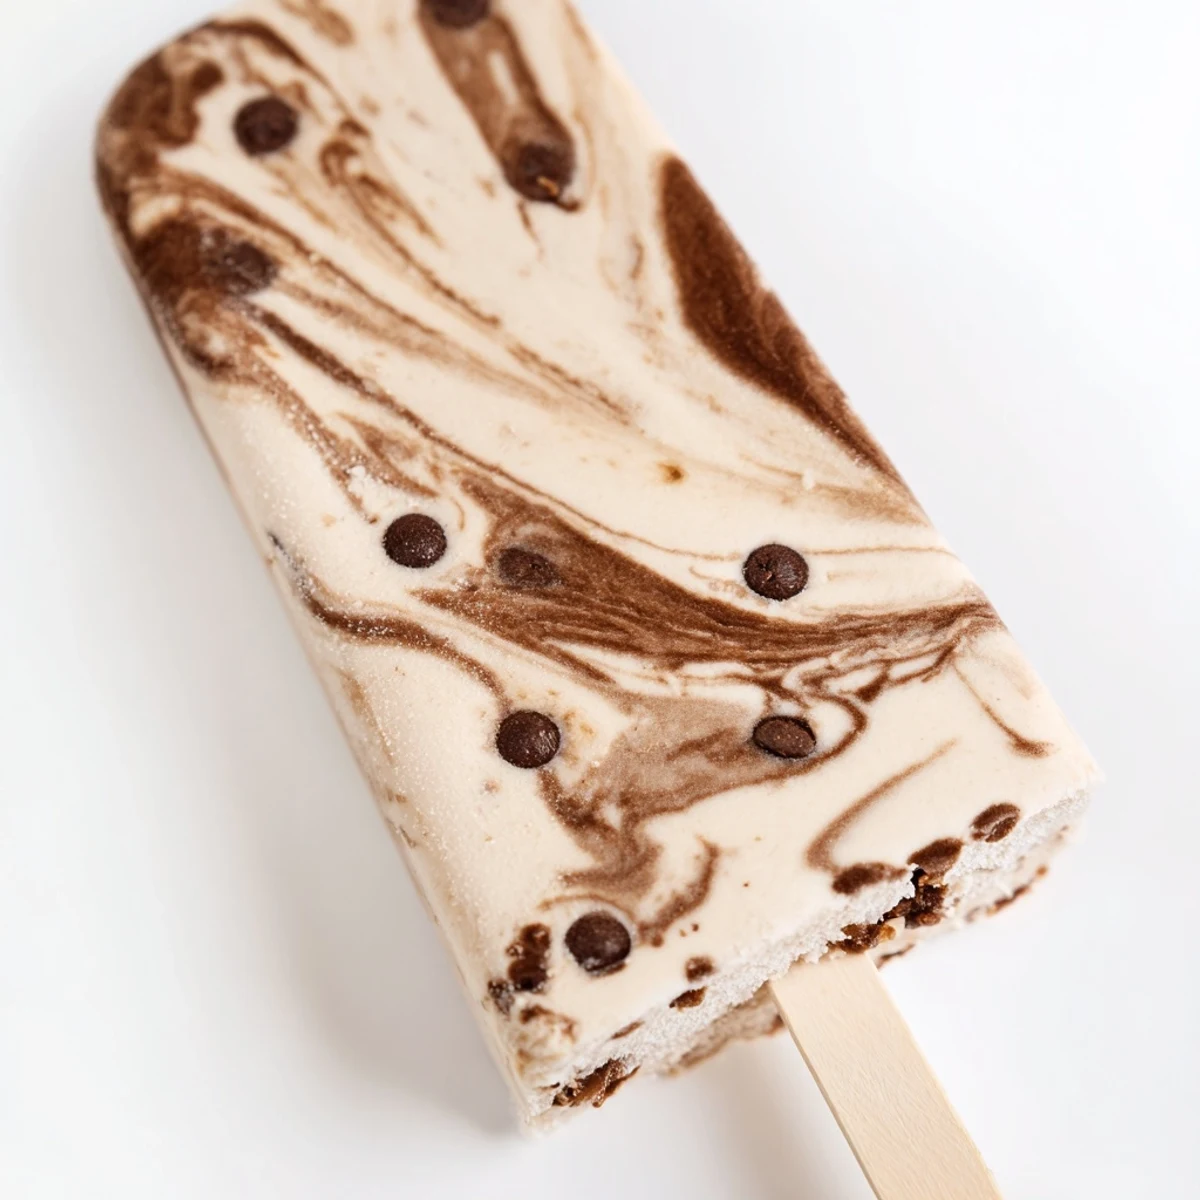
 Create these indulgent frozen treats by blending ripe bananas with Greek yogurt, honey, and vanilla until silky smooth. Melt dark chocolate with coconut oil until glossy, then layer the banana mixture into popsicle molds with generous chocolate drizzles between each layer. Use a skewer to create beautiful marble patterns, add optional toppings like nuts or mini chips, then freeze until completely set. Run molds briefly under warm water to release each popsicle perfectly.
My kitchen thermometer read 103 degrees the afternoon I stumbled into making these popsicles, standing barefoot on tile that felt like a griddle, desperate for something cold that was not just another glass of lemon water. The overripe bananas on my counter were one day from the trash and the dark chocolate bar in my pantry had survived three weeks of cravings. Within twenty minutes I had a blender full of something that smelled like a milkshake and a mess of chocolate smeared across my favorite spatula.
I brought a batch of these to a backyard potluck in July and watched three adults ignore an entire dessert table just to go back for seconds of a popsicle. My neighbor Elena pulled me aside and asked if I had ordered them from a shop, which remains one of the proudest moments of my amateur cooking life.
Ingredients
- Ripe bananas (2): The darker the peel the sweeter the result, so do not be afraid of spots.
- Full-fat Greek yogurt (1 cup): This is what gives the popsicles their thick creamy texture, and low fat simply will not hold up the same way.
- Honey or maple syrup (2 tablespoons): Just enough to round out the sweetness, and maple syrup is your friend here if you want a warmer flavor note.
- Pure vanilla extract (1 teaspoon): A small amount but it ties the banana and chocolate together beautifully.
- Dark chocolate minimum 60% cocoa (3 ounces): The slight bitterness is what makes these feel grown up instead of cloying.
- Coconut oil (2 teaspoons): Helps the chocolate stay silky after freezing rather than turning brittle.
- Chopped roasted nuts (2 tablespoons, optional): Adds a welcome crunch on top.
- Mini chocolate chips (2 tablespoons, optional): For anyone who believes there is no such thing as too much chocolate.
Instructions
- Blend the base:
- Toss the peeled and sliced bananas into your blender with the yogurt, honey or maple syrup, and vanilla, then run it until you have a silky smooth liquid that tastes like the best smoothie you never ordered.
- Melt the chocolate:
- Combine the dark chocolate and coconut oil in a microwave safe bowl and heat in short twenty second bursts, stirring between each one, until the mixture is glossy and lump free.
- Layer and swirl:
- Pour half the banana mixture into your popsicle molds, then drizzle chocolate over it and drag a skewer through in lazy figure eights for that gorgeous marble look.
- Fill and finish:
- Top each mold with the remaining banana blend, add another chocolate drizzle and swirl, then insert the sticks and sprinkle on any nuts or chips you are using.
- Freeze:
- Set the molds carefully in the freezer and leave them undisturbed for at least four hours, though overnight is even better if you can stand the wait.
- Release and enjoy:
- Run the outside of each mold under warm water for about ten seconds, gently pull the popsicle free, and eat it before the summer heat tries to claim it first.
 Save to Pinterest
 There is something about eating a homemade popsicle on a hot evening that makes you feel like a kid again, except now you appreciate the contrast of real dark chocolate against sweet banana in a way younger you never would have noticed.
Tools That Make This Easier
A good blender is really the only investment here, though a double boiler will give you more control over the chocolate than a microwave if you are the cautious type. Standard popsicle molds work perfectly but if you have silicone ones the release step is noticeably easier and you avoid the warm water dance entirely.
Vegan and Dietary Swaps
Replace the Greek yogurt with a thick coconut or cashew based yogurt and swap honey for maple syrup to make these fully plant based without losing any of the texture. The chocolate shell will behave the same way as long as you use a dairy free dark chocolate bar and check that your chips are also vegan friendly.
Storing and Serving
Once frozen solid I pop every popsicle out of its mold and transfer them to an airtight container with parchment paper between layers so they do not stick together. They keep beautifully for up to two weeks, though in my experience they rarely last beyond day four.
- Let the popsicles sit at room temperature for about two minutes before eating so the flavors wake up and are not muted by extreme cold.
- For an extra thick chocolate shell you can dip each frozen popsicle back into melted chocolate and return it to the freezer for ten minutes.
- A drizzle of peanut butter folded into the banana base is a variation worth trying at least once.
 Save to Pinterest
 Keep a stash of these in your freezer all summer and you will never be caught without something cold, sweet, and a little bit impressive to offer anyone who drops by.
Frequently asked questions about this recipe
- → How long do these frozen treats need to set?
-
Freeze for at least 4 hours or overnight until completely firm. The longer freezing time ensures proper texture and easy removal from molds.
- → Can I make these vegan-friendly?
-
Absolutely. Use plant-based yogurt instead of Greek yogurt and swap honey for maple syrup. Ensure your dark chocolate is dairy-free.
- → What's the best way to release popsicles from molds?
-
Run the mold under warm water for 15-20 seconds, then gently pull the sticks. The warmth loosens the edges without melting the entire treat.
- → How should I store leftover popsicles?
-
Keep in an airtight container in the freezer for up to 2 weeks. Place parchment paper between layers to prevent sticking.
- → Can I add other flavors to the banana base?
-
Yes. Blend in peanut butter, cocoa powder, or strawberries for variations. A spoonful of Nutella works wonderfully too.
- → What type of chocolate works best for swirling?
-
Dark chocolate with 60% cocoa solids melts smoothly and balances the banana's sweetness. Semi-sweet or milk chocolate are delicious alternatives.
