 Save to Pinterest
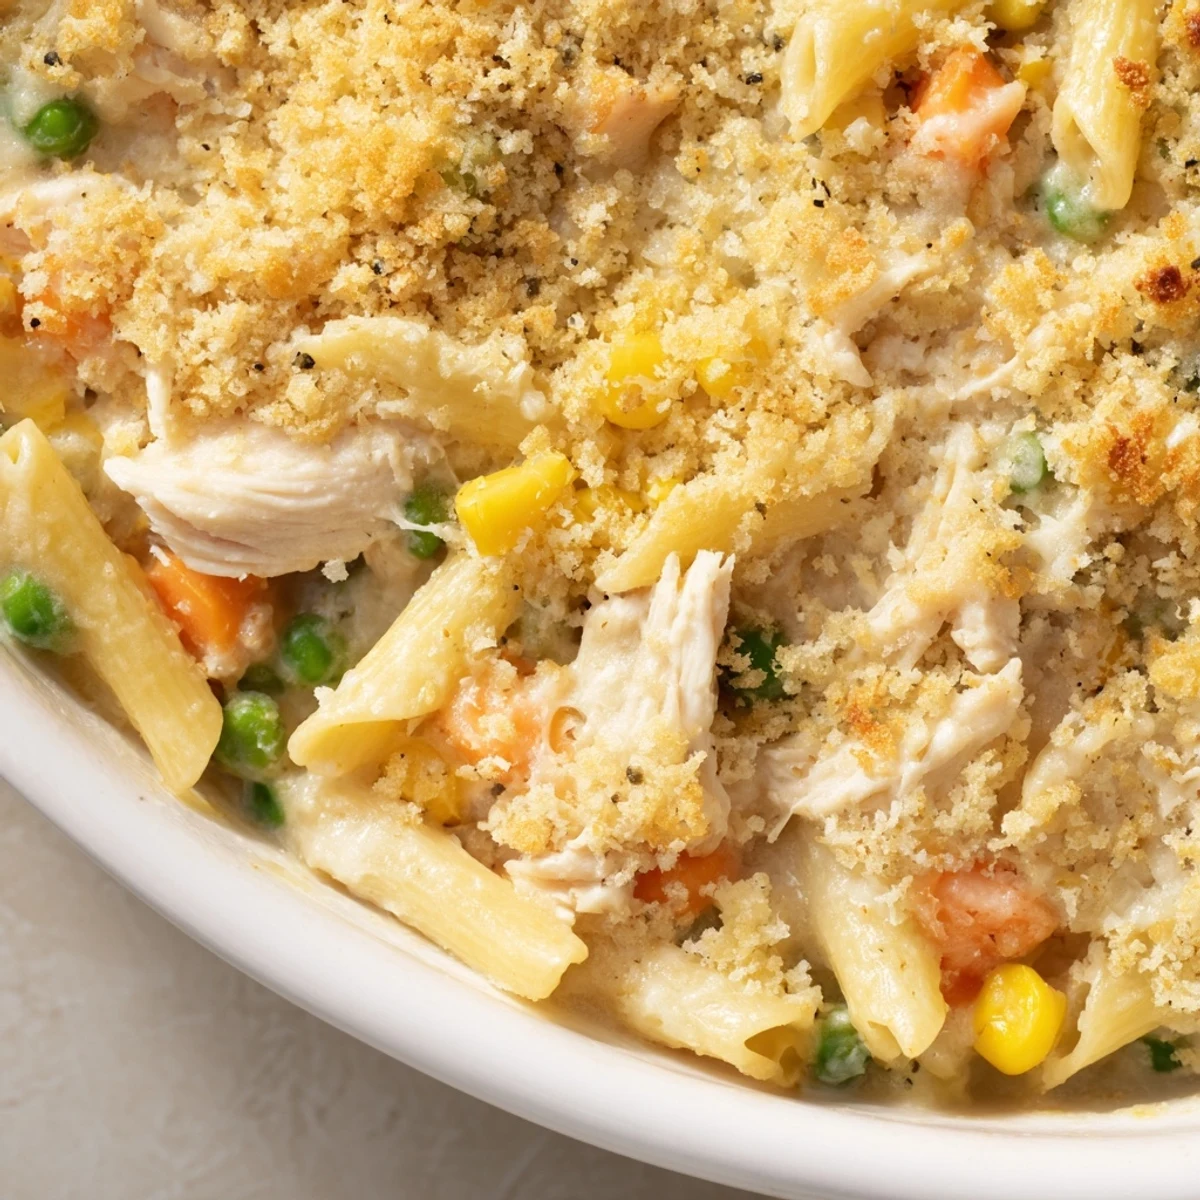
 This hearty dish brings together the best of both worlds—satisfying pasta and the comforting flavors of chicken pot pie. Tender penne or rotini gets coated in a velvety homemade sauce made with butter, flour, chicken broth, and milk, infused with thyme and parsley. Generous portions of shredded chicken, sweet corn, peas, carrots, and aromatic onions and celery create a filling that's both nutritious and delicious. The crowning touch? A buttery mixture of panko breadcrumbs and grated Parmesan that bakes into a golden, crunchy topping. Perfect for busy weeknights or cozy Sunday dinners, this bakes in just 25 minutes after stovetop prep and serves four hungry people.
The smell of butter and thyme bubbling away on my stove still makes me think of rainy Sunday afternoons when my apartment smelled like the inside of the most welcoming bakery in town. I stumbled onto this combination during a week when I was craving pot pie but had zero energy for crust work. Something about that golden, crumbly topping against the creamy sauce just made the whole house feel warmer.
My sister texted me at midnight last winter begging for this recipe after her neighbor brought over a batch. She made it three times that week and sent me photos each time with increasingly proud captions about her crispy topping game. Now it is the first thing she asks for whenever anyone mentions comfort food cravings.
Ingredients
- 2 cups cooked chicken breast: Rotisserie chicken works perfectly here, or use leftovers from a roasted bird earlier in the week
- 12 oz short pasta: Penne grabs the sauce beautifully but rotini adds those extra little pockets for all the good stuff to hide in
- 1 cup frozen peas and carrots: The frozen blend actually holds up better than fresh in this creamy sauce
- 1/2 cup frozen corn: Adds tiny bursts of sweetness that balance the savory sauce perfectly
- 1/2 cup diced celery and onion: These aromatics build the foundation of flavor that makes the sauce sing
- 2 cloves garlic: Minced fresh, because garlic powder just cannot deliver that same warm aromatic punch
- 3 tbsp butter: The starting point for your roux, creating that silky sauce base
- 3 tbsp all-purpose flour: Whisk this into the melted butter to thicken your sauce into velvety perfection
- 2 cups chicken broth: Use low-sodium so you can control the seasoning yourself
- 1 cup whole milk: Makes the sauce luxuriously creamy without being heavy
- 1/2 tsp dried thyme and parsley: The classic herb duo that screams pot pie nostalgia
- 3/4 tsp salt and 1/2 tsp pepper: Season generously because pasta absorbs salt as it bakes
- 1/2 cup grated Parmesan: Sprinkled over the top for those irresistibly salty, crispy edges
- 1/2 cup panko breadcrumbs: The secret weapon for achieving that golden, crunch crown
- 2 tbsp melted butter: Tossed with the panko to help it brown into gorgeous golden perfection
Instructions
- Get your oven ready:
- Preheat to 375°F and grease a 9x13-inch baking dish with butter or cooking spray
- Cook the pasta:
- Boil salted water and cook pasta until al dente, then drain immediately
- Build the flavor base:
- Melt butter in a large skillet over medium heat, then sauté onion, celery, and garlic until softened and fragrant
- Create the roux:
- Sprinkle flour into the vegetables and stir constantly for 1 minute until it smells nutty and toasty
- Make the creamy sauce:
- Whisk in chicken broth and milk gradually, then simmer until thickened enough to coat a spoon
- Add the herbs and seasonings:
- Stir in thyme, parsley, salt, and pepper
- Combine everything:
- Add shredded chicken and all the vegetables, then fold in the cooked pasta
- Transfer to baking dish:
- Pour the entire mixture into your prepared baking dish and spread evenly
- Prepare the crispy topping:
- Mix panko, Parmesan, and melted butter until combined
- Add the golden crown:
- Sprinkle the topping mixture evenly over the entire surface
- Bake until bubbly:
- Bake for 20 to 25 minutes until the sauce bubbles up around the edges and the top is golden brown
- Let it rest:
- Wait 5 minutes before serving so the sauce has time to set slightly
 Save to Pinterest
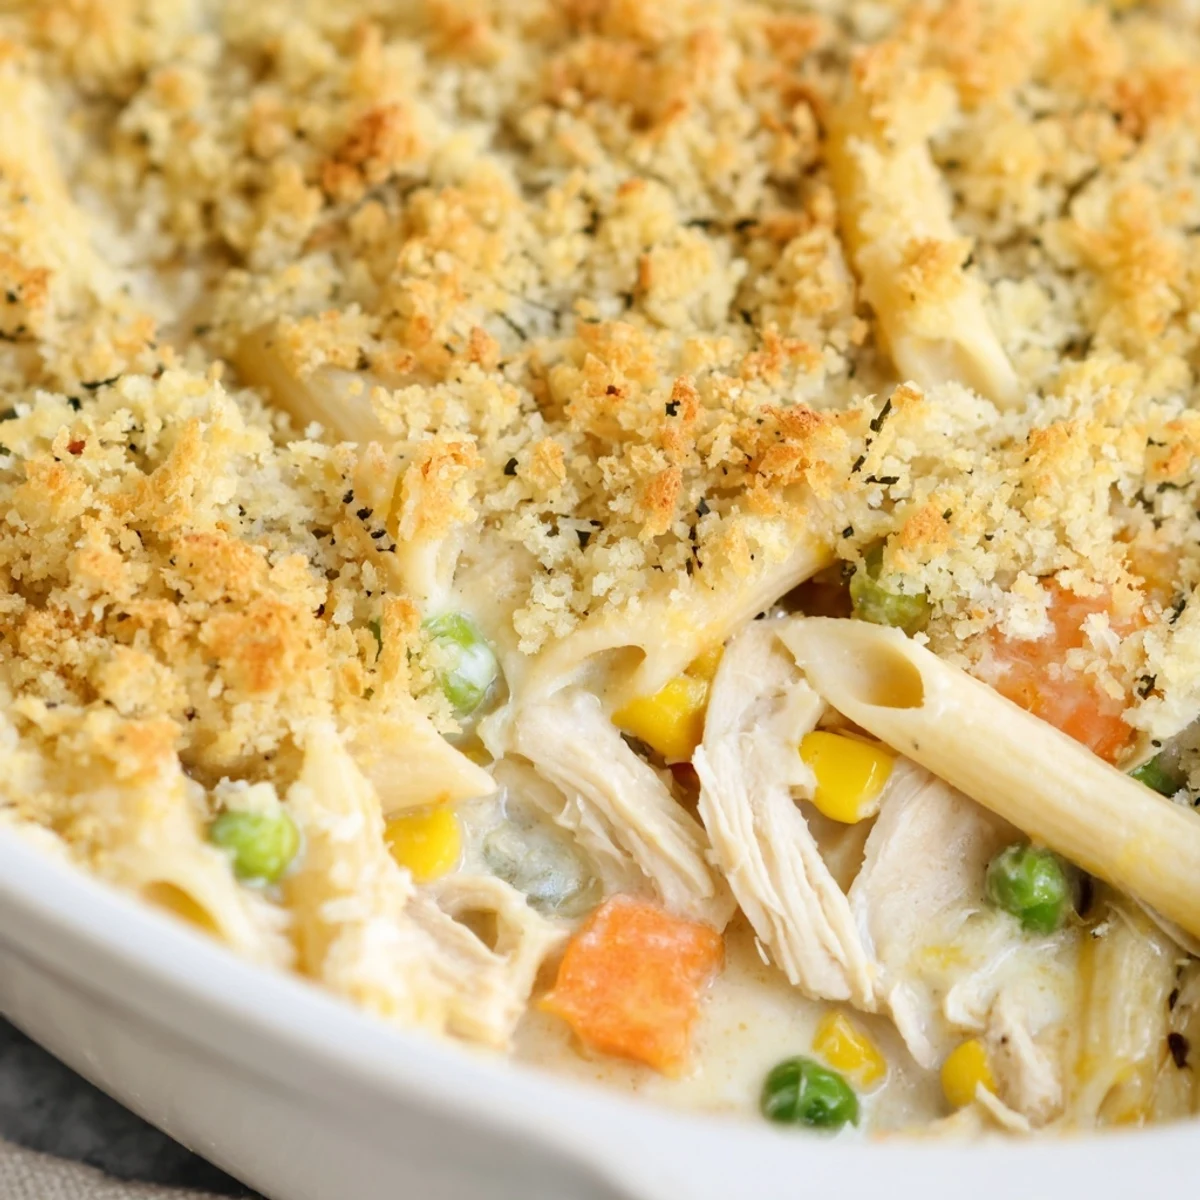
 This dish has become my go-to for new parents, friends recovering from surgery, or basically anyone who needs a hug in food form. Last month I made it for my neighbor who just had her third baby, and she told me later that her husband ate the leftovers cold straight from the fridge at midnight.
Making It Your Own
Sometimes I swap in leftover Thanksgiving turkey, and honestly the darker meat adds even more depth to the sauce. My friend who hates peas uses diced green beans instead, and another tosses in mushrooms during the sauté step for extra umami.
Side Dish Magic
A crisp green salad with vinaigrette cuts through the richness perfectly, and roasted asparagus or steamed broccoli add some bright color to the plate. This dish also pairs beautifully with a chilled Chardonnay or even a light Pinot Noir.
Make Ahead Strategy
You can assemble everything up to a day ahead and keep it covered in the refrigerator, but add an extra 10 minutes to the baking time if it goes in cold. The topping gets a little soggy overnight, so either mix fresh panko with Parmesan right before baking or keep the topping separate until you are ready to pop it in the oven.
- Freeze unbaked casseroles for up to 3 months, wrapped tightly in foil and plastic
- Thaw overnight in the refrigerator before baking as directed
- Leftovers reheat beautifully at 350°F for about 20 minutes
 Save to Pinterest
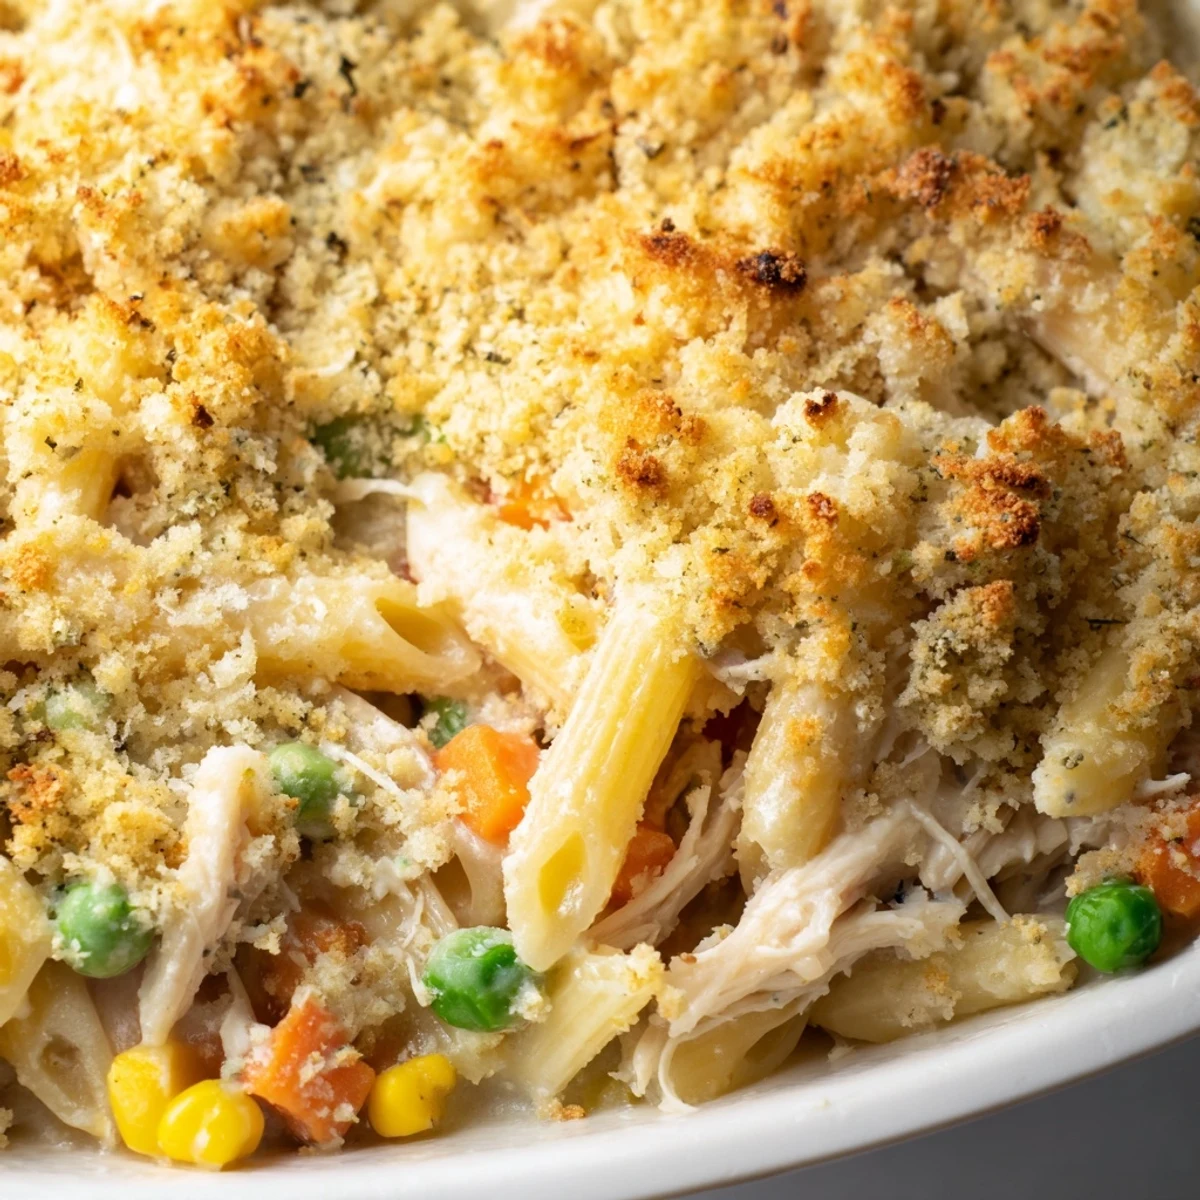
 There is something so satisfying about pulling this bubbling, golden dish out of the oven and watching everyone lean in a little closer at the table. Hope it brings as much comfort to your home as it has to mine over the years.
Frequently asked questions about this recipe
- → Can I use leftover cooked chicken?
-
Absolutely! Leftover rotisserie chicken, roasted chicken, or even cooked turkey works beautifully in this dish. Simply shred or dice the meat before adding it to the creamy sauce in step 6.
- → What pasta shapes work best?
-
Short pasta with nooks and crannies that can hold the creamy sauce are ideal. Penne, rotini, fusilli, or even macaroni work wonderfully. Avoid long strands like spaghetti or linguine as they're harder to eat with the chunky vegetable filling.
- → Can I make this ahead of time?
-
Yes! Assemble the entire casserole up to step 8, cover tightly, and refrigerate for up to 24 hours. When ready to bake, add the topping just before popping it in the oven—you may need an extra 5-10 minutes of baking time if it's cold from the fridge.
- → How can I make this gluten-free?
-
Use gluten-free pasta in place of regular pasta, and substitute all-purpose flour with a 1:1 gluten-free flour blend or cornstarch. Ensure your chicken broth is certified gluten-free, and use gluten-free panko or crushed gluten-free crackers for the topping.
- → Can I freeze this casserole?
-
You can freeze the assembled, unbaked casserole for up to 3 months. Wrap tightly in plastic wrap and foil, then thaw overnight in the refrigerator before baking. Note that the pasta may absorb more liquid, so you might want to add a splash extra milk before baking.
- → What vegetables can I add or substitute?
-
Fresh or frozen mushrooms, green beans, diced potatoes, or bell peppers all work well. If adding firmer vegetables like potatoes, dice them small and sauté them with the onions to ensure they cook through. Fresh herbs like rosemary or sage can complement or replace the dried thyme and parsley.
