 Save to Pinterest
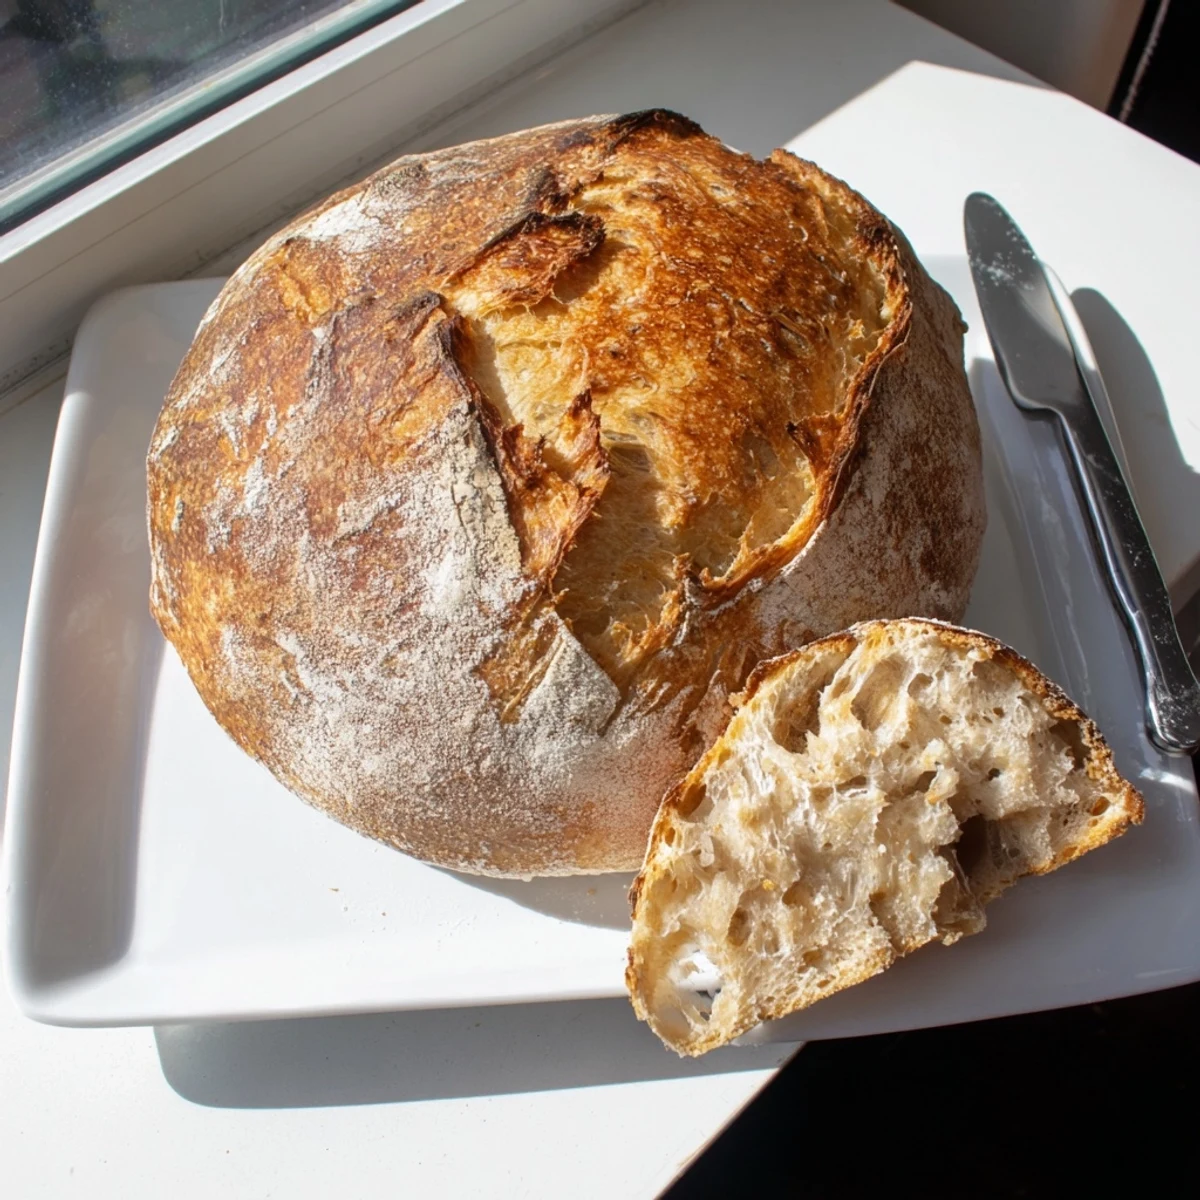
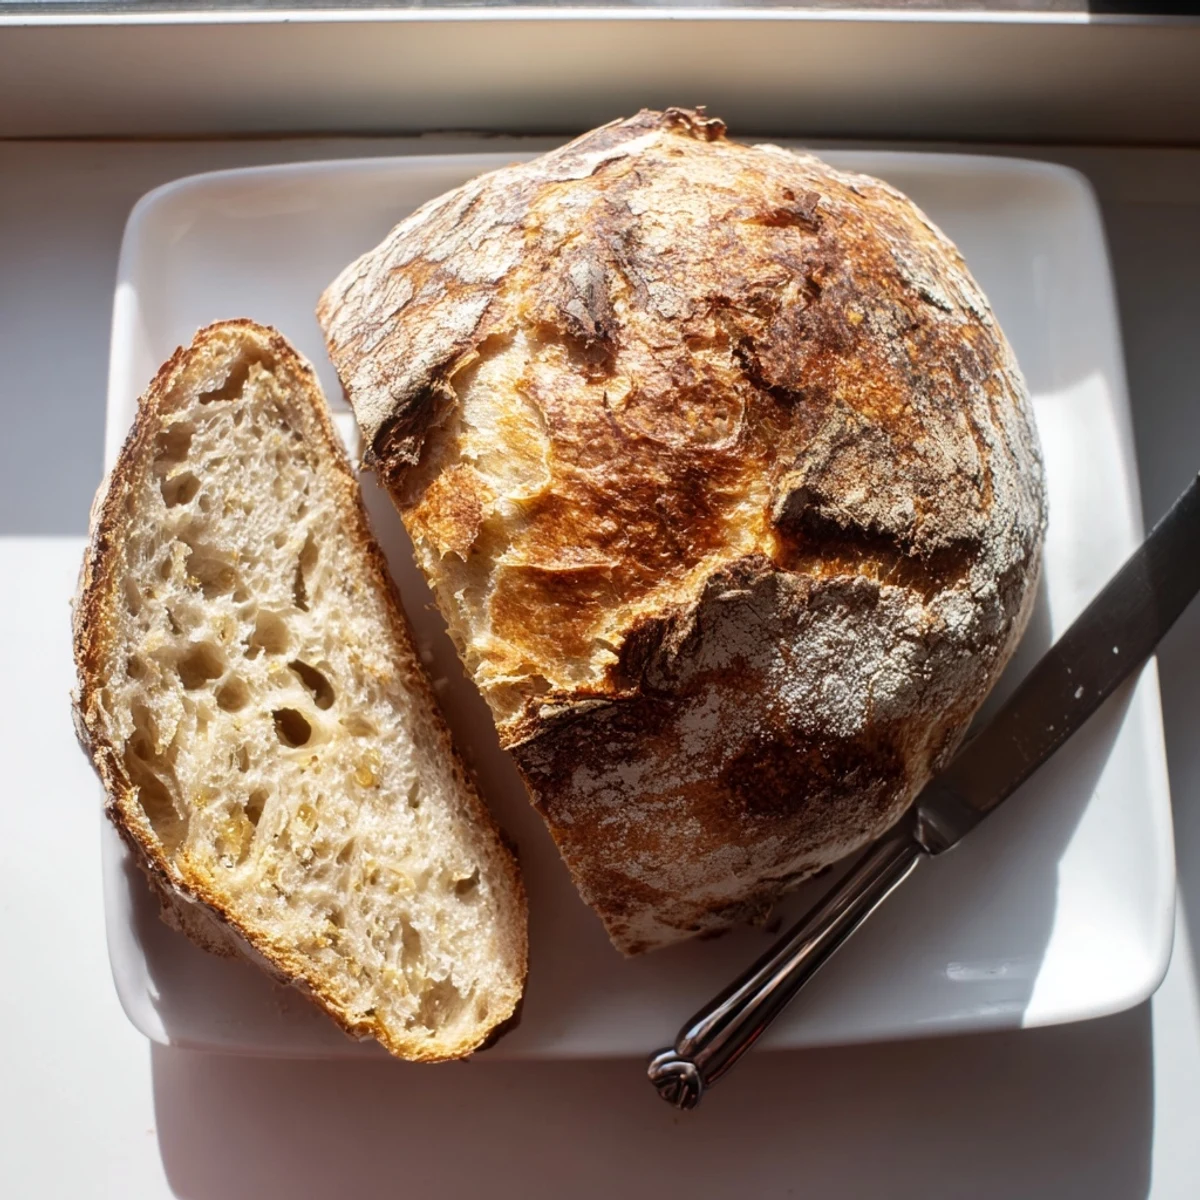
 This rustic European-style loaf delivers everything you love about bakery bread: a deep golden crust that crackles when you slice it, paired with a delightfully chewy and airy interior crumb. The no-knead method makes this incredibly approachable—simply mix flour, water, salt, and yeast, then let time work its magic overnight.
Baking in a preheated Dutch oven creates the perfect steam environment for that signature crackling crust. The result is one magnificent loaf that transforms into incredible toast, elevates your favorite sandwiches, or stands proudly alongside soups and stews.
The morning I discovered no-knead bread was accidentally chaotic. I had invited friends over for soup at 6pm, realized at 4pm I had no bread, and frantically googled recipes that didn't require hours of kneading or a stand mixer I didn't own. That shaggy, unassuming dough sat on my counter while I panicked, and somehow emerged as this gorgeous crusty loaf that made my kitchen smell like a real bakery. Now I make it weekly, and there's something deeply satisfying about creating something so beautiful from almost nothing.
Last winter my neighbor texted me at 9pm asking what smelled so incredible. It was just this bread cooling on the rack, but the aroma had drifted through three open windows and down the street. I brought her over a warm slice with butter, and now we have a standing Friday night bread-and-soup date. Sometimes the simplest foods create the nicest connections between people.
Ingredients
- All purpose flour: This creates just the right structure for those beautiful air pockets while keeping the crumb tender
- Salt: Don't skip this or reduce it because salt actually controls fermentation and deepens flavor
- Instant yeast: No proofing needed here, just stir it right in with the flour
- Lukewarm water: Think bathwater temperature, around 70°F, to wake up the yeast without killing it
Instructions
- Mix the dough:
- Combine flour, salt, and yeast in a large bowl, then add water and stir until everything comes together into a rough, sticky mass. It will look messy and that is exactly right.
- Let it rest:
- Cover the bowl and walk away for 12 to 18 hours, letting time and fermentation do all the work for you. The dough should bubble up and look dramatically puffy when you check it.
- Shape the loaf:
- Turn the dough onto a floured surface and gently fold the edges toward the center to create a ball, using just enough flour to keep it from sticking to your hands.
- Preheat your pot:
- Place your Dutch oven in the oven and heat to 450°F for at least 30 minutes because a screaming hot pot is what creates that professional crust.
- Bake with steam:
- Carefully transfer the dough into the hot pot, cover immediately, and bake for 30 minutes before removing the lid for that final golden crunch.
 Save to Pinterest
 My daughter now requests this bread for every family gathering instead of birthday cake. She says tearing into a warm slice with melting butter feels more like celebration than dessert ever could, and watching her face light up at that first crackle of the crust has become my favorite part of making it.
Making It Your Own
Once you are comfortable with the basic recipe, try adding mix-ins like chopped olives, fresh rosemary, or roasted garlic when you combine the dry ingredients. I once added sun-dried tomatoes and basil, and that version disappeared so quickly I barely got a taste myself.
The Science Behind The Magic
That long rest period allows enzymes to break down starches into simple sugars while gluten develops naturally, all without you having to knead a single thing. The covered pot creates steam in the oven, which keeps the crust soft initially so the bread can expand fully before hardening into that gorgeous shell.
Storage And Refreshing
This bread keeps well for about two days wrapped in a cloth or paper bag at room temperature, though the crust will soften over time. If you want to bring back that fresh baked texture, pop the loaf in a 375°F oven for 10 minutes and it will revive beautifully.
- Never store bread in the refrigerator because it actually stales faster in cold air
- Freeze extra slices wrapped tightly in foil and thaw them in a warm oven
- A slightly stale loaf makes the most incredible panzanella or bread pudding
 Save to Pinterest
 There is nothing quite like the sound of a fresh loaf crackling as it cools on your counter. It is the sound of patience, simplicity, and the everyday magic that happens when flour and water and time do their beautiful work together.
Frequently asked questions about this recipe
- → What makes the crust so crackly and golden?
-
The Dutch oven traps steam during baking, creating the perfect environment for a crackling crust to form. Starting with a very hot pot (450°F) ensures immediate oven spring, while baking covered for 30 minutes then uncovered allows the crust to develop that deep golden color and signature crunch.
- → Can I reduce the rising time?
-
The long 12–18 hour rise is essential for developing flavor and the airy texture. A shorter rise won't produce the same complex taste or open crumb structure. Plan ahead and start the dough the night before you want to bake.
- → What can I add to customize the flavor?
-
Mix in ½ cup chopped olives, roasted garlic cloves, fresh rosemary, thyme, or shredded cheese when combining the dry ingredients. You can also sprinkle the top with coarse salt, sesame seeds, or poppy seeds before baking.
- → How do I know when the bread is done baking?
-
The crust should be a deep golden brown, and the loaf should sound hollow when tapped on the bottom. An instant thermometer inserted into the center should read between 200–205°F for fully baked bread.
- → Can I freeze this bread?
-
Absolutely! Once completely cooled, wrap the loaf tightly in plastic wrap and aluminum foil, then freeze for up to 3 months. Thaw at room temperature, then refresh in a 350°F oven for 10–15 minutes to restore the crust's crackle.
- → Why is my dough too sticky to handle?
-
This dough is naturally quite hydrated and sticky, which is exactly what creates those beautiful air pockets. Use well-floured hands and a generous dusting of flour on your work surface. Minimal handling is key—just gently shape it into a ball without kneading.
