 Save to Pinterest
 Craft a beautiful artisan loaf with this straightforward method that yields professional results. The dough comes together quickly with just flour, water, yeast, and salt. After a simple rise, bake in a hot Dutch oven to develop that signature crackly crust and tender, airy crumb. Perfect for serving alongside soups, stews, or simply toasted with your favorite toppings. This beginner-friendly technique produces consistently impressive loaves that rival any bakery.
My tiny apartment kitchen filled with the most incredible smell as I pulled my first homemade bread from the oven, steam rising in clouds as I tapped the golden crust. That hollow soundechoed like victory
I served this warm alongside a pot of soup during a rainy Sunday dinner with friends, watching them tear into the loaf with their hands, butter melting into the craggy holes. Someone actually asked which bakery Id visited, and I grinned and told them my oven was the new hotspot in town
Ingredients
- Bread flour: The higher protein content creates that chewy texture and impressive oven spring we all crave
- Instant yeast: Skip the proofing step completelythis yeast goes straight into the flour and works while you relax
- Lukewarm water: Think bath temperature, about 100°F, hot enough to wake the yeast but not cook it
- Salt: Dont be tempted to skip thisit enhances flavor and strengthens the gluten structure
- Cornmeal or semolina: A dusting prevents sticking and adds that professional bakery touch to the bottom crust
Instructions
- Mix the dough:
- Combine flour, salt, and yeast in a large bowl, then pour in water and stir until you have a shaggy, sticky messno need for perfection here
- Let it rise:
- Cover your bowl and walk away for 1 to 2 hours, returning to find the dough has doubled into a puffy, fragrant cloud
- Shape the loaf:
- Turn the dough onto a floured surface and fold the edges underneath until you have a rough round ball that feels alive in your hands
- Rest again:
- Place your dough seam side down on parchment paper, cover it, and let it relax for 30 minutes while you preheat your oven to 450°F
- Create the crust:
- Score the top with a sharp knife, bake covered for 25 minutes, then uncover and continue baking until the crust turns deep golden brown
 Save to Pinterest
 This recipe became my go to gift for housewarming parties, wrapped in a clean tea towel with a handwritten note tucked inside. Theres something deeply personal about giving food you created with your own hands
Getting The Best Rise
Find the warmest spot in your kitchentop of the fridge or near a sunny window works beautifully. A cool room slows down fermentation and can leave you with dense bread, while a too warm space makes the yeast work too fast
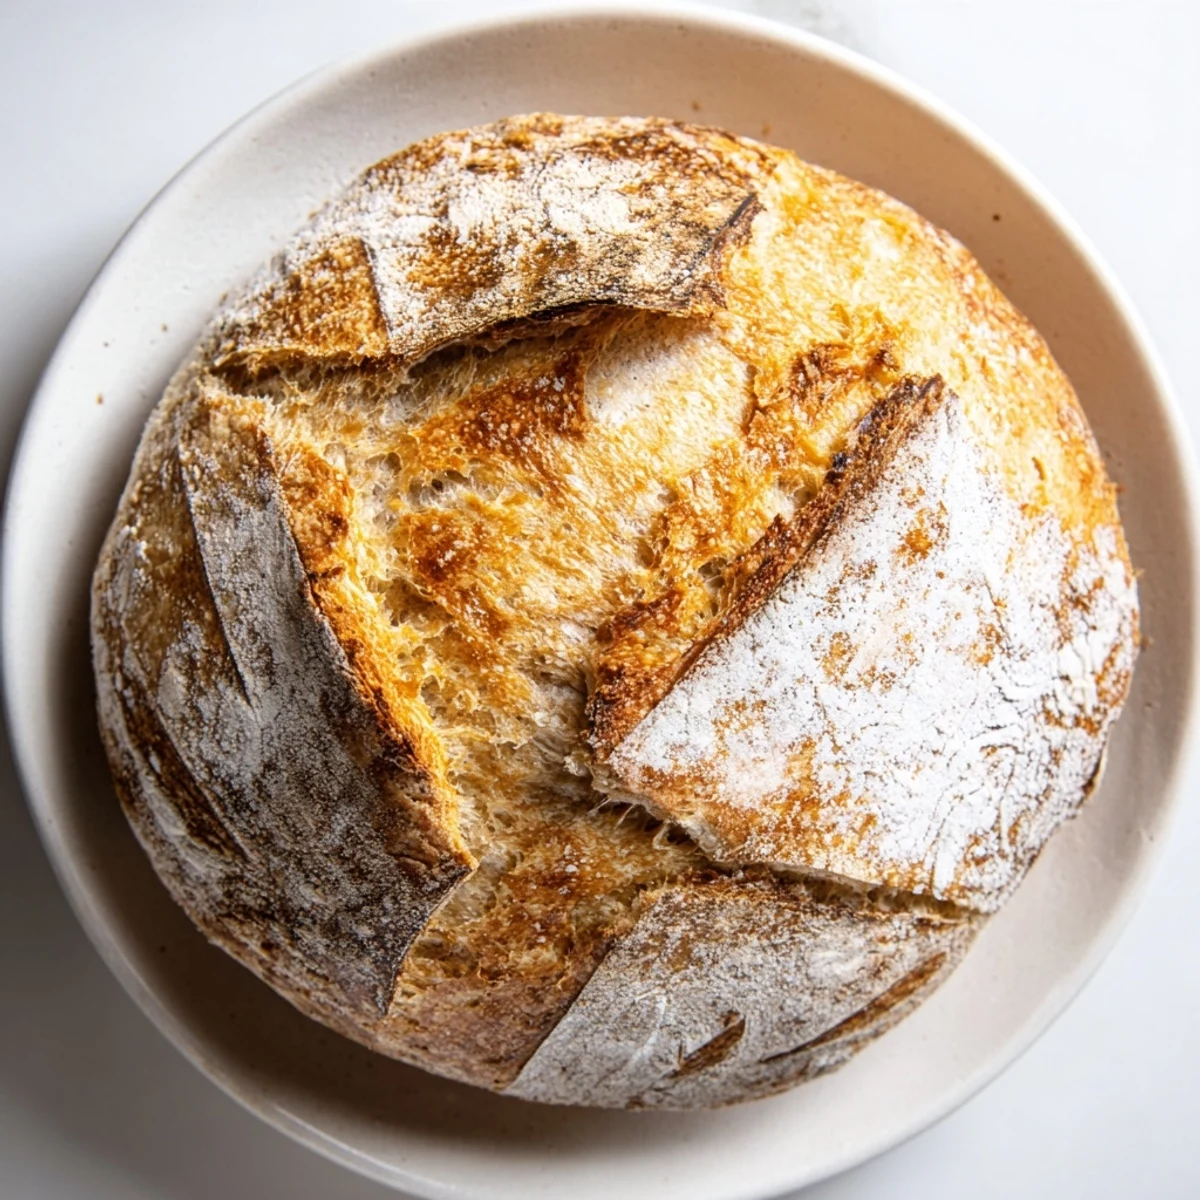
Scoring Like A Pro
Use your sharpest knife or a razor blade to cut a quarter inch deep into the dough right before baking. This tells the bread where to expand, creating those gorgeous artisan ridges and preventing your loaf from bursting unpredictably in the oven
Customizing Your Loaf
Mix in rosemary, thyme, or roasted garlic during the initial stir for aromatic variations that transform the basic recipe. You can also add a tablespoon of olive oil to the water for slightly richer flavor and a softer crust
- Add chopped olives or sun dried tomatoes for Mediterranean flair
- Swap some bread flour for whole wheat for nutty depth and extra texture
- Brush the crust with water and sprinkle seeds before the final bake
 Save to Pinterest
 Theres nothing quite like tearing into a warm loaf you created from scratch, flour still on your apron and the satisfaction of having made something real
Frequently asked questions about this recipe
- → What makes this bread rustic?
-
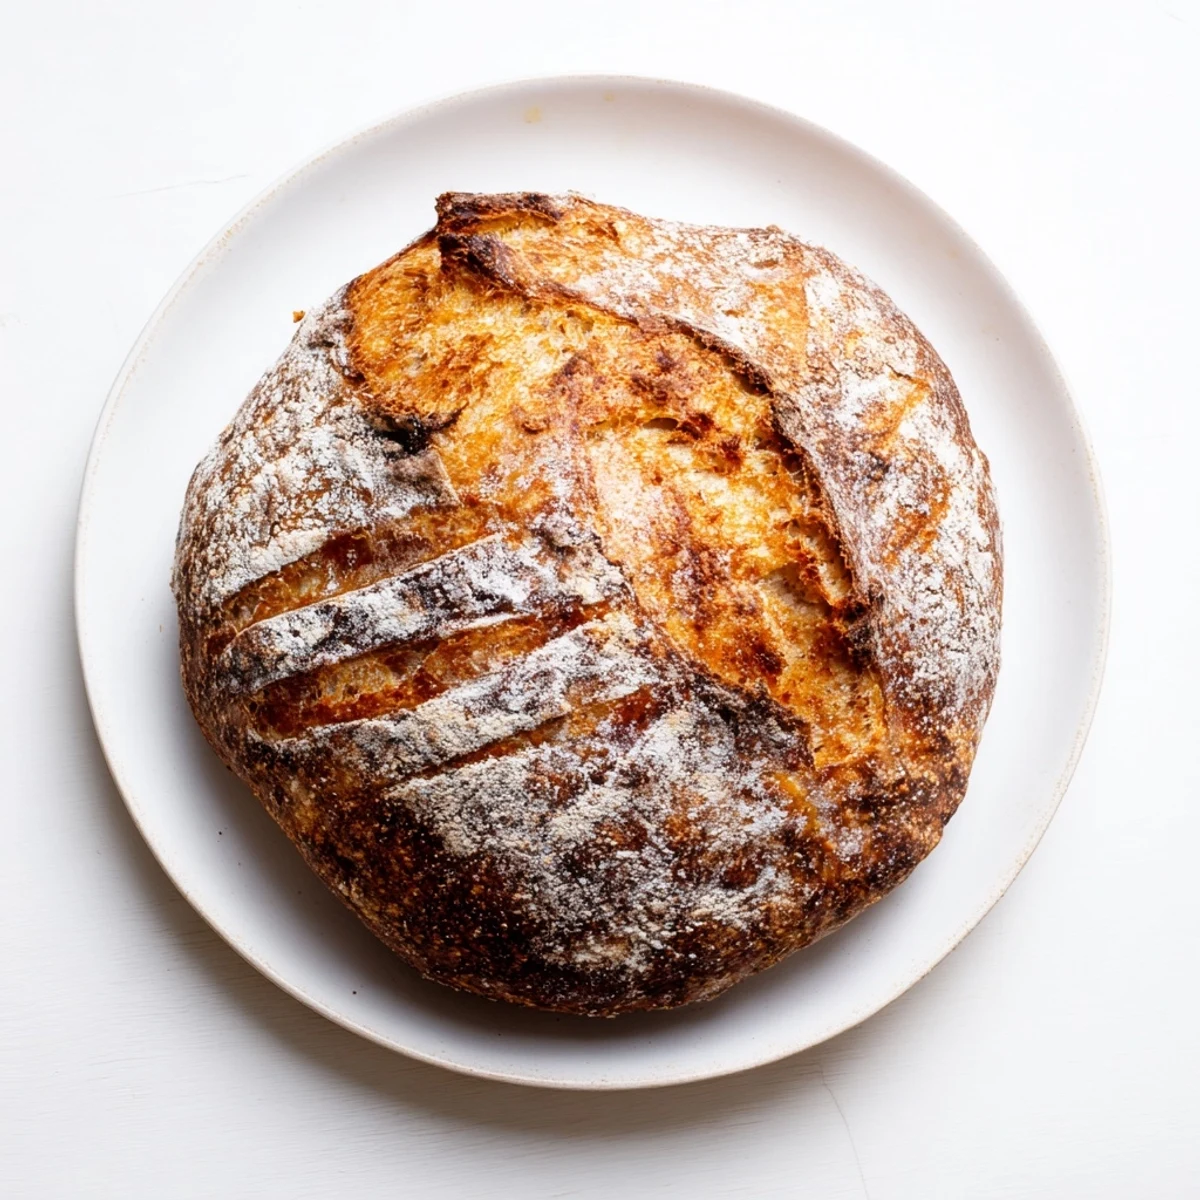
The rustic quality comes from the high hydration dough and Dutch oven baking method, which creates a thick, crackly crust and irregular holes in the crumb. The simple, traditional ingredients and minimal kneading contribute to that authentic artisan appearance and texture.
- → Can I make this without a Dutch oven?
-
Yes! You can bake this on a heavy baking sheet or pizza stone. Place an empty metal pan in the bottom of the oven while preheating, then pour ice cubes into it when you put the bread in. This creates steam that helps develop a crispy crust similar to a Dutch oven.
- → How do I know when the bread is done baking?
-
The crust should be a deep golden brown color. The most reliable test is tapping the bottom of the loaf—if it sounds hollow, it's finished. An instant thermometer inserted into the center should read between 190-200°F (88-93°C).
- → Why is my dough too sticky to handle?
-
This is a high-hydration dough, so some stickiness is normal. Use lightly floured hands and a floured work surface. The shaping process is brief—just fold the edges underneath to form a rough ball. Avoid adding too much extra flour, which can make the final loaf dense.
- → Can I add other ingredients to customize?
-
Absolutely! Mix in herbs like rosemary, thyme, or roasted garlic during the initial combining. You can also add olives, sun-dried tomatoes, or shredded cheese during the shaping process. For whole grain variations, substitute up to half the bread flour with whole wheat flour.
- → How should I store the finished loaf?
-
Store at room temperature in a paper bag or wrapped loosely in a cloth for up to 2 days. This maintains the crust texture. For longer storage, slice and freeze in an airtight bag—toast individual slices straight from frozen for fresh-baked taste.
