 Save to Pinterest
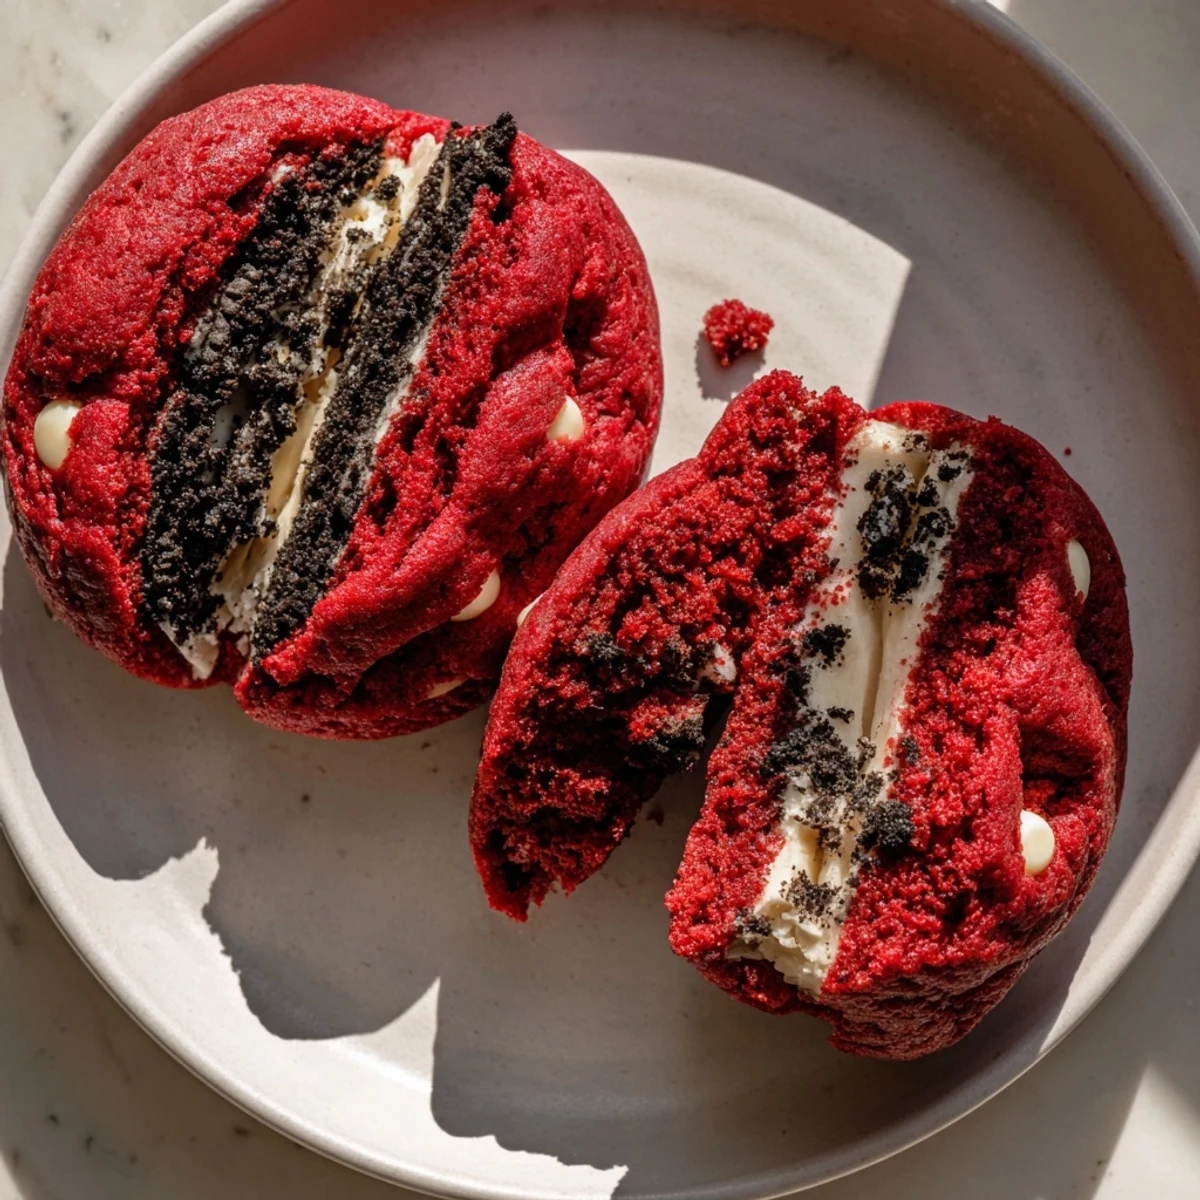
 These stuffed cookies combine soft, cocoa-infused red velvet dough with pockets of creamy Oreo filling. The contrast between the chewy exterior and smooth center creates an irresistible texture. White chocolate chips add sweetness throughout every bite.
Perfect for holidays, parties, or whenever you crave something special. Assembly takes just minutes—simply wrap chilled Oreo cream inside velvet dough and bake until edges set. The result looks impressive yet comes together with basic pantry ingredients.
Store in airtight containers up to three days. The filling stays creamy while the exterior remains tender. Roll edges in crushed Oreos before baking for extra crunch and visual appeal.
The first time I attempted red velvet anything, my kitchen looked like a crime scene. Red food coloring has a way of splattering exactly where you don't want it to go. But when these cookies emerged from the oven, with that perfect crackly top and surprise Oreo center, every counter I had to wipe down felt worth it.
I made these for my sister's birthday last winter and watched everyone's eyes widen at that first cross-section bite. Someone actually asked if I'd bought them from a bakery. The combination of cocoa-kissed cookie and cookies-and-cream filling hits this nostalgic note while feeling completely new.
Ingredients
- 2 cups all-purpose flour: The foundation that holds everything together, don't pack it down when measuring
- 1/4 cup unsweetened cocoa powder: Sift this to avoid any stubborn lumps in your smooth red dough
- 1 tsp baking soda: Gives these cookies their perfect puffy rise and chewy center
- 1/2 tsp salt: Balances the sweetness and wakes up all the chocolate flavors
- 1/2 cup unsalted butter, softened: Room temperature is non-negotiable here for proper creaming
- 3/4 cup granulated sugar: Creates that lovely crackly cookie exterior we're after
- 1/2 cup packed light brown sugar: Adds moisture and a subtle caramel undertone
- 1 large egg: Bring this to room temperature too so it incorporates seamlessly
- 1 tbsp milk: Just enough to loosen the dough without making it cakey
- 2 tsp vanilla extract: Don't be shy with vanilla, it's the supporting actor here
- 1 tbsp red food coloring: Gel gives you that deep red color without adding excess liquid
- 1 cup white chocolate chips: Creamy little pockets that complement the cocoa beautifully
- 4 oz cream cheese, softened: The base of our Oreo filling, use full-fat for best results
- 2 tbsp unsalted butter, softened: Makes the filling silky and pipeable
- 1 1/4 cups powdered sugar, sifted: Sweetens and thickens the filling without graininess
- 1/2 tsp vanilla extract: A little vanilla in the filling goes a long way
- 8 Oreo cookies, finely crushed: The star of our filling, crush them to your desired texture
Instructions
- Preheat your oven:
- Set it to 350°F and line two baking sheets with parchment paper, this dough can stick
- Whisk the dry ingredients:
- In a medium bowl, combine flour, cocoa powder, baking soda, and salt until everything is evenly distributed
- Cream the butter and sugars:
- Beat butter, granulated sugar, and brown sugar until the mixture looks pale and fluffy, about 3 minutes
- Add the wet ingredients:
- Mix in the egg, milk, vanilla, and red food coloring until the batter turns that gorgeous uniform red
- Combine everything:
- Gradually fold in the dry ingredients, then gently stir in the white chocolate chips until just incorporated
- Make the Oreo filling:
- Beat cream cheese and butter until smooth, add powdered sugar and vanilla, then fold in crushed Oreos and chill for 10 minutes
- Stuff the cookies:
- Flatten dough portions, place filling in the center, and carefully fold the dough around it, sealing completely
- Bake to perfection:
- Bake for 11-12 minutes until edges are set but centers still look soft, they'll finish cooking on the sheet
 Save to Pinterest
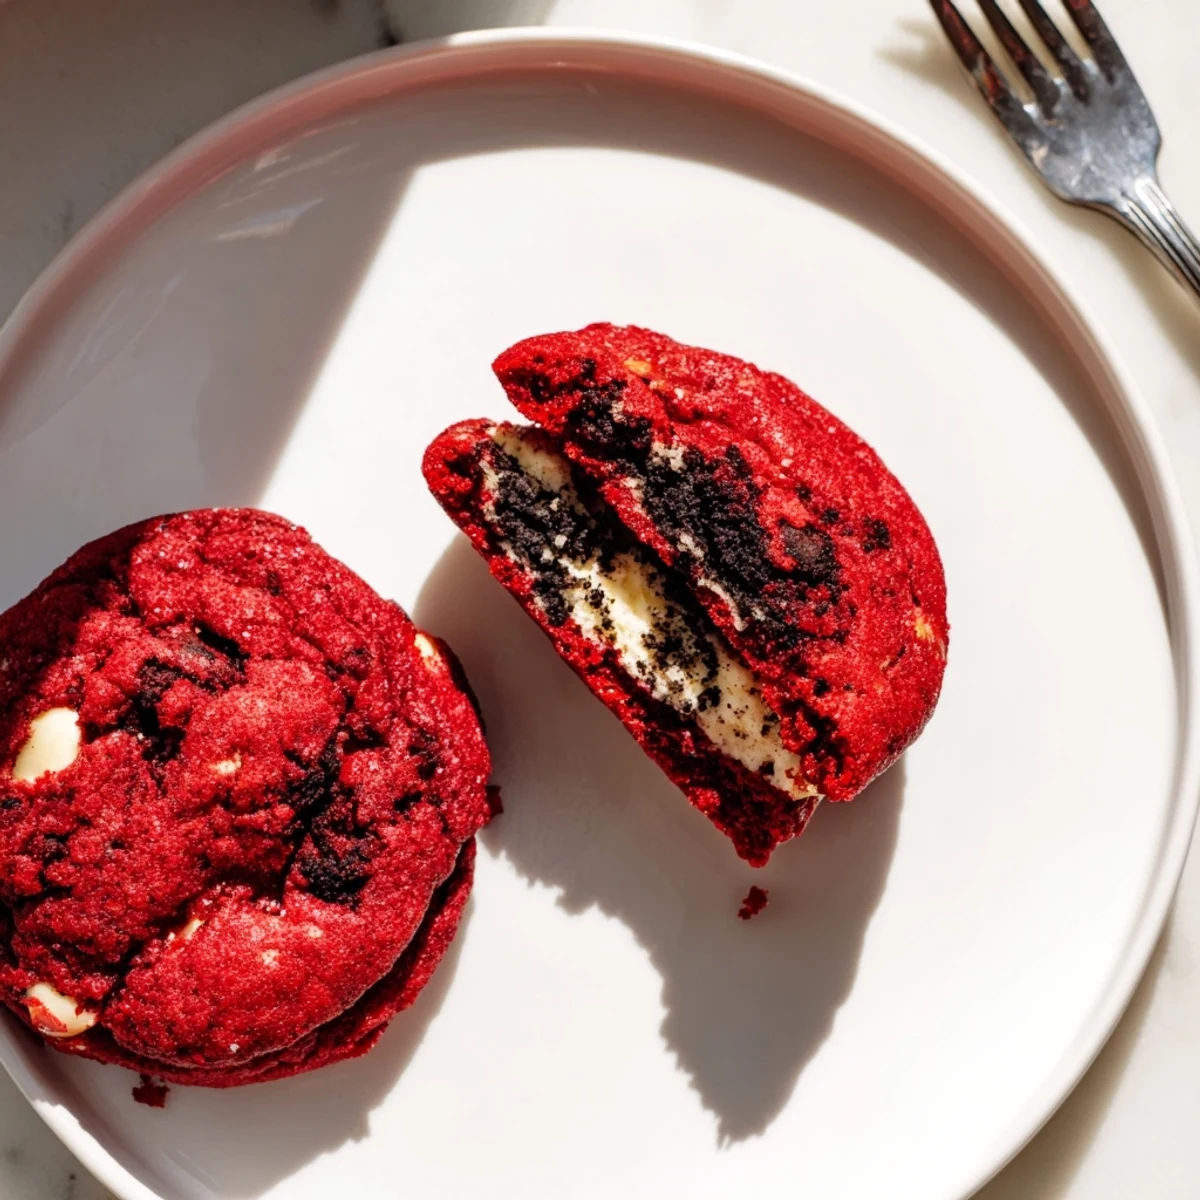
 My roommate kept finding reasons to walk through the kitchen while these were cooling, that Oreo fragrance is impossible to ignore. Now they're her most requested birthday treat, and I've learned to always double the recipe.
Getting That Perfect Red Color
Gel food coloring is your friend here. Liquid coloring can throw off your dough consistency, and there's nothing worse than cookies that spread too thin because you added too much liquid. A tiny bit of gel gives you that vibrant bakery red without any textural consequences.
The Filling Technique
When you're sealing the dough around the Oreo filling, make sure those edges are completely closed. Any gaps and the creamy filling will escape during baking, leaving you with hollow cookies and a very messy pan. Think of it like sealing dumplings.
Storage And Serving
These cookies actually taste better on day two, when the flavors have had time to mingle and that filling gets even creamier. Store them in an airtight container at room temperature.
- Pop one in the microwave for 10 seconds if you want that fresh-baked warmth
- These freeze beautifully, just wrap individually and thaw at room temperature
- Serve them slightly warm for the ultimate gooey filling experience
 Save to Pinterest
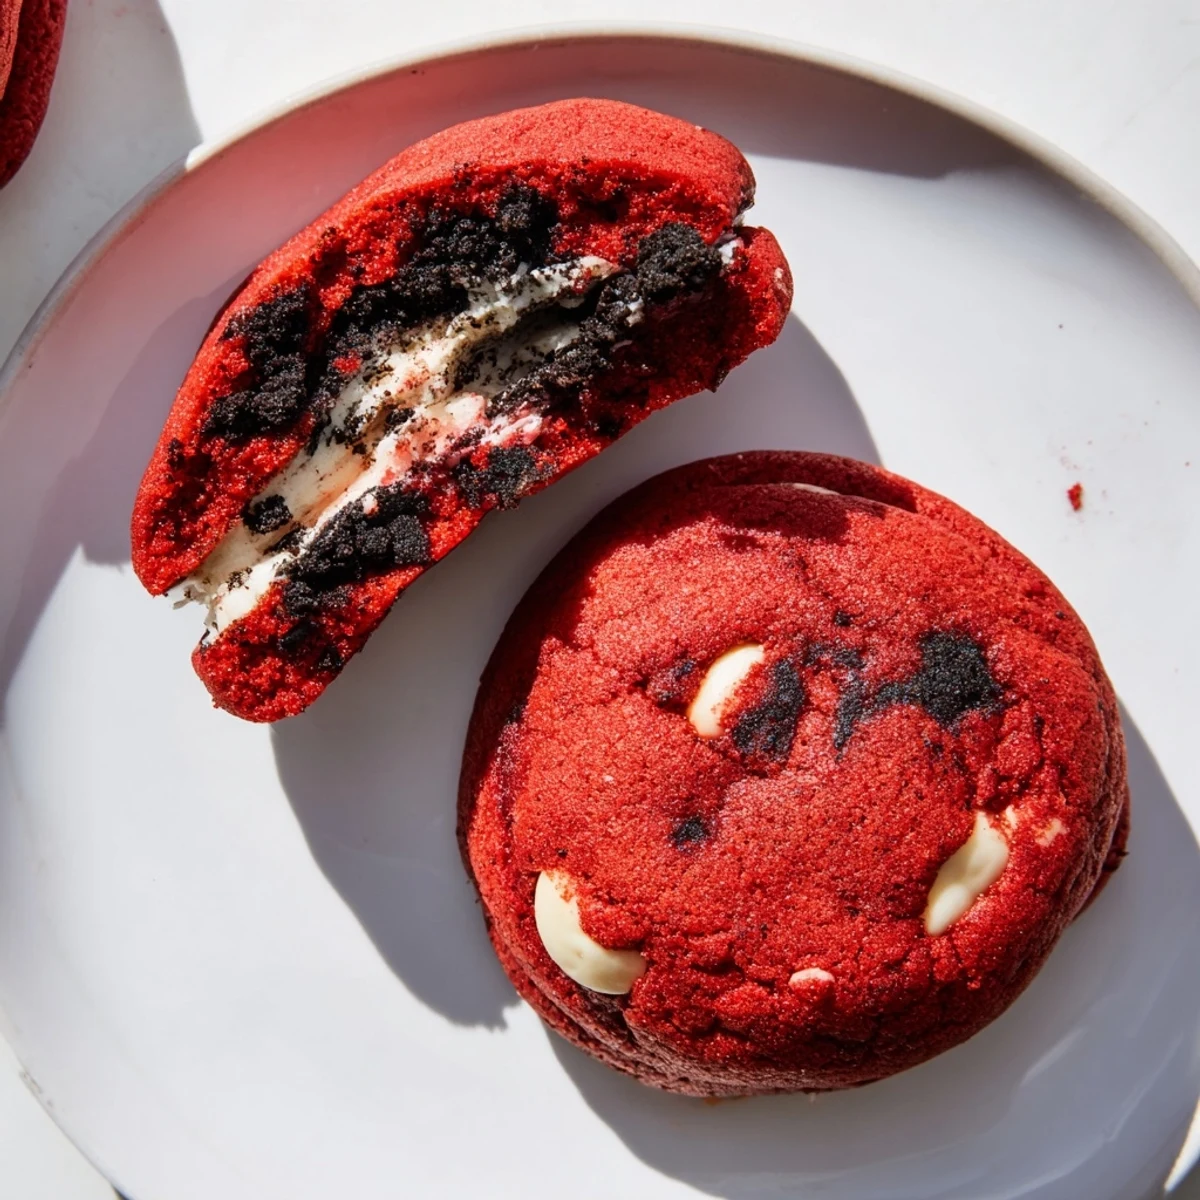
 There's something deeply satisfying about biting into a cookie that looks like one thing and reveals something completely unexpected. These have become my go-to for whenever I need to impress someone without spending all day in the kitchen.
Frequently asked questions about this recipe
- → How do I prevent the filling from leaking during baking?
-
Chill the Oreo cream filling for at least 10 minutes before stuffing. This firms it up, making it easier to enclose within the dough. Seal the edges tightly by pinching the dough together around the filling center.
- → Can I make the dough ahead of time?
-
Yes, prepare the dough and filling separately. Refrigerate both for up to 24 hours before assembling and baking. Let the dough sit at room temperature for 10 minutes to soften slightly before scooping.
- → What's the best way to crush Oreos for the filling?
-
Place Oreos in a sealed plastic bag and crush with a rolling pin, or pulse in a food processor until finely ground. You want small, consistent pieces that distribute evenly through the cream cheese filling.
- → Why did my cookies spread too much?
-
Ensure your butter is softened, not melted. Measure flour accurately—too little causes spreading. Chill the assembled dough balls on the baking sheet for 5-10 minutes before baking if your kitchen is warm.
- → Can I freeze these stuffed cookies?
-
Freeze assembled unbaked cookies on a tray until firm, then transfer to a freezer bag. Bake from frozen, adding 1-2 minutes to the baking time. Alternatively, freeze baked cookies in an airtight container for up to 2 months.
- → Is gel or liquid food coloring better?
-
Gel food coloring provides deeper red hue without adding excess liquid. If using liquid, you may need slightly less milk to maintain proper dough consistency. Start with 1 teaspoon and add more to achieve your desired shade.
