 Save to Pinterest
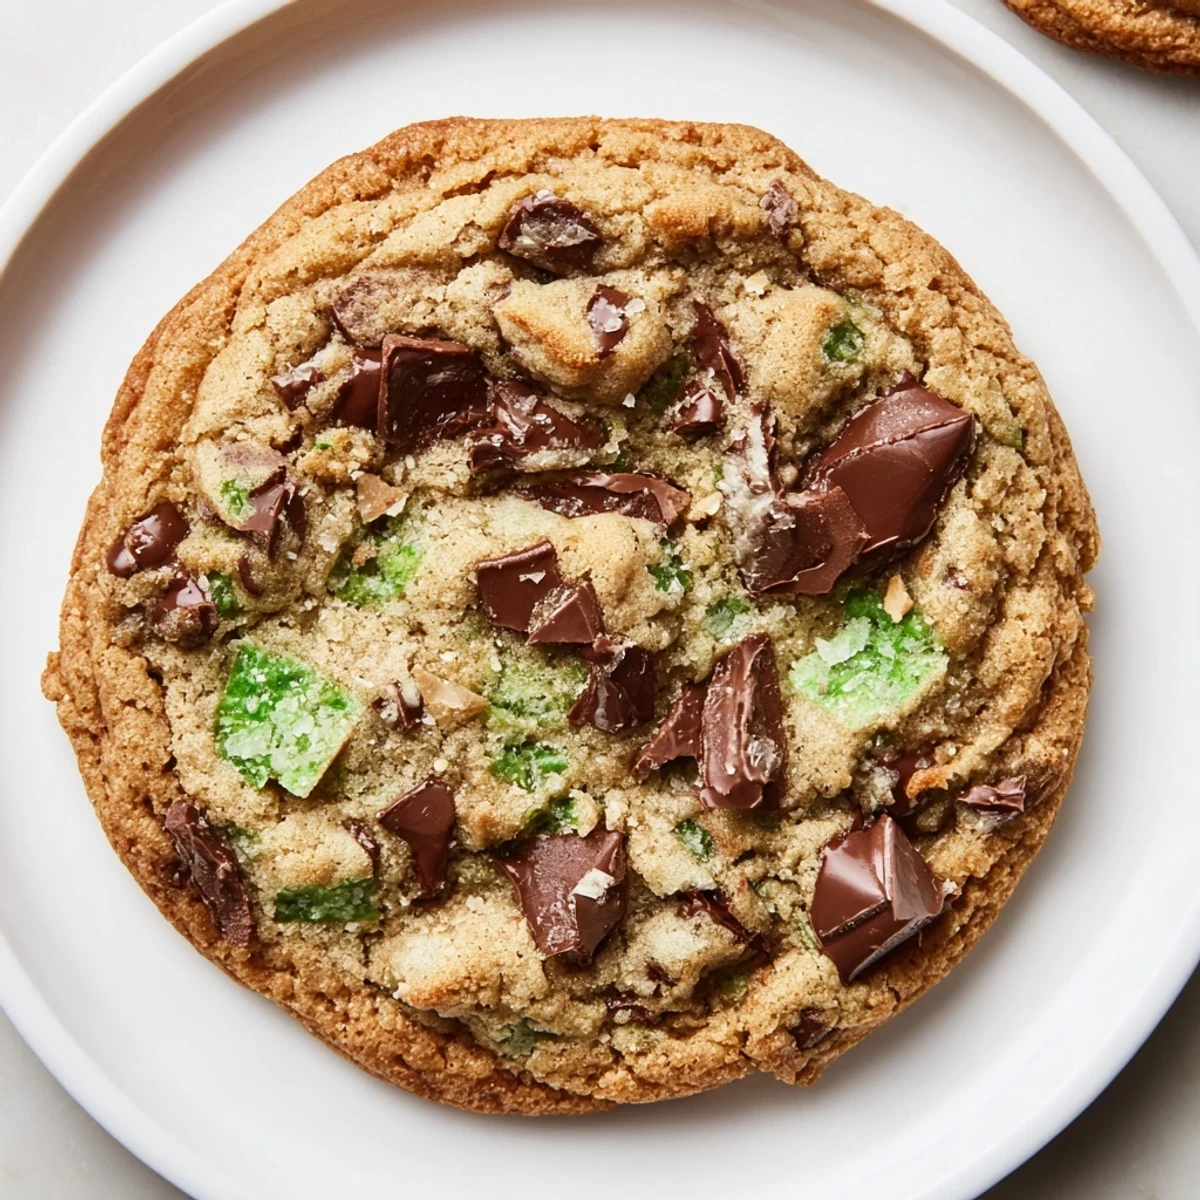
 These cookies offer a perfect balance of textures with crisp edges and chewy centers. The rich semi-sweet chocolate chips meld with refreshing peppermint extract, accented by chopped mint chocolate for an extra burst of flavor. Preparation is quick, involving creaming butter with sugars, incorporating dry ingredients, and folding in the chocolate mix-ins. Baking at 350°F yields golden edges and softly baked centers. Ideal for those who enjoy a minty chocolate experience with simple steps and accessible ingredients.
I'll never forget the afternoon my best friend came home from a culinary class raving about mint chocolate chip cookies that tasted like a dessert bar she'd discovered in a small café. She insisted we recreate them together, and after some experimentation, we developed these crispy-edged, chewy-centered beauties that somehow taste even better than the ones we were chasing. Now, whenever I make them, I'm transported back to that sunny kitchen, laughing as we debated whether we needed green food coloring or if the mint flavor could speak for itself. These cookies became our signature, the kind you make for people you love and want to impress.
I remember bringing a batch to my office holiday party, nervous about how the mint chocolate combination would be received. One colleague took a bite and their eyes lit up as if they'd discovered buried treasure. By the end of the day, only crumbs remained, and I had five requests for the recipe written on sticky notes on my desk. That's when I knew these cookies had something special, something that made people feel cared for.
Ingredients
- All-purpose flour (2 1/4 cups): The foundation of structure; I learned that measuring by weight rather than volume gives more consistent results, so I always use 280 grams if your scale allows it
- Baking soda (1/2 teaspoon): This is your secret to those crispy edges; it promotes browning and spread, but measure it carefully or your cookies might spread too thin
- Salt (1/2 teaspoon): Never skip this even though it seems small; it balances the sweetness and makes the mint and chocolate flavors sing
- Unsalted butter, softened (1 cup): Softened means it should leave a slight impression when you press it; cold butter won't cream properly and you'll miss that airy texture
- Granulated and brown sugar (3/4 cup each): The combination of both sugars creates depth; brown sugar adds moisture and chewiness to the centers while granulated sugar helps with spread
- Large eggs (2): Room temperature eggs incorporate more smoothly; if you forget to set them out, place them in warm water for five minutes
- Peppermint extract (1 1/2 teaspoons): This is where the magic happens; pure peppermint extract has a brightness that imitation versions can't match, and trust me, I learned this the hard way
- Vanilla extract (1 teaspoon): This deepens the overall flavor and prevents the mint from becoming one-dimensional
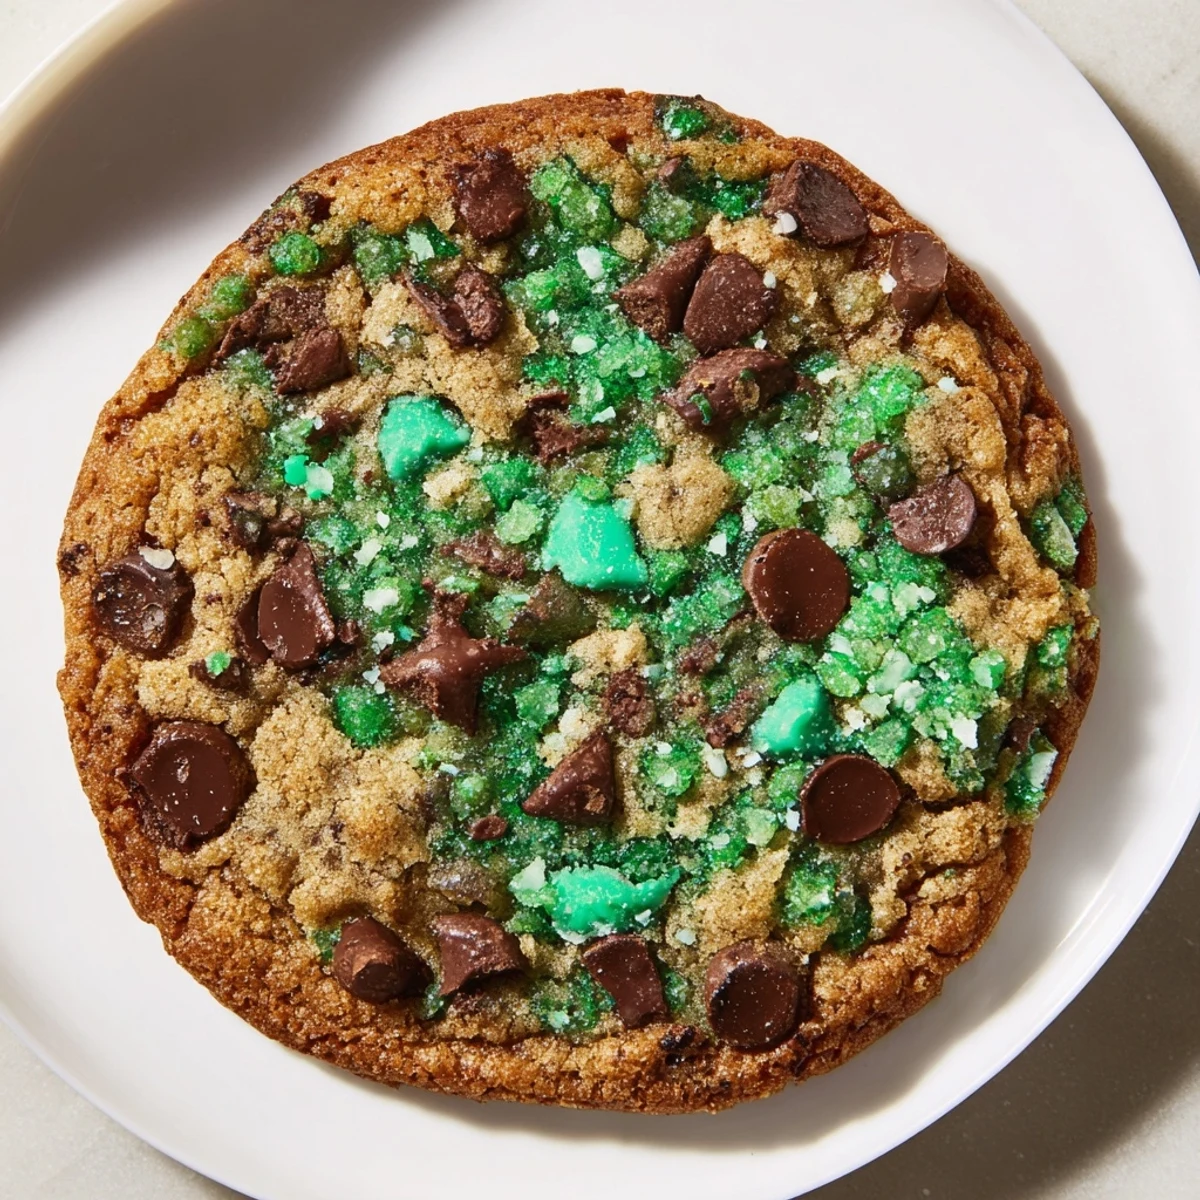
- Green food coloring (4-6 drops, optional): I skip this most of the time and the cookies are just as beautiful; only use it if you want that bakery-perfect appearance
- Semi-sweet chocolate chips (2 cups): These are the workhorses; they provide familiar comfort and melt just slightly during baking
- Chopped mint chocolate, like Andes mints (1/2 cup): These pieces add concentrated pockets of minty flavor that make every bite feel special; they don't melt as much as regular chocolate, which is exactly what you want
Instructions
- Set the stage:
- Preheat your oven to 350°F and line two baking sheets with parchment paper. This gives the oven time to reach the perfect temperature while you work, and parchment is non-negotiable if you want clean baking and no burnt bottoms.
- Build the dry base:
- In a medium bowl, whisk together the flour, baking soda, and salt. I like to whisk these together at least twenty times even though it seems excessive; you're distributing the leavening evenly, and that makes a real difference.
- Cream the butter and sugars:
- Using an electric mixer, beat the softened butter with both sugars for about two minutes. You'll see the mixture transform from dense and heavy to pale and fluffy, almost like clouds. This step is creating tiny air pockets that will make your cookies light and tender; don't rush it.
- Add the eggs and extracts:
- Beat in the eggs one at a time, scraping down the bowl between additions. Then add the peppermint extract, vanilla extract, and green food coloring if using. Mix until everything is combined and the mixture smells incredible, like a candy shop and a baker had a conversation.
- Bring wet and dry together:
- Pour the dry ingredients into the wet ingredients and mix just until combined. This is crucial; overmixing develops gluten and makes tough cookies. Stop as soon as you don't see streaks of flour.
- Fold in the treasures:
- Gently fold in the chocolate chips and chopped mint chocolate by hand with a spatula. This is where you can see all the delicious pieces getting distributed throughout the dough.
- Portion with precision:
- Scoop tablespoon-sized amounts onto your prepared baking sheets, leaving about two inches between each cookie. If you have a cookie scoop, use it; the uniform size ensures even baking.
- Bake until golden:
- Bake for nine to eleven minutes. This is the most important lesson I learned: the centers should look slightly underbaked when you pull them out. They will look a little soft, and that's exactly right. The edges should be lightly golden and just starting to turn crispy. Overbaking is the enemy of chewy centers.
- Cool with patience:
- Let the cookies sit on the baking sheet for five minutes; this allows them to set just enough so they won't fall apart when you move them. Then transfer them to a wire rack to cool completely, which usually takes about ten more minutes. This is the hardest part because they smell absolutely divine.
 Save to Pinterest
 I'll always remember when my grandmother took a bite of these cookies and got quiet for a moment. Then she smiled and said they reminded her of the fancy mint chocolate bars from her childhood, the ones she could only have on special occasions. She asked me to teach her how to make them so she could share them with her book club. Watching her bake them in her own kitchen, with her weathered hands working the dough, reminded me that food is really just love made edible, passed from one person to another.
Why These Cookies Stand Apart
Most mint chocolate cookies either lean too heavily on chocolate and forget the mint, or they taste like candy and lose all sense of being a proper cookie. The magic of this recipe is in the balance. The peppermint extract adds freshness without being sharp, the chocolate chips provide familiar comfort, and the mint chocolate pieces create delightful surprise moments. Every element serves a purpose, and nothing competes for attention. That's the kind of recipe that teaches you something about cooking; it's not about having the most ingredients or the fanciest techniques. It's about understanding how flavors work together and respecting each component enough to let it shine.
Making Them Your Own
While this recipe is perfect as written, it's also incredibly flexible depending on your mood and what you have on hand. If you want extra minty flavor without making them taste medicinal, increase the peppermint extract by just 1/2 teaspoon and watch the transformation. Some people I know swap in white chocolate chips for a different kind of elegance, or they use dark chocolate chunks for richness. I've even made a version using crushed candy canes instead of chopped Andes mints during the holidays, and it became a seasonal tradition. The point is, once you understand how the recipe works, you can play with it confidently.
Storage and Make-Ahead Magic
These cookies have a wonderful quality that makes them perfect for planning ahead. You can freeze the dough in scoops for up to three months, which means fresh warm cookies are always just a few minutes away. Bake them straight from the freezer, adding just a minute or two to the baking time. The finished cookies keep beautifully in an airtight container for up to five days, though honestly, they rarely last that long in my house. I also discovered that these cookies actually taste better the day after baking, when the flavors have mellowed slightly and the textures have fully settled. It's one of those small kitchen revelations that makes all the difference when you're planning for a gathering.
- Freeze scoops of unbaked dough and bake directly from frozen whenever you want fresh cookies
- Store in an airtight container with a piece of bread to keep them soft, or leave the container open to keep edges crispier
- These are perfect for mailing to friends and family because they travel well and taste just as good three days later
 Save to Pinterest
 These mint chocolate chip cookies have become more than just a recipe in my life; they're the thing I make when I want to feel grounded and creative at the same time. They're the thing I share when words aren't enough. Every time you pull a warm batch from the oven, you're creating a moment, a memory, a small piece of joy that you get to give to people you care about.
Frequently asked questions about this recipe
- → How do I achieve chewy centers with crisp edges?
-
Carefully monitor baking time between 9 to 11 minutes and use room-temperature butter creamed with sugars to create the ideal texture contrast.
- → Can I substitute the peppermint extract?
-
Yes, vanilla or mint flavoring alternatives can be used, but peppermint extract provides the distinct refreshing taste.
- → What is the role of green food coloring?
-
Green coloring is optional and mainly used to enhance the visual appeal matching the mint flavor without altering taste.
- → Can I swap the chocolate chips for alternatives?
-
White chocolate chips or dark chocolate chunks work well and can be used to vary the flavor profile.
- → How should these treats be stored?
-
Store in an airtight container at room temperature for up to a week or freeze for up to 2 months to maintain freshness.
