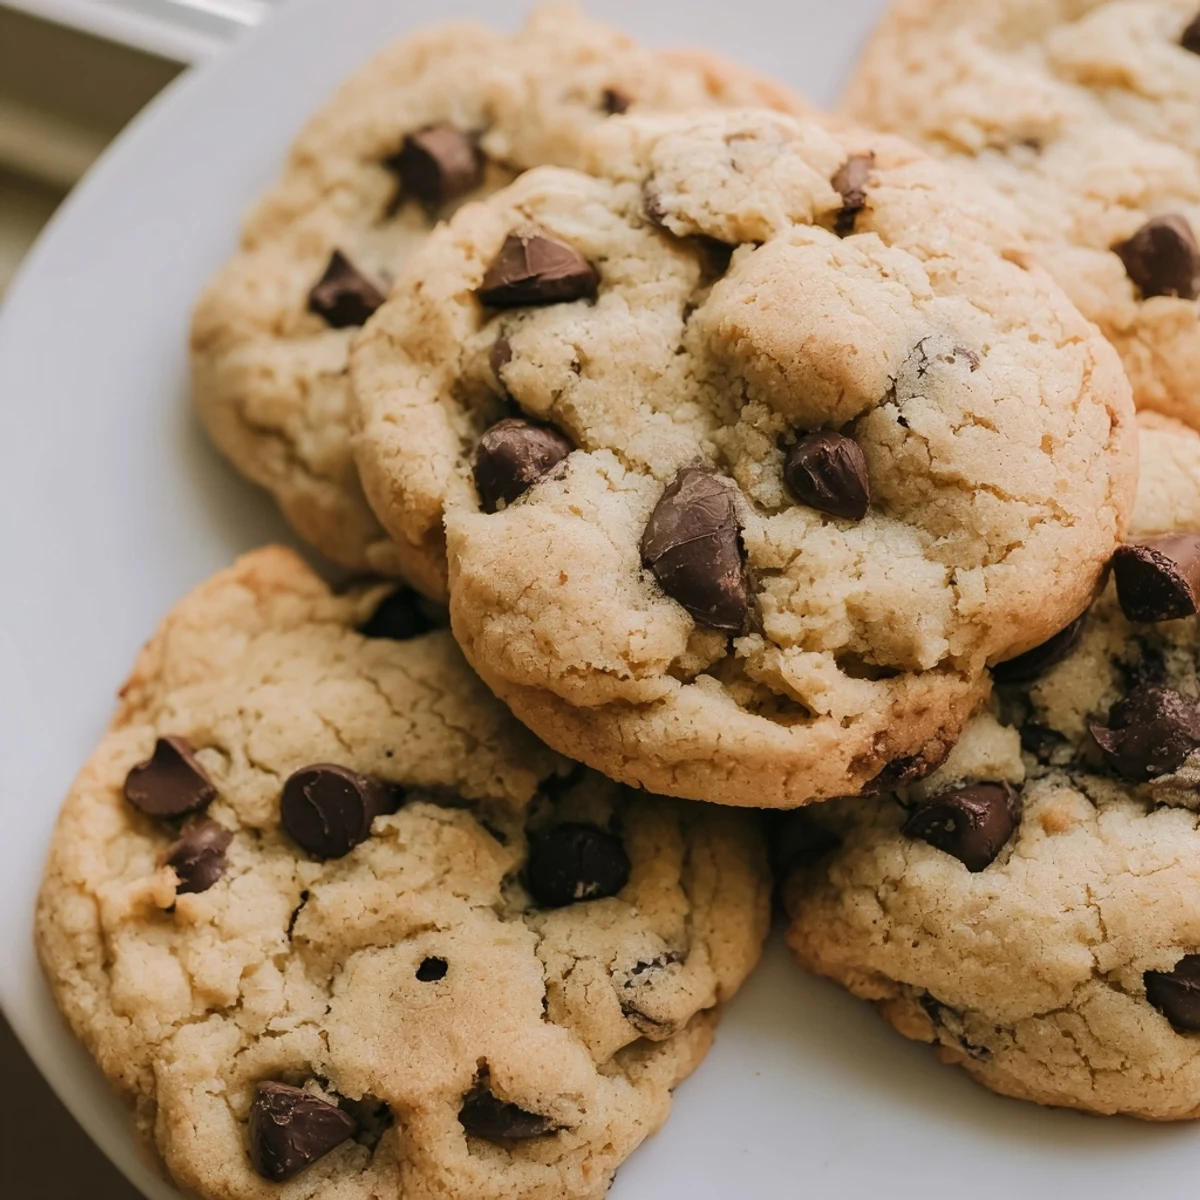
 Save to Pinterest
 These soft and chewy chocolate chip cookies deliver classic homemade flavor without any nuts, making them perfect for school lunches, office gatherings, or anyone with nut allergies. The dough comes together quickly with basic pantry ingredients, yielding two dozen perfectly golden cookies with crispy edges and tender centers.
For best results, chill the dough for 30 minutes before baking to enhance the chewy texture. Always verify that your chocolate chips and other ingredients are certified nut-free if preparing for someone with severe allergies. The cookies store well in an airtight container for up to five days.
My college roommate had a severe nut allergy, and I remember feeling helpless watching her skip every homemade treat at parties. These cookies became my mission to prove that allergy-friendly baking could still feel like a warm hug from the oven.
Last summer, I made a triple batch for my nephews school bake sale. Another mom approached me with tears in her eyes because her son had never been able to buy anything at the school fundraisers before. Watching him take that first bite, completely safe and completely happy, reminded me why inclusive baking matters so much.
Ingredients
- 2 1/4 cups (280 g) all-purpose flour: The foundation that gives these cookies their classic structure and tender crumb
- 1 tsp baking soda: Creates those perfect cracks on top and helps the cookies spread beautifully
- 1/2 tsp salt: Balances the sweetness and makes the chocolate flavor pop
- 1 cup (225 g) unsalted butter, softened: Room temperature butter creates the ideal texture and carries all the flavors
- 3/4 cup (150 g) granulated sugar: Gives the cookies their crisp edges and helps them spread
- 3/4 cup (165 g) light brown sugar, packed: The secret to chewy centers and that rich caramel depth
- 2 large eggs: Adds structure and richness while keeping everything tender
- 2 tsp pure vanilla extract: Do not skimp here vanilla is the backbone of classic chocolate chip flavor
- 2 cups (340 g) nut-free semi-sweet chocolate chips: Always read labels carefully since cross-contamination warnings matter for serious allergies
Instructions
- Preheat and prep your oven:
- Set your oven to 350F (175C) and line two baking sheets with parchment paper this prevents sticking and makes cleanup effortless
- Whisk the dry team:
- In a medium bowl, combine the flour, baking soda, and salt until evenly blended, then set this aside while you work on the wet ingredients
- Cream butter and sugars:
- Beat the softened butter with both sugars until the mixture looks pale and fluffy, usually about 2 to 3 minutes of mixing
- Add eggs and vanilla:
- Drop in the eggs one at a time, letting each incorporate fully before adding the next, then pour in the vanilla
- Combine everything gently:
- Gradually mix in the dry ingredients just until no white streaks remain, being careful not to overwork the dough
- Fold in the chocolate chips:
- Switch to a spatula and fold in those nut-free chocolate chips until they are evenly distributed throughout the dough
- Scoop and space:
- Drop rounded tablespoons of dough onto your prepared sheets, leaving about 2 inches between each cookie since they will spread as they bake
- Bake to golden perfection:
- Slide them into the oven for 9 to 11 minutes, pulling them out when edges are golden but centers still look slightly soft
- Cool completely:
- Let the cookies rest on the baking sheets for 5 minutes to set, then move them to a wire rack until they are completely cool
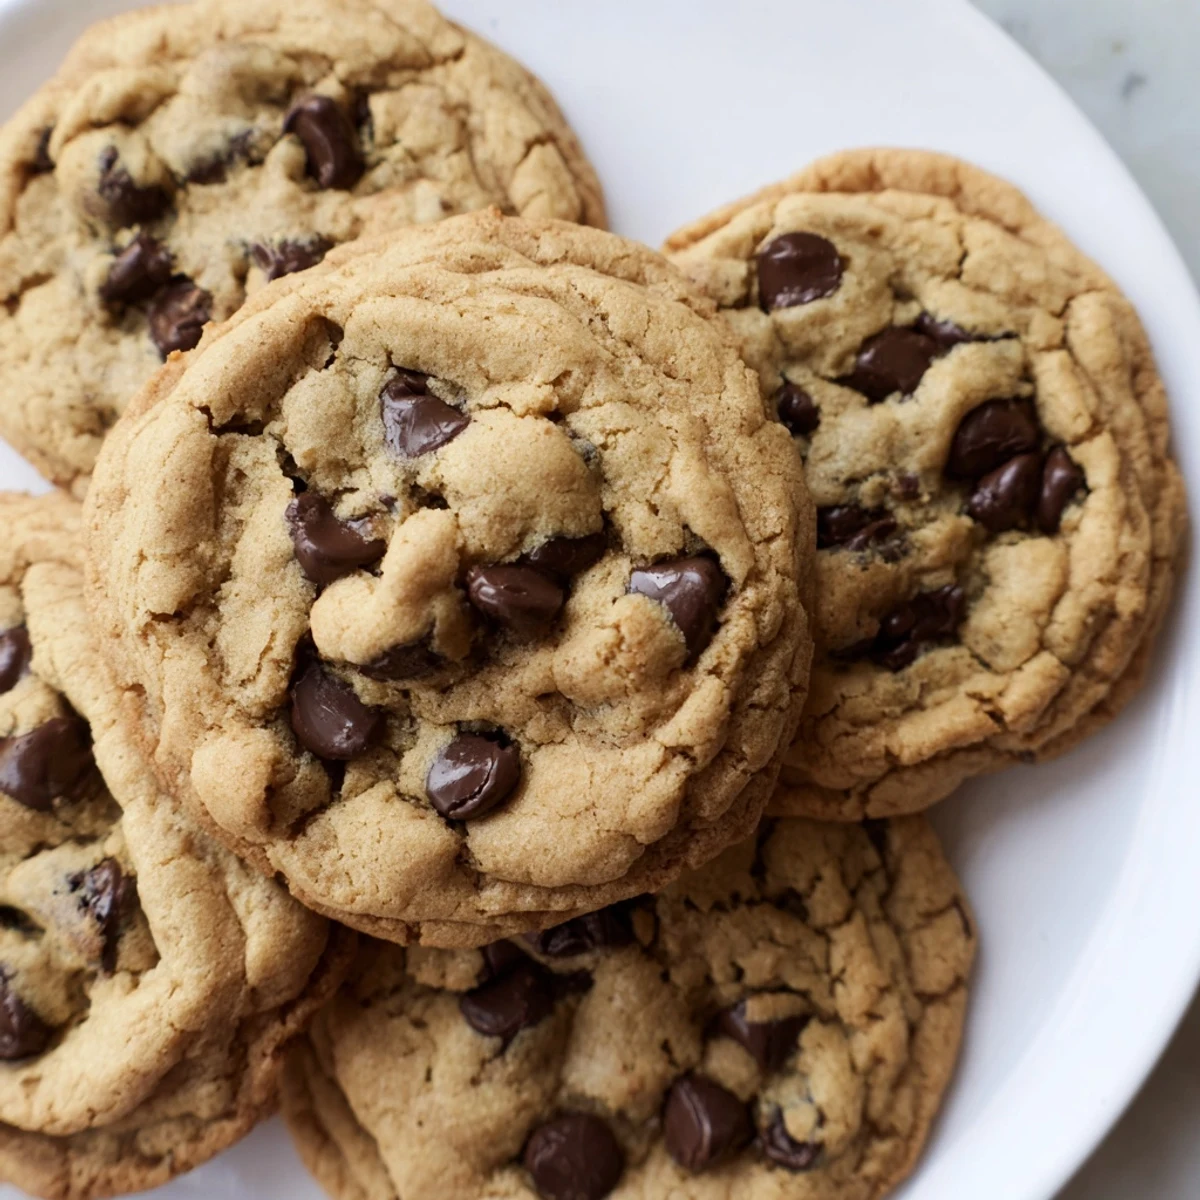
 Save to Pinterest
 These have become my go-to contribution for every school event and potluck now. There is something deeply satisfying about watching everyone grab seconds, never realizing they are eating allergy-safe treats.
Making Them Ahead
The dough freezes beautifully for up to three months if you scoop it into balls first. Just bake from frozen, adding an extra minute or two to the baking time, and you will have warm cookies whenever the craving strikes.
Storage Secrets
I keep my baked cookies in an airtight container with a slice of white bread. The bread keeps them soft and chewy for almost a whole week, though in my house they rarely last longer than two days anyway.
Customization Ideas
While the classic version is hard to beat, there are so many ways to make this recipe your own without introducing nuts.
- Swap the chocolate chips for certified nut-free white chocolate and add dried cranberries
- Try folding in crushed pretzels for a salty sweet twist that kids absolutely love
- Add a sprinkle of flaky sea salt on top right before baking for a bakery-style finish
 Save to Pinterest
 There is nothing quite like the smell of these cookies baking to make a house feel like home, especially knowing everyone can safely enjoy them.
Frequently asked questions about this recipe
- → Are these cookies completely nut-free?
-
Yes, these cookies contain no nuts or nut-derived ingredients. However, always check labels on your chocolate chips and other ingredients to ensure they're certified nut-free, especially if baking for someone with severe allergies.
- → Can I freeze the dough?
-
Absolutely. Scoop the dough onto a baking sheet and freeze until solid, then transfer to a freezer bag. Bake from frozen, adding 1-2 minutes to the baking time.
- → What makes these cookies chewy?
-
The combination of brown sugar, proper creaming technique, and slightly underbaking creates that soft, chewy texture. Chilling the dough for 30 minutes before baking enhances this effect.
- → Can I use dairy-free butter?
-
Yes, dairy-free butter substitutes work well in this dough. Look for a stick variety that contains at least 80% fat for best results. The texture may vary slightly.
- → How should I store these cookies?
-
Store completely cooled cookies in an airtight container at room temperature for up to five days. For longer storage, freeze baked cookies in a freezer bag for up to three months.
- → Can I add other mix-ins?
-
Yes, try nut-free white chocolate chips, dried cranberries, or shredded coconut. Ensure any add-ins are certified nut-free to maintain the allergy-friendly nature.
