 Save to Pinterest
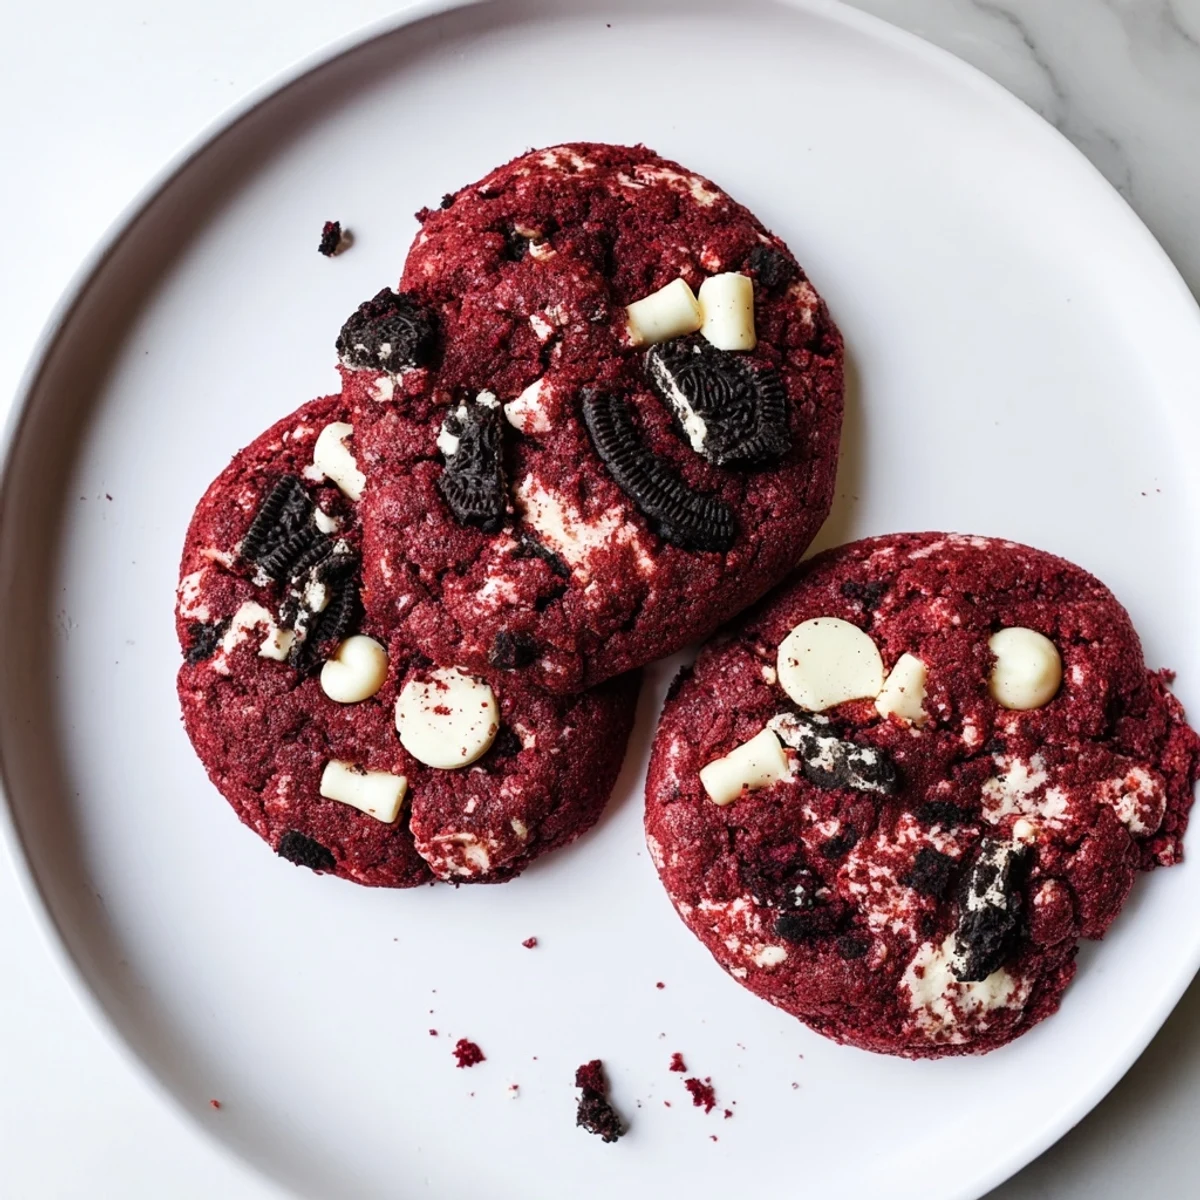
 These soft red velvet cookies feature a rich cocoa base swirled with vibrant red coloring, creating the perfect canvas for white chocolate chips and chopped Oreo cookies. The dough comes together quickly with softened butter, brown sugar for moisture, and just enough milk to achieve that signature chewy texture. Baking at 350°F for 10-12 minutes yields edges that are perfectly set while centers remain delightfully tender. The combination of creamy white chocolate and crunchy Oreo pieces delivers satisfying texture contrast in every bite. Store in an airtight container for up to 5 days, though they rarely last that long.
The first time I made these red velvet Oreo cookies, my kitchen looked like a crime scene. Red food coloring everywhere, flour dusted across the counters, but the smell of cocoa and butter had already won me over. My roommate walked in, took one look at the chaos, and asked if we were having a murder mystery dinner party. I just handed her a warm cookie and watched her eyes go wide with that first bite.
I brought a batch to my sisters baby shower last spring, and the other moms kept asking where I ordered them from. They could not believe these were homemade. The red velvet color caught everyones attention, but the combination of flavors is what made them disappear faster than I could set down the platter.
Ingredients
- All-purpose flour: The foundation that gives structure while keeping the cookie tender
- Unsweetened cocoa powder: Provides that subtle chocolate backbone red velvet is known for
- Baking soda: Helps create those beautifully puffy edges and soft centers
- Salt: Essential for balancing sweetness and enhancing chocolate flavor
- Unsalted butter: Softened to room temperature for proper creaming with sugars
- Light brown sugar: Adds moisture and creates chewiness in every bite
- Granulated sugar: Helps the cookies spread and develop crisp edges
- Egg plus yolk: The extra yolk adds richness and contributes to fudgy texture
- Vanilla extract: Rounds out all the flavors and adds warmth
- Milk: Just enough to bring the dough together without making it too wet
- Red food coloring: Gel coloring gives the most vibrant red without altering consistency
- White chocolate chips: Creamy sweetness that balances the cocoa perfectly
- Oreo cookies: Roughly chopped to create chunks and crumbs throughout
Instructions
- Preheat and prep your workspace:
- Set your oven to 350°F and line two baking sheets with parchment paper. This simple step saves you so much cleanup later.
- Whisk the dry ingredients together:
- Combine flour, cocoa powder, baking soda, and salt in a medium bowl. This ensures everything is evenly distributed.
- Cream the butter and sugars:
- Beat butter with both sugars for 2 to 3 minutes until light and fluffy. Do not rush this step because it creates the cookie texture.
- Add the wet ingredients:
- Mix in egg, egg yolk, vanilla, milk, and red food coloring until the batter is uniform. The color will look intense but bakes to a perfect shade.
- Combine everything:
- Gradually stir in the dry ingredients just until the flour disappears. Overmixing makes tough cookies.
- Fold in the mixins:
- Gently incorporate white chocolate chips and chopped Oreos by hand. Some bigger chunks are good for texture variation.
- Scoop and space:
- Drop rounded dough balls onto baking sheets about 2 inches apart. They need room to spread.
- Bake to perfection:
- Bake for 10 to 12 minutes until edges are set but centers still look slightly underdone. This is the secret to chewy cookies.
- Cool completely:
- Let them rest on the baking sheet for 5 minutes before moving to a wire rack. They finish cooking and firm up during this time.
 Save to Pinterest
 My nephew now asks for these every time I visit. He has figured out that if he helps me chop the Oreos, he gets first dibs on the broken pieces that do not make it into the dough. I started buying an extra package just for this purpose.
Getting The Perfect Red
Red velvet recipes can be tricky with color. I have learned to start with less coloring than I think I need because it intensifies during baking. Gel coloring is much more concentrated than liquid, so a little goes a long way.
Cookie Texture Secrets
The combination of brown sugar and that extra egg yolk is what makes these so chewy. I have tried cutting corners and skipping the yolk, but the texture is never quite the same. Those small details really do matter.
Make Ahead Tips
You can scoop the dough balls and freeze them raw on a baking sheet, then transfer to a bag for storage. Bake from frozen for 12 to 14 minutes. This is perfect for unexpected guests.
- Scoop extra dough now and thank yourself later
- Store baked cookies with a piece of bread to keep them soft
- These freeze beautifully for up to 3 months
 Save to Pinterest
 These cookies have become my go to for everything from bake sales to holiday parties. Something about that red velvet color just makes people happy.
Frequently asked questions about this recipe
- → Why do my cookies turn out flat?
-
Flat cookies usually result from softened butter that became too warm or dough that wasn't chilled. Try refrigerating the dough for 30 minutes before baking to help the cookies hold their shape.
- → Can I use natural food coloring instead of gel?
-
Liquid food coloring works, though you'll need to use more of it. Gel coloring provides the most vibrant red hue without altering the dough consistency. If using liquid, reduce the milk by 1 teaspoon.
- → How do I know when the cookies are done?
-
The edges should look set and slightly firm while the centers appear slightly underbaked. They'll continue cooking on the hot baking sheet during the 5-minute cooling period.
- → Can I freeze the cookie dough?
-
Absolutely. Scoop the dough into balls and freeze on a baking sheet, then transfer to a freezer bag. Bake from frozen, adding 1-2 minutes to the baking time. Frozen dough keeps for up to 3 months.
- → What makes red velvet different from chocolate cookies?
-
Red velvet typically uses less cocoa powder than standard chocolate cookies, resulting in a milder chocolate flavor with subtle tanginess. The distinctive red color and cream cheese frosting association (though these use white chocolate) set it apart.
- → Can I make these without Oreo cookies?
-
You can substitute chopped chocolate sandwich cookies or increase the white chocolate chips to 1.5 cups. For added crunch, consider mixing in chopped pecans or walnuts instead.
