 Save to Pinterest
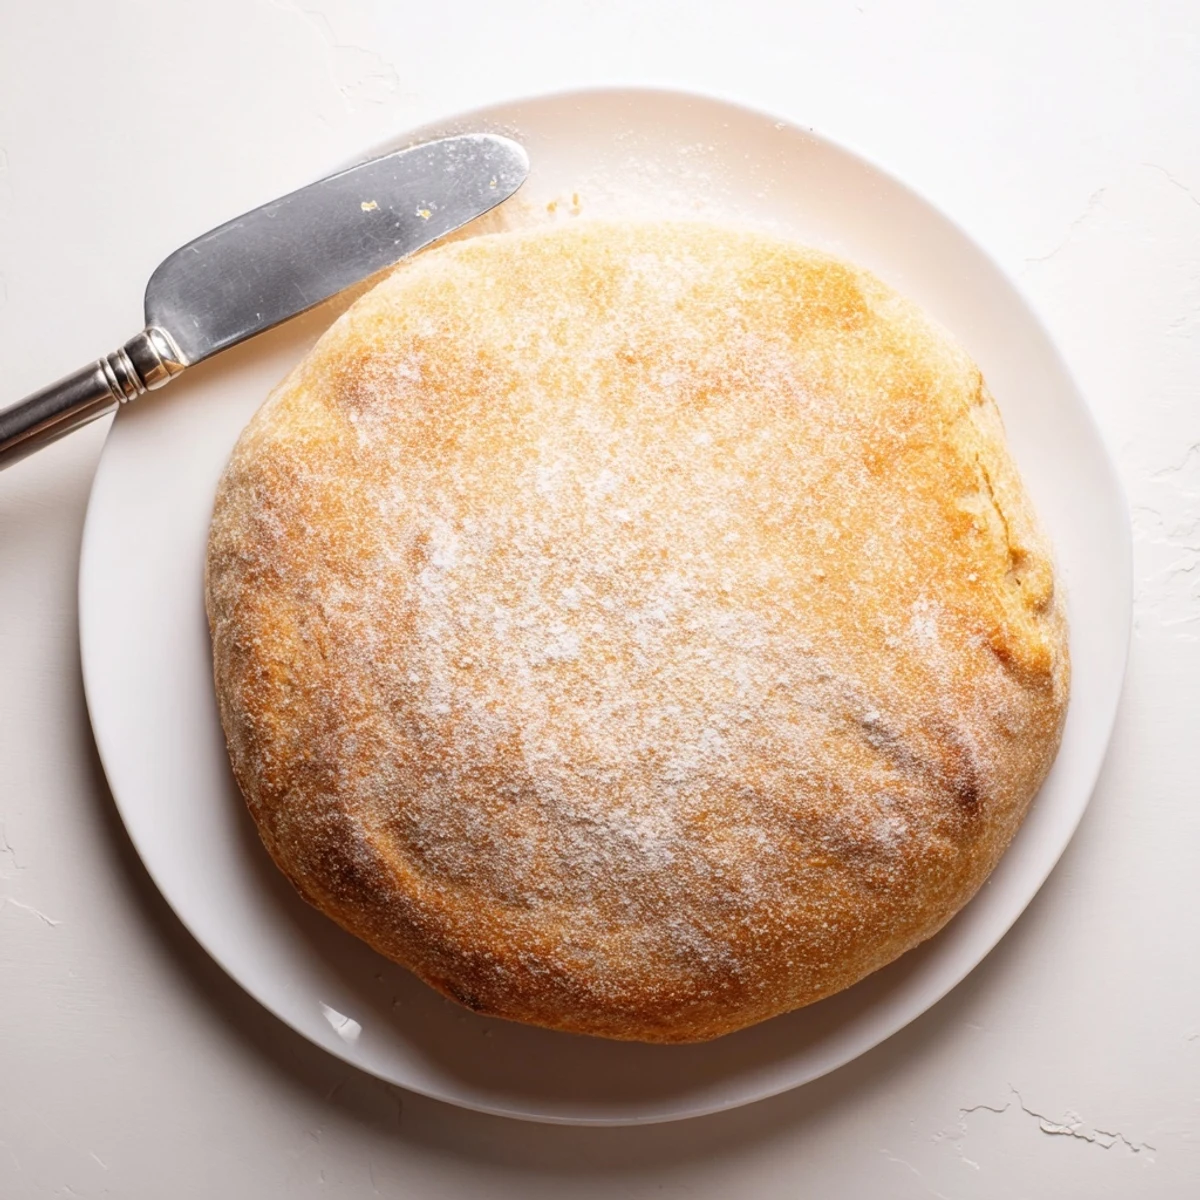
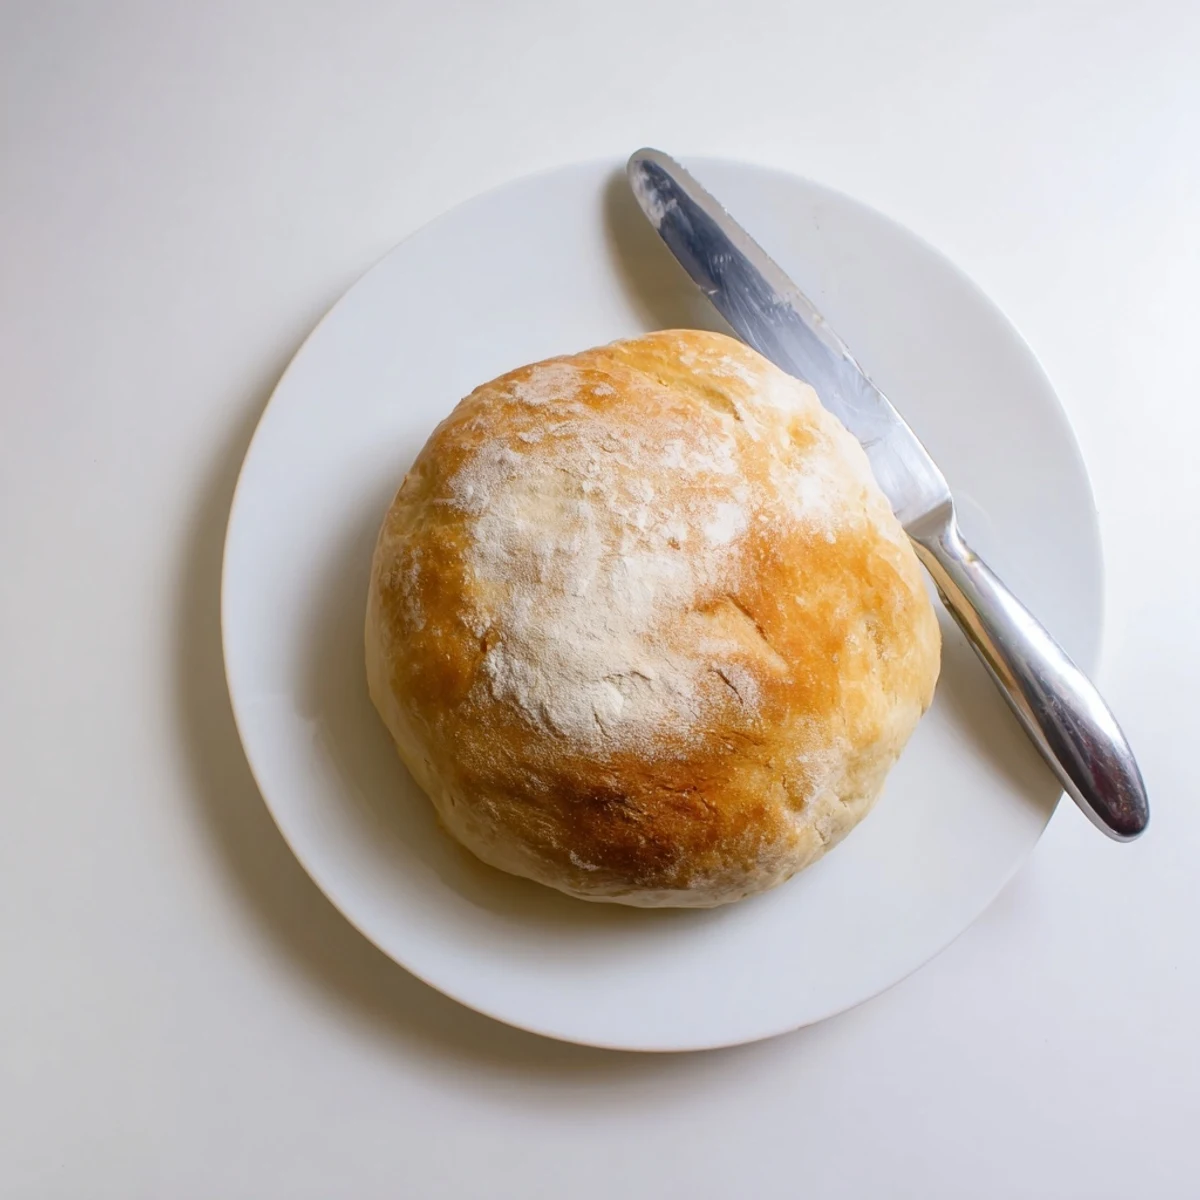
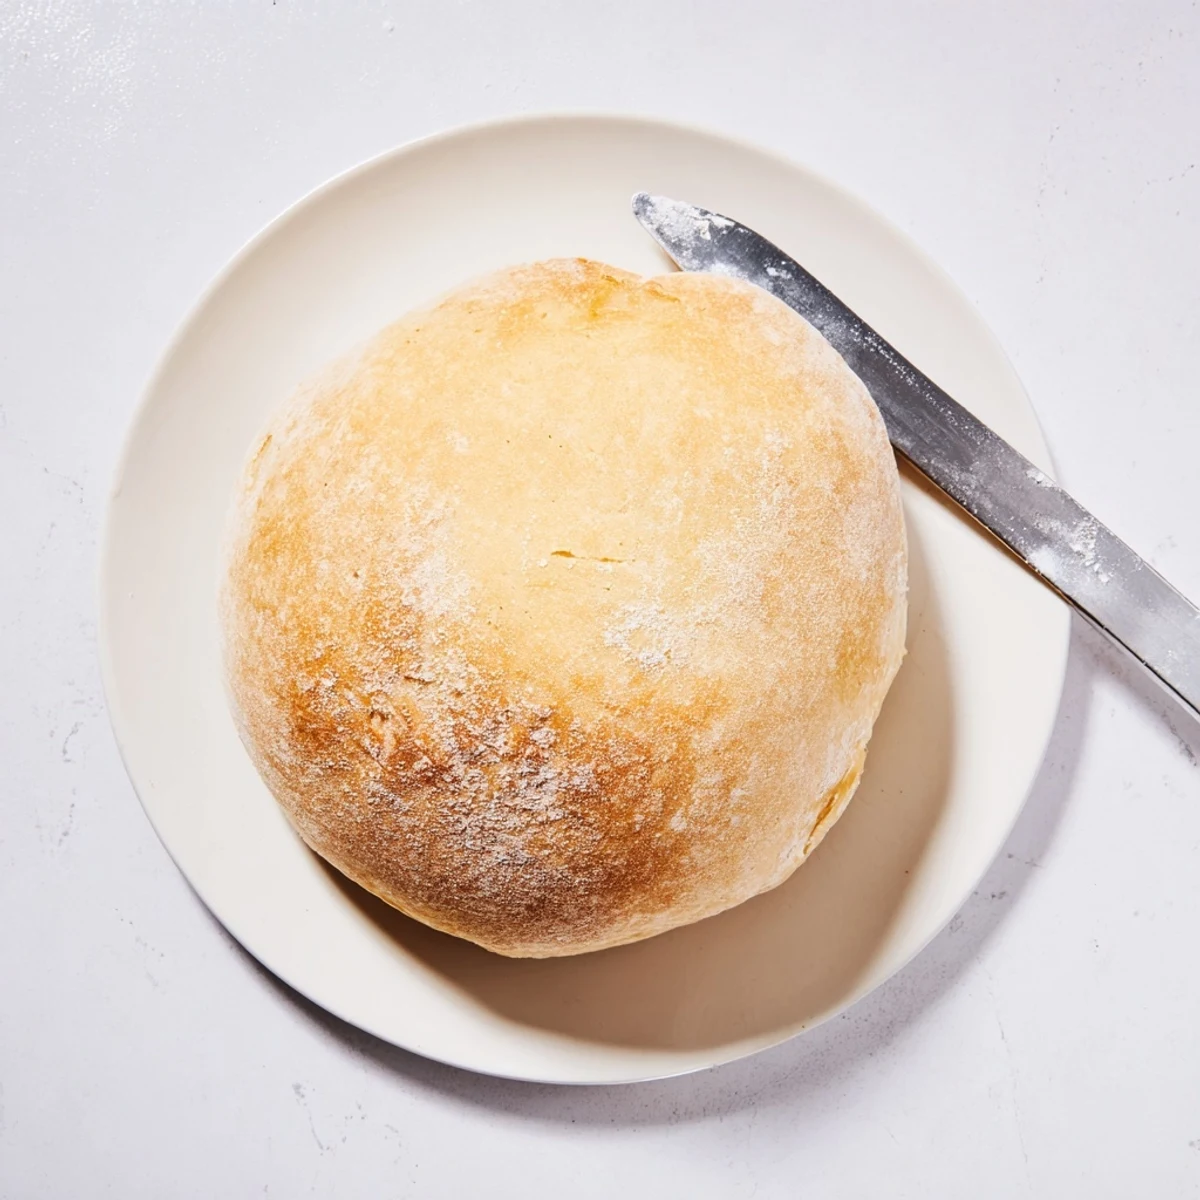
 Create warm, homemade bread without turning on your oven. This stovetop method yields a soft, fluffy loaf with a golden crust that's perfect for busy days or when oven space isn't available. The dough requires just basic pantry ingredients and rises in about an hour, then cooks low and slow in a covered skillet. The result is a tender interior with a beautifully browned exterior that rivals oven-baked versions.
The first time I made stovetop bread, I was living in an apartment with a broken oven and a serious craving for fresh baked something. I was skeptical that a simple skillet could produce anything resembling real bread, but when that first loaf emerged, golden and steaming, I was absolutely converted. The smell of yeast and warm flour filled my tiny kitchen in a way that made the whole evening feel cozy despite the rain outside. Now I make this bread even when my oven works perfectly fine, just for the satisfaction of turning basic ingredients into something so alive.
Last winter, my friend Sarah came over for soup and seemed genuinely shocked when I pulled this bread from the skillet. She watched me flip it with the same curiosity I had that first time, and when we tore into it while still steaming hot, she declared it better than most bakery loaves shes bought. We ended up sitting at the counter, eating warm slices with salted butter, talking about how the simplest recipes often end up being the ones that stick with us longest.
Ingredients
- All-purpose flour: Forms the structure of your loaf, and weighing it instead of measuring by cup will give you the most consistent, reliable results every single time
- Instant dry yeast: Skip the proofing step and add it directly to your flour mixture, which is exactly why this recipe feels so wonderfully straightforward
- Sugar: Feeds the yeast and helps the bread develop that beautiful golden color while adding just a subtle sweetness that balances the salt
- Salt: Enhances all the flavors and strengthens the gluten structure, so do not accidentally skip this crucial ingredient
- Olive oil: Adds richness and keeps the crumb tender while also helping to create that lovely, slightly crisp exterior
- Warm water: Should feel comfortably warm to the touch, like a nice bath, because water that is too hot can kill your yeast and too cold will make it sluggish
Instructions
- Mix the dry ingredients:
- In a large bowl, whisk together flour, yeast, sugar, and salt until everything is evenly combined and the mixture looks uniform
- Bring the dough together:
- Pour in the warm water and olive oil, then stir with your wooden spoon until a shaggy, sticky dough forms and all the flour is incorporated
- Knead until smooth:
- Turn the dough onto a lightly floured surface and knead for 8 to 10 minutes, pushing and folding until it feels silky, elastic, and bounces back when you press it
- Let it rise:
- Place the dough in a greased bowl, cover with a damp cloth, and let it rest in a warm spot for about 1 hour until it has doubled in size
- Shape your loaf:
- Punch down the risen dough gently, then shape it into a round, even loaf and place it on a lightly floured surface while you heat your pan
- Prepare your skillet:
- Grease a heavy-bottomed 10 to 12 inch skillet with olive oil, making sure to coat the bottom and sides thoroughly to prevent sticking
- Cook the first side:
- Place the dough in the center of the cold pan, cover with a tight-fitting lid, and cook over the lowest possible heat for 15 minutes, checking occasionally to ensure the bottom is not browning too quickly
- Flip and finish:
- Carefully flip the bread with a spatula, cover again, and cook for 12 to 15 more minutes until the second side is golden and the loaf sounds hollow when tapped on the bottom
- Cool before slicing:
- Remove the bread from the pan and let it cool on a wire rack for at least 15 minutes because slicing into hot bread will make the texture gummy and dense
 Save to Pinterest
 My grandmother would have loved how resourceful this method is, turning a simple skillet into a makeshift oven. I have started keeping a small jar of dried herbs mixed with sea salt specifically for this bread, sprinkling it on top before the first flip so it gets pressed into the crust. The whole process feels like a small kitchen victory every time, proof that you do not need fancy equipment to make something truly wonderful from scratch.
Getting That Perfect Rise
Find the warmest spot in your kitchen for the dough to rise, which might be on top of your refrigerator, near a sunny window, or even inside your oven with just the light turned on. I have learned that patience during this stage pays off enormously, and rushing it by putting the dough somewhere too warm can affect the final texture and flavor.
Choosing Your Skillet
A heavy-bottomed pan or cast iron skillet is ideal because it distributes heat evenly and holds that temperature steadily throughout the cooking time. Thin pans will create hot spots that burn your bread before the center is done, so if you only have lightweight cookware, you might need to cook at an even lower temperature and check more frequently.
Flavor Variations
Mixing in dried herbs like rosemary, thyme, or oregano transforms this into something that feels fancy enough for dinner guests. You can also add minced garlic or grated Parmesan directly to the dough, or brush the top with melted butter and extra salt as soon as it comes out of the pan for an irresistible finish.
- Try adding roasted garlic to the dough for a subtle, savory depth that pairs perfectly with soups and salads
- A tablespoon of honey instead of sugar creates a lovely subtle sweetness that works beautifully with savory toppings
- For a sweeter version, mix in cinnamon and raisins, then serve warm with a bit of salted butter melting into each slice
 Save to Pinterest
 There is something deeply satisfying about pulling warm bread from a skillet, steam curling up as you tear off the first slice. It is humble cooking at its finest, the kind of recipe that reminds you why you fell in love with making food in the first place.
Frequently asked questions about this recipe
- → Can I make this bread without yeast?
-
Traditional stovetop bread relies on yeast for proper rising and texture. While you could experiment with baking powder or self-rising flour, the results will differ significantly in texture and flavor. For the soft, fluffy results described, instant or active dry yeast works best.
- → What if my bread burns on the bottom?
-
Burning typically means the heat is too high. Use the lowest flame setting possible and check the bottom occasionally by lifting gently with a spatula. A heavy-bottomed skillet or cast iron pan distributes heat more evenly and reduces hot spots that cause burning.
- → How do I know when the bread is done cooking?
-
The bread is finished when both sides are golden brown and it sounds hollow when tapped on the top. This usually takes about 12-15 minutes per side. An instant thermometer inserted into the center should read around 190-200°F (88-93°C).
- → Can I add other ingredients like cheese or garlic?
-
Absolutely. You can incorporate shredded cheese, minced garlic, dried herbs, or even olives into the dough during the kneading phase. Just keep additions to about 1/2 cup total to maintain proper dough consistency and rising ability.
- → Why is there such a long total time if it's called quick bread?
-
The active time is only about 45 minutes—mixing, kneading, and shaping. The remaining time is hands-off while the dough rises and cooks slowly. This makes it ideal for multitasking, as you can prepare other meals while the bread works on its own.
- → What size skillet works best?
-
A 10-12 inch skillet with a tight-fitting lid is ideal. The pan needs to be large enough for the dough to expand without touching the sides too much, but not so large that the bread spreads flat. Cast iron or heavy-bottomed pans provide the most even heat distribution.
