 Save to Pinterest
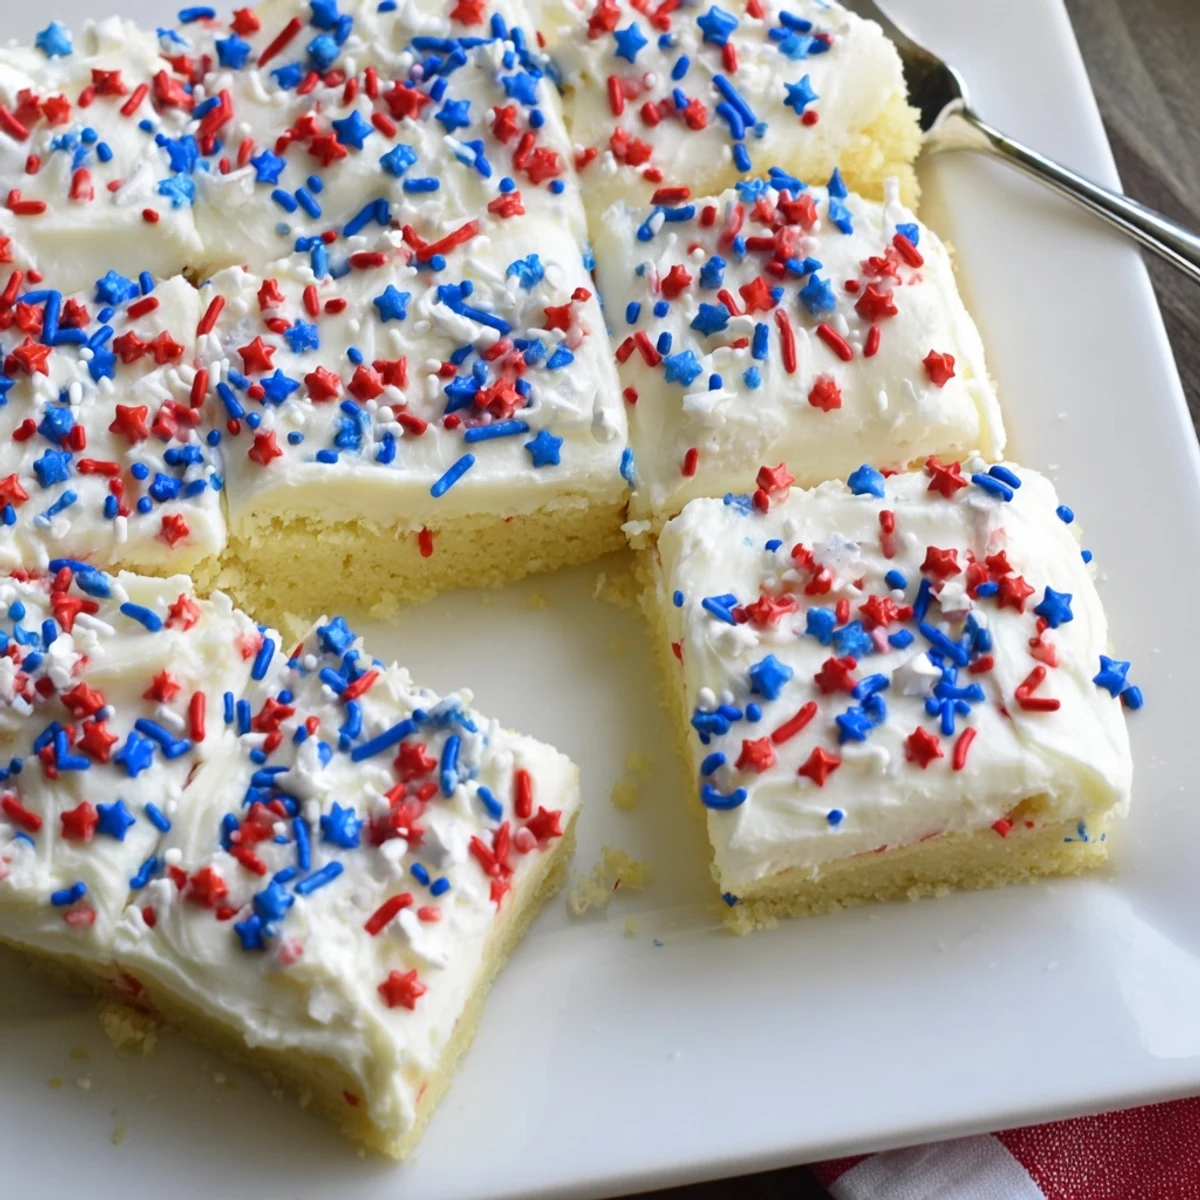
 These soft sugar cookie bars are the perfect patriotic treat for your 4th of July celebration. The buttery cookie base bakes up tender and golden, then gets topped with a cloud of creamy vanilla frosting and festive sprinkles. Ready in just over an hour, including cooling time, these bars are ideal for summer parties, barbecues, and Independence Day gatherings. The straightforward method yields 16 portable squares that stay fresh for days—make them ahead for stress-free entertaining.
The summer humidity was sticking to everything that July morning, including my kitchen windows. I'd promised to bring dessert to my sister's 4th of July barbecue, and regular cookies felt like too much fuss in the heat. These cookie bars came together so quickly that I had time to actually sit on the porch with my coffee before the party started.
My niece Lena helped me scatter the sprinkles that first year, her hands covered in red and blue sugar. She strategically placed every single star, turning the pan into what she called a fireworks map. Now I can't make these without thinking about her serious 7-year-old face explaining her sprinkle philosophy to me.
Ingredients
- 2 1/4 cups all-purpose flour: The foundation here, and I learned the hard way that spooning it into the measuring cup instead of scooping directly keeps these bars tender
- 1/2 teaspoon baking powder: Just enough lift to make them feel light without turning into cake
- 1/2 teaspoon salt: Balances all that sugar and enhances the vanilla's natural sweetness
- 3/4 cup unsalted butter, softened: Room temperature is non negotiable here, or your creaming step will fail and the texture will be dense
- 1 cup granulated sugar: Creates that signature crackly top edge and crisp corners we all fight over
- 1 large egg plus 1 egg yolk: The extra yolk adds richness and helps create that chewy, soft center
- 2 teaspoons pure vanilla extract: Do not skip the good stuff here, it's the backbone of the whole flavor profile
- 1/4 teaspoon almond extract: Completely optional but adds that bakery depth nobody can quite put their finger on
- 1/2 cup unsalted butter for frosting: Again, softened to room temperature or you'll have butter chunks in your frosting
- 2 cups powdered sugar, sifted: Sifting prevents those tiny lumps that ruin a smooth frosting experience
- 2 to 3 tablespoons milk: Start with less and add more until you reach your desired spreading consistency
- 1 1/2 teaspoons pure vanilla extract: Makes the frosting taste like something you'd get at a proper bakery
- Pinch of salt: Keeps the frosting from tasting cloyingly sweet, which is crucial with such a sweet base
- Red, white, and blue sprinkles: The finishing touch that makes these instantly recognizable as a July 4th treat
Instructions
- Get your oven and pan ready:
- Preheat to 350°F and line a 9x13 inch pan with parchment paper, letting the ends hang over the sides like little handles for easy lifting later.
- Whisk the dry stuff together:
- In a medium bowl, combine the flour, baking powder, and salt until they're well blended and set it aside.
- Cream butter and sugar:
- Beat the softened butter and sugar for 2 to 3 minutes until it's pale and fluffy, which creates air pockets for texture.
- Add the wet ingredients:
- Mix in the egg, egg yolk, vanilla, and almond extract until everything's fully incorporated and smooth.
- Combine everything:
- Gradually add the flour mixture to the wet ingredients, mixing just until combined and no flour streaks remain.
- Spread into the pan:
- Press the dough evenly into your prepared pan using a spatula or slightly damp fingers to prevent sticking.
- Bake until barely done:
- Bake for 18 to 20 minutes until the edges are light golden but the center still looks slightly soft.
- Let them cool completely:
- Cool in the pan on a wire rack, because if you frost warm bars, the frosting will melt right off.
- Make the frosting:
- Beat the butter until creamy, then gradually add powdered sugar, milk, vanilla, and salt until fluffy.
- Frost and decorate:
- Spread the frosting evenly over the completely cooled bars and immediately add sprinkles before the frosting sets.
- Remove and serve:
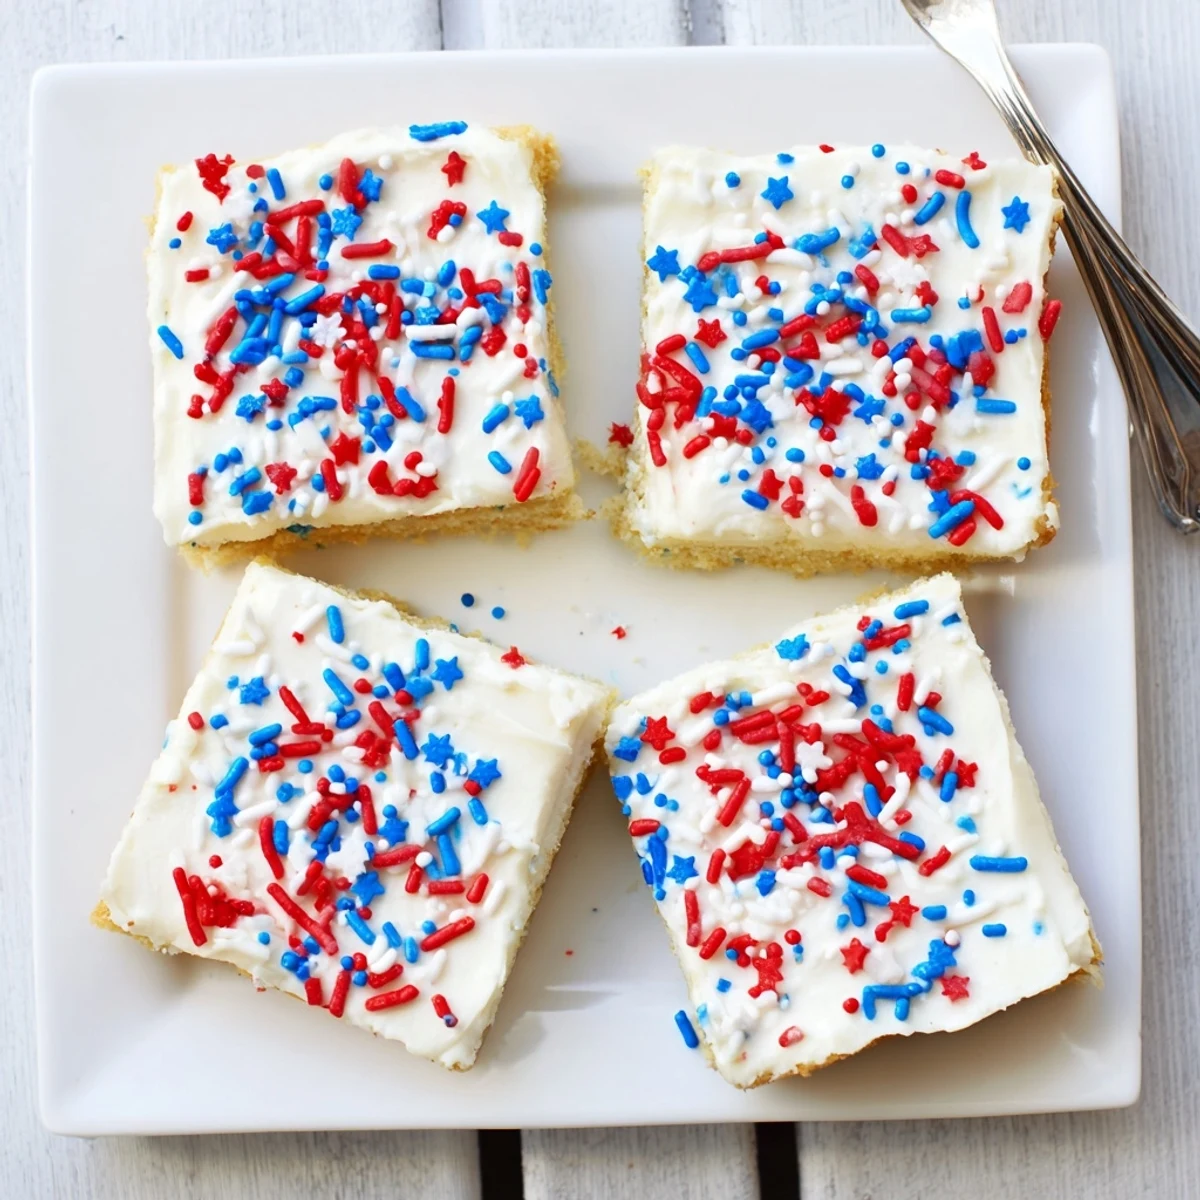
- Use those parchment paper handles to lift the whole sheet out, then cut into 16 squares.
 Save to Pinterest
 Last year, my brother-in-law who claims he doesn't like sweets ate three of these while standing by the grill. He said he was just quality testing, but I saw him sneaking another when he thought nobody was watching.
Making These Ahead
I've baked the cookie base the night before and stored it tightly wrapped at room temperature. The next day, I just frost and decorate, which saves so much party-day stress.
Frosting Consistency
Start with 2 tablespoons of milk and add more only if needed. The frosting should be spreadable but not runny, or it will slide off the bars and pool at the edges.
Sprinkle Strategy
Work quickly after frosting because sprinkles need to stick before the frosting forms a skin. I've found that pouring sprinkles into my hand first gives me more control than shaking directly from the container.
- Let the bars sit for 30 minutes after decorating so the frosting sets before cutting
- Use a sharp knife and wipe it clean between cuts for neat edges
- Store layered between parchment paper in an airtight container for up to 3 days
 Save to Pinterest
 There's something about seeing that red, white, and blue scattered across the pan that makes any summer gathering feel like a real celebration. These bars have become my signature July 4th contribution, and honestly, I'd be disappointed if I showed up without them.
Frequently asked questions about this recipe
- → Can I make these cookie bars ahead of time?
-
Yes, you can bake the bars up to 2 days in advance. Store them unfrosted in an airtight container at room temperature, then frost and decorate on the day you plan to serve them. Once frosted, they're best enjoyed within 3 days.
- → What size pan should I use?
-
A standard 9×13-inch baking pan works perfectly for this recipe. The parchment paper overhang makes it easy to lift the entire batch out for clean, even cutting into 16 squares.
- → Can I freeze these cookie bars?
-
Absolutely! Wrap the unfrosted baked bars tightly in plastic wrap and foil, then freeze for up to 3 months. Thaw overnight at room temperature before frosting and decorating with sprinkles.
- → Why do I need both egg and egg yolk?
-
The extra egg yolk adds richness and creates a tender, soft texture in the cookie bars. This combination prevents them from becoming too cakey or dry, resulting in that perfect bar consistency.
- → How do I know when the bars are done baking?
-
The edges should be lightly golden while the center still appears slightly soft. They'll continue setting as they cool in the pan. Overbaking will make them dry, so check at the 18-minute mark.
- → Can I use salted butter instead?
-
You can substitute salted butter, but reduce the added salt in both the cookie dough and frosting by half. This prevents the final bars from becoming too salty while maintaining the proper flavor balance.
