 Save to Pinterest
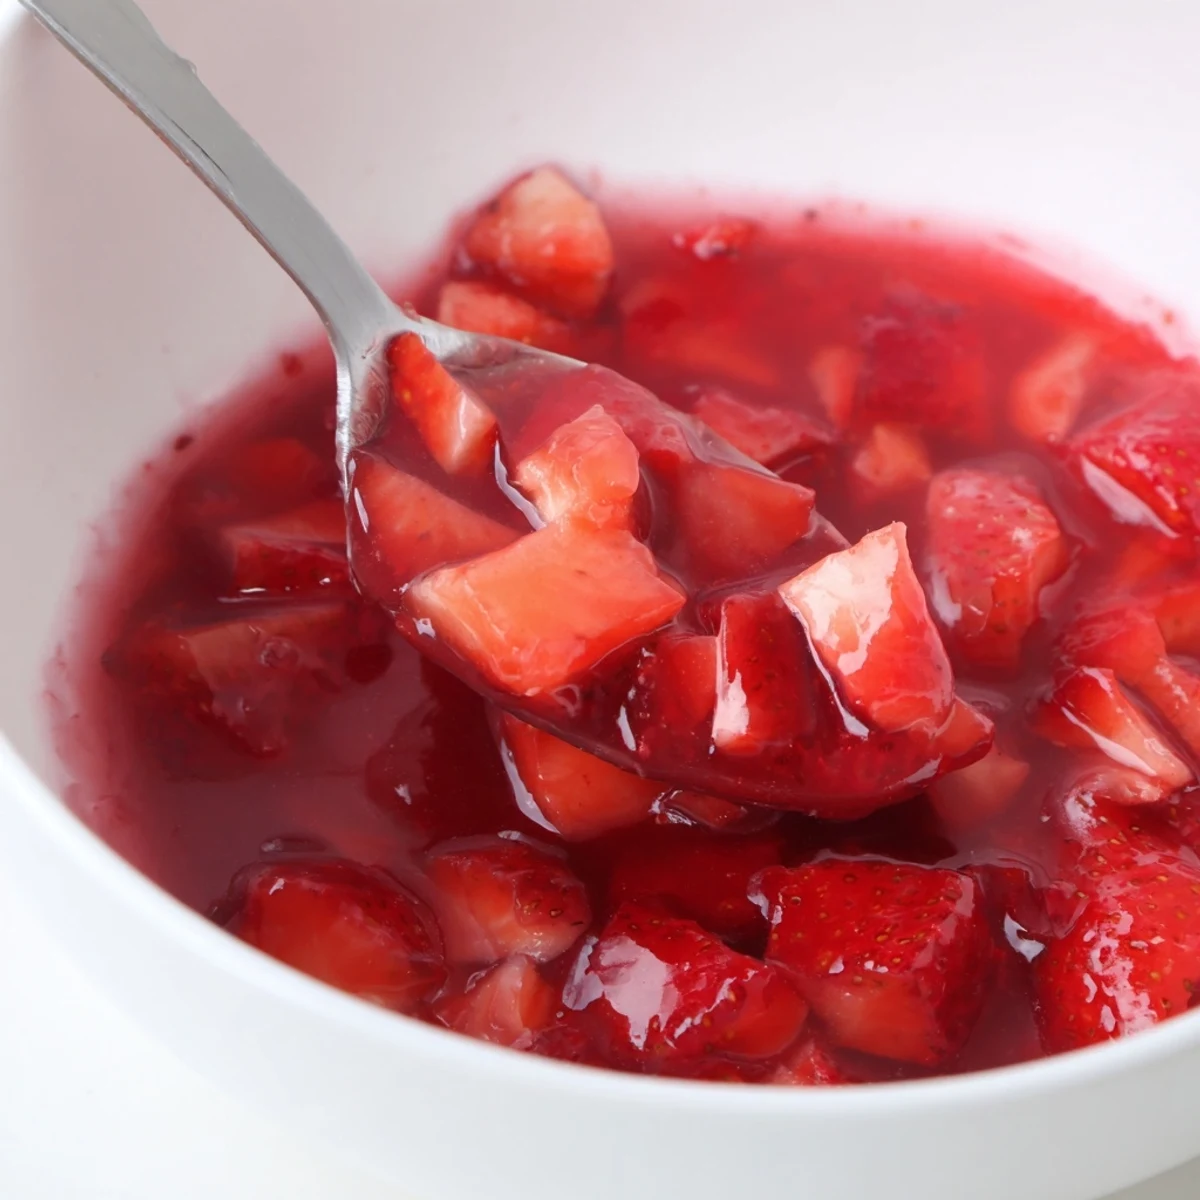
 Quick, fruity strawberry filling made by simmering 2 cups diced fresh strawberries with sugar and lemon until they soften and release juices. Whisk together cornstarch and water, add to the pan and cook until the mixture turns glossy and thick. Remove from heat, stir in vanilla, and cool to thicken further. Yields about 2 cups, enough for a 9-inch layer. Keeps refrigerated up to 5 days.
Sun-warmed strawberries always have a way of making my kitchen smell like summer, even in the midst of winter baking sessions. The first time I made this strawberry cake filling, my windows were open and the sweet aroma wafted out into the yard, luring my neighbors over to see what was cooking. There’s something truly satisfying about transforming a bowl of fresh strawberries into a glossy, luscious filling. It’s one of those simple joys that keeps me coming back to bake another layer cake when any excuse arises.
I once brought this cake to a casual book club meet-up, and the filling actually stole the show — people hovered around the platter, peeking at the gooey berry center as I served each slice. Friends exchanged stories of strawberry picking and snuck seconds when they thought no one was noticing. That day, I learned not to underestimate how much a good fruit filling can brighten up an entire table.
Ingredients
- Fresh strawberries: Choose ripe, vibrant berries for the fullest flavor and color; if you see any white tips, trim them away for best results.
- Granulated sugar: This dissolves beautifully and coaxes out both the juices and sweetness of the strawberries.
- Lemon juice: A little brightness keeps the filling lively and not overly sweet — I’ve found Meyer lemons lend an extra subtle floral note if you have them.
- Cornstarch: Don’t skip sifting or whisking it with water first to dodge those sneaky lumps.
- Water: Just enough to turn the cornstarch into a smooth slurry, making the thickening even and glossy.
- Pure vanilla extract (optional): For a gentle, creamy backdrop that tells your palate this filling is truly homemade.
Instructions
- Toss the strawberries:
- Add the diced strawberries, sugar, and lemon juice to a medium saucepan and stir until every piece glistens.
- Start simmering:
- Warm the mixture over medium heat, stirring now and then, and listen for the gentle hiss as the berries begin to surrender their juices and soften (about 5-7 minutes).
- Make the slurry:
- In a small bowl, whisk cornstarch and water until it’s silky smooth—no lumps allowed!
- Thicken the filling:
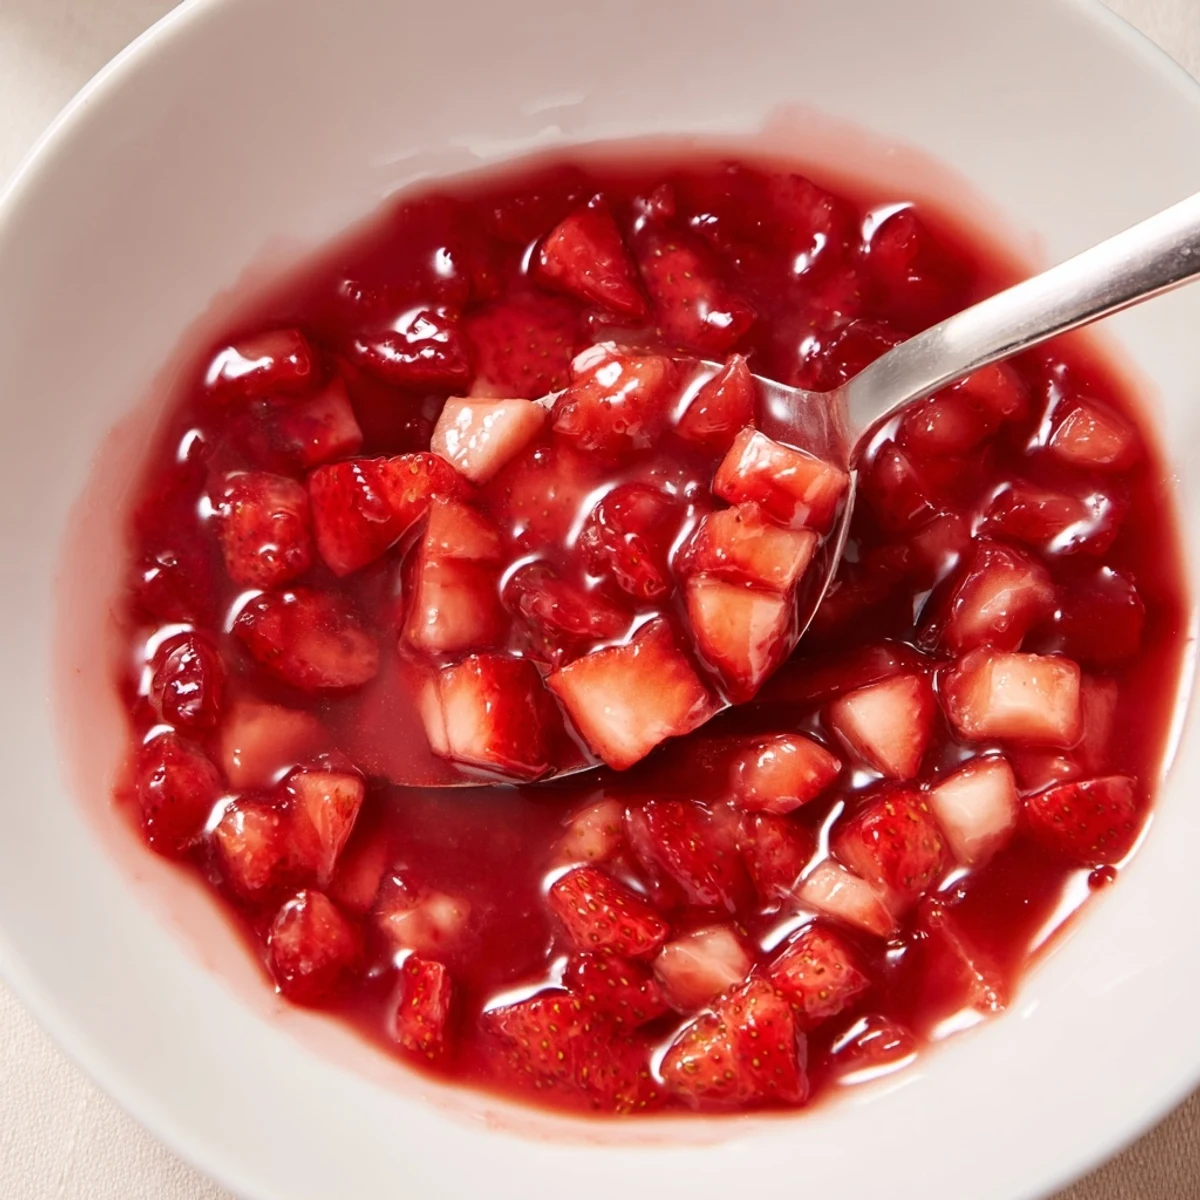
- Pour the slurry into the saucepan, stirring constantly as the fruit bubbles and thickens for a few minutes (you’ll see it turn glossy and lush).
- Finishing touches:
- Remove from heat and stir in vanilla if you’d like, then let the filling cool completely—it’ll continue to thicken as it sits, so be patient.
- Storing leftovers:
- Pop any extra filling in a clean airtight container and refrigerate; it’s magic spooned over pancakes, too.
 Save to Pinterest
 Last spring, I made this with my niece, who couldn’t resist dipping her finger into the saucepan—she declared it “better than jam” before it even hit the cake. Her delighted grin as she helped swirl the pink filling between the layers made the whole baking session feel like a little celebration.
How to Adjust the Sweetness and Texture
If your berries are on the tart side, you can sneak in an extra spoonful of sugar or let the filling simmer a touch longer for a deeper strawberry flavor. Sometimes I swap in a squeeze more lemon juice for a sharp pop, especially if I’m pairing this with a very sweet buttercream. Texture-wise, mashing half of the berries partway gives you juicy bites while still thickening up enough to stay put between cake layers.
Endless Uses for Leftover Filling
This filling isn’t just for cake—last time, I spooned the leftovers into my morning yogurt and it tasted like dessert breakfast. It pairs beautifully swirled into cheesecake batter, spread inside homemade donuts, or dolloped over pancakes or waffles. You'll quickly find it’s one of those recipes that never lasts long in the fridge.
Small Tweaks That Make It Yours
Try swapping strawberries for raspberries or blueberries when they’re in season—each brings its own twist. A dash of almond extract instead of vanilla or a sprinkle of orange zest can take the filling in a whole new direction.
- This filling thickens as it cools, so let it reach room temperature before layering into cakes.
- If you want a smoother texture, blend with an immersion blender before chilling.
- Start with a small batch and adjust sugar or lemon juice before scaling up for a crowd.
 Save to Pinterest
 May this strawberry cake filling add a splash of color and joy to every slice you share. Here’s to many more berry-stained memories around your kitchen table.
Frequently asked questions about this recipe
- → How do I thicken the filling without lumps?
-
Whisk the cornstarch with cold water until smooth to make a slurry before adding it to the hot fruit. Stir constantly while cooking until the mixture becomes glossy and fully thickened.
- → Can I use frozen strawberries instead of fresh?
-
Yes. Thaw and drain excess liquid if very watery, then cook a bit longer to concentrate the fruit. Frozen berries may yield a slightly looser texture, so adjust thickener as needed.
- → How can I get a smoother filling?
-
Mash the berries with a fork or pulse briefly with an immersion blender before or after cooking. For an extra-silky finish, push the cooked mixture through a fine sieve to remove seeds and chunks.
- → What is the best way to store the filling?
-
Cool completely, transfer to an airtight container, and refrigerate for up to 5 days. For longer storage, freeze in portions for up to 2 months and thaw in the refrigerator before use.
- → Can I swap in other berries?
-
Absolutely. Raspberries or blueberries work well; adjust sugar and cooking time to taste. Some berries release more juice and may need slightly more thickener or longer reduction.
- → How do I prevent the filling from bleeding into buttercream?
-
Make sure the filling is fully cooled and thick before layering. Apply a thin crumb coat or a barrier of buttercream and chill briefly to set before adding more topping or additional layers.
