 Save to Pinterest
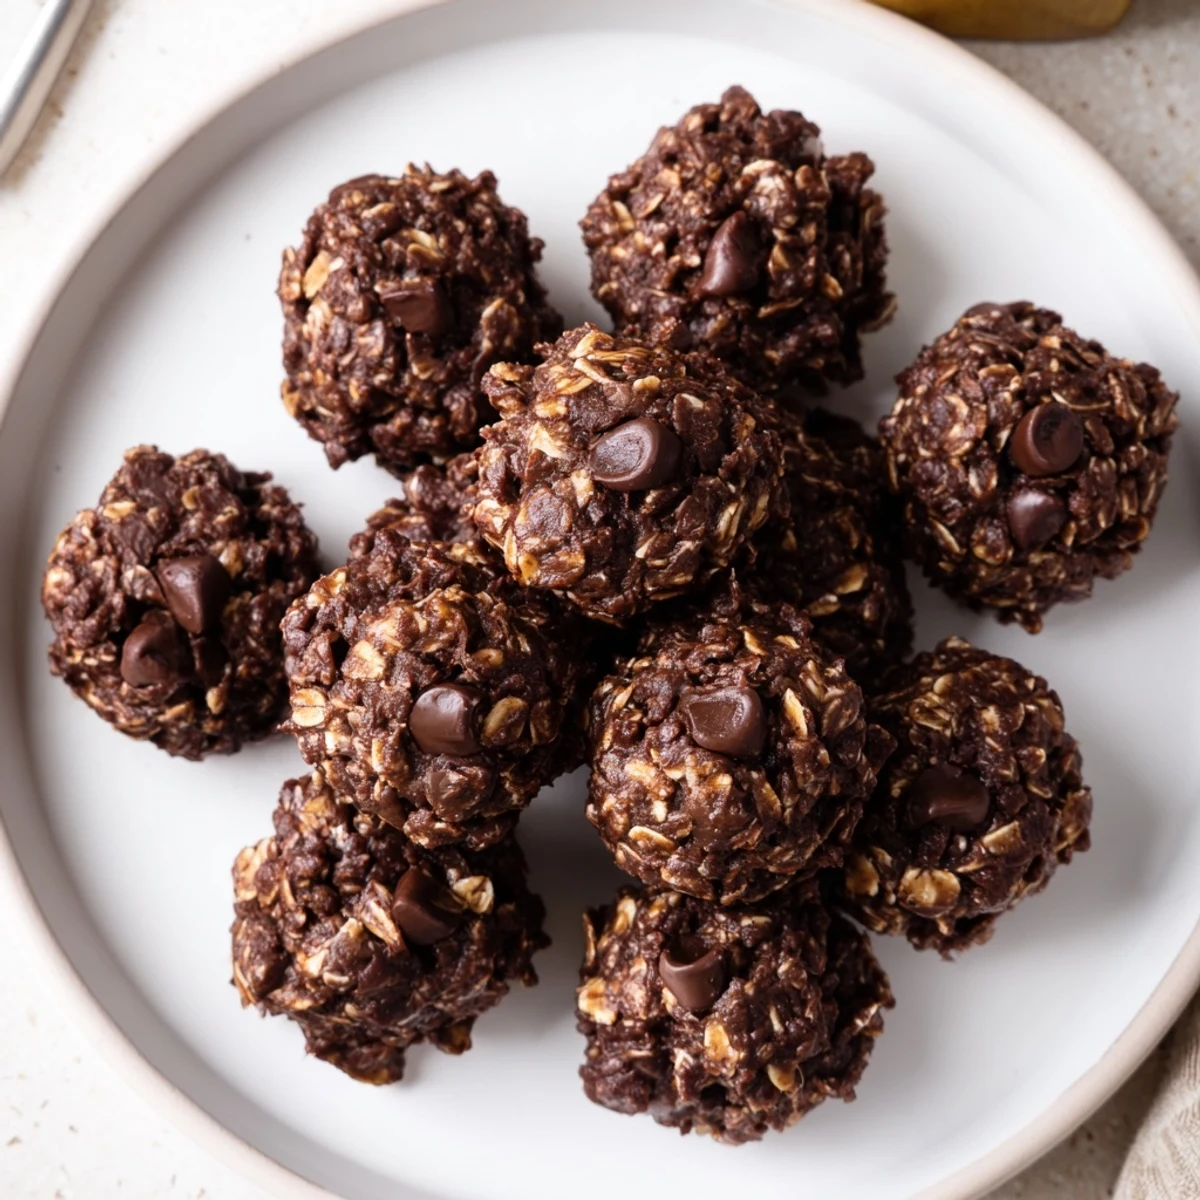
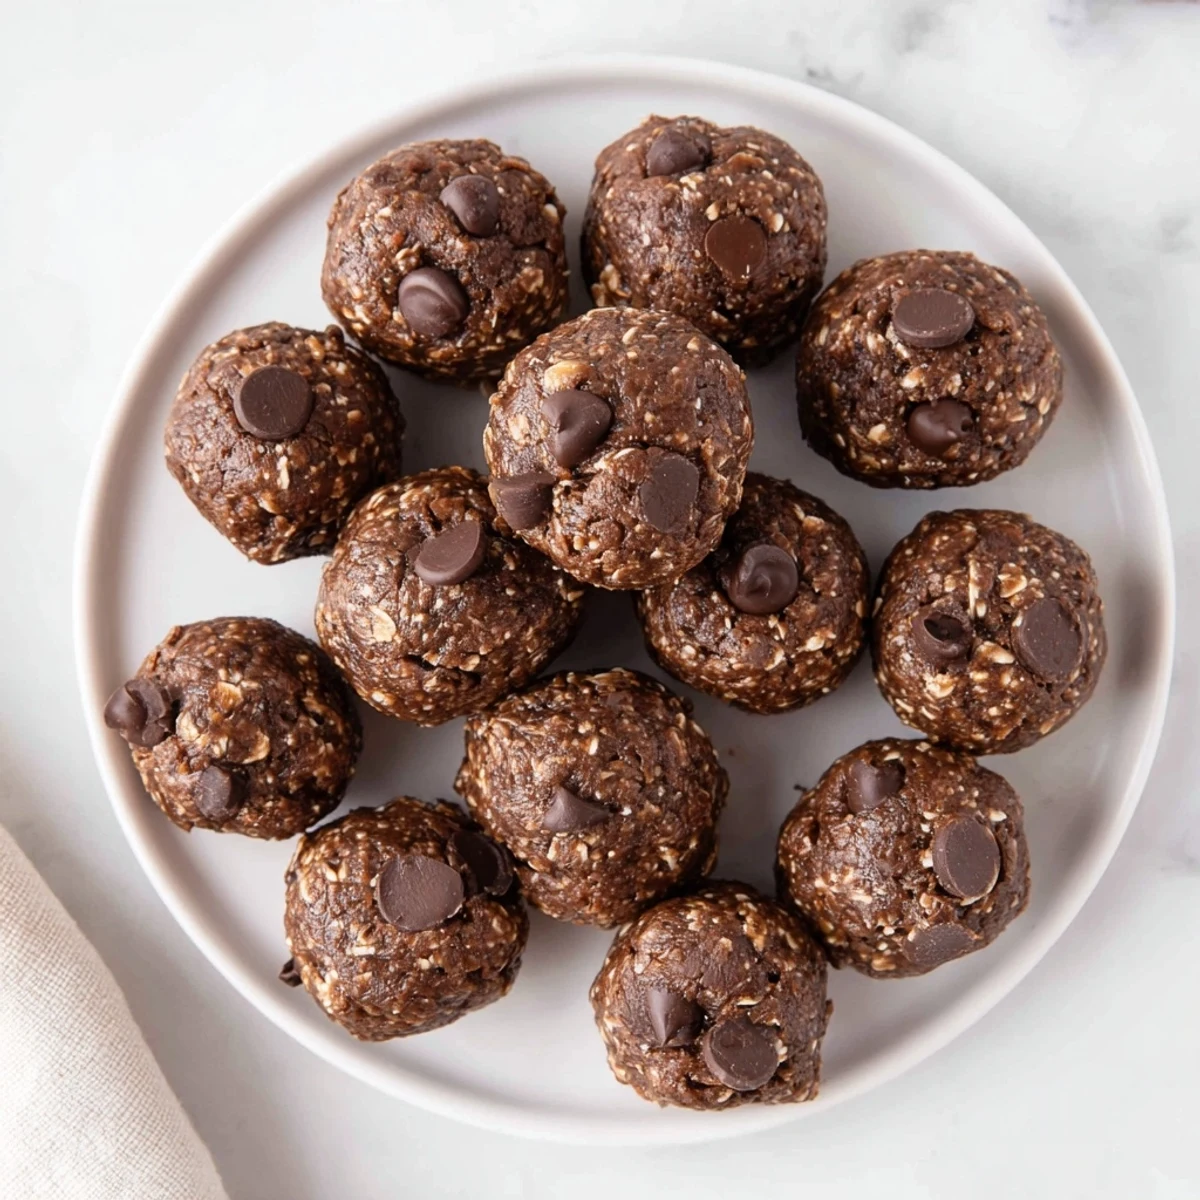
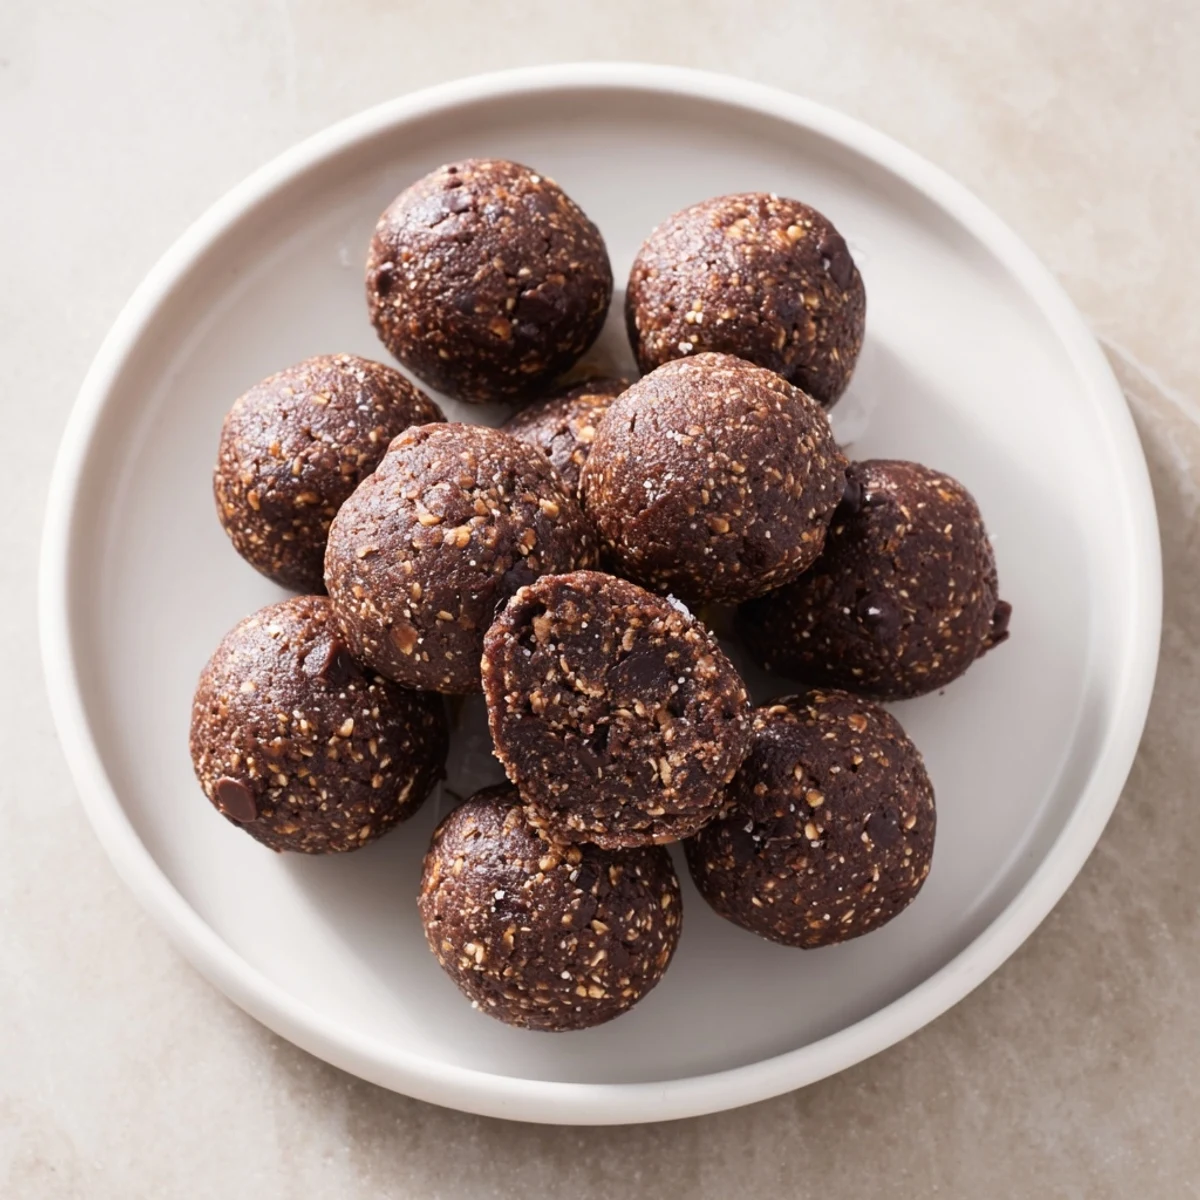
 These fudgy brownie protein bites combine pulsed oats, chocolate protein powder, cocoa, maple syrup and nut butter into a sticky dough. Fold in dark chocolate chips, roll into 12 balls and chill 30+ minutes for firm texture. No baking required; ready in about 15 minutes prep. Swap nut butter or add nuts/coconut for variation, and use milk to adjust consistency.
This recipe first came together on a random Tuesday afternoon when I needed a snack that wasn t just another handful of almonds. I could smell the cocoa the moment I opened the kitchen cabinet and, somehow, that scent alone convinced me to experiment with what I had on hand. A little mess, a lot of taste-testing, and these brownie protein bites became part of my snack rotation. Sometimes, the best ideas come from pure snack desperation.
The first time I offered these at my gym s potluck, everyone kept asking who brought the brownies—then looked shocked when I admitted they were packed with oats and protein powder. Watching people go back for seconds (and thirds) is always hilarious. It s become a running joke that I have to show an empty container at the end so people know I didn t sneak in a bakery box. There s a certain satisfaction in surprising people with something this simple.
Ingredients
- Rolled oats: These form the hearty base—pulse them into flour for smooth bites, and always use certified gluten-free oats for allergies.
- Chocolate protein powder: The flavor boost and protein punch; I ve found plant-based powders blend better and taste less chalky.
- Unsweetened cocoa powder: For deep, true chocolate flavor—sift if it s clumpy.
- Pure maple syrup or honey: Adds sweetness and helps everything stick; maple syrup brings a slightly richer, caramel touch.
- Natural peanut butter or almond butter: Keeps things fudgy and moist, but sunflower seed butter works for allergies.
- Milk of choice: A splash brings everything together—I usually use almond milk for subtle nutty notes.
- Vanilla extract: Don t skip this—it rounds out all the chocolatey flavors.
- Dark chocolate chips: Little bits of chocolate throughout every bite; mini chips melt in best.
- Fine sea salt: Just a pinch really intensifies the chocolate, making each bite pop.
Instructions
- Prep Your Base:
- Add the oats to your food processor and pulse until you see a coarse, sandy flour—some texture is good so stop before it turns to powder.
- Blend the Dry:
- Toss in the protein powder, cocoa, and sea salt, then pulse a few times to get everything cozy and combined.
- Make It Sticky:
- Add in the maple syrup or honey, nut butter, milk, and vanilla; blend until the dough clumps together—if it s too dry, add just a teaspoon more milk and pulse again.
- Chocolate Magic:
- Scrape the dough into a bowl and gently fold in those chocolate chips so you get sweet bits in every bite.
- Roll and Chill:
- Scoop the dough and roll into 12 equal balls—place them on a tray with parchment so they don t stick.
- Let Them Set:
- Slide the tray into the fridge and wait at least 30 minutes; they ll firm up and taste even fudgier cold.
 Save to Pinterest
 Sharing these bites with a friend after a tough workout turned them into more than just a snack—laughing on the porch, hands sticky with cocoa, made the effort worth every crumb. Now whenever I make a batch, I think of those chatty, chocolatey afternoons.
Switching Things Up
I ve mixed in chopped walnuts, shredded coconut, or even dried cherries when I wanted something unexpected—the base recipe is super forgiving. That time I tossed in toasted pecans? Suddenly, everyone wanted the recipe. Try what you have in the pantry and make every batch a little unique.
One-Bowl, Minimal Mess
I love that you barely dirty any dishes; most days, the food processor and one bowl are all you need. Even clean-up feels easy compared to traditional baking. Perfect when you crave something sweet but don t want to turn on the oven.
Quick Fixes and Final Touches
Sometimes I sprinkle a bit of flaky salt on top before chilling for a sweet-salty burst—don t be afraid to add your own spin. Pressing a few more chocolate chips onto the outside always looks great (especially for sharing). Whatever you do, enjoy rolling the dough with your hands—half the fun is in the making.
- If the dough s too dry, add extra milk one teaspoon at a time.
- Wet your hands slightly to keep the dough from sticking as you roll.
- Store leftovers in an airtight container in the fridge for up to a week.
 Save to Pinterest
 Here s to snacks that taste like dessert but fuel you through busy days—enjoy every chocolatey bite with good company or a quiet moment to yourself.
Frequently asked questions about this recipe
- → How do I achieve a fudgy texture?
-
Pulse the oats to a coarse flour and use the specified ratio of nut butter and maple syrup. Blend just until a sticky dough forms, then chill for at least 30 minutes to set. Add milk by the teaspoon only if the mix is too dry.
- → Can I make these nut-free?
-
Yes. Substitute sunflower seed butter for peanut or almond butter and ensure all other ingredients are free from cross-contact. The texture will remain similar but check flavor balance and adjust sweetness as needed.
- → What protein powder works best?
-
Chocolate-flavored protein powder yields the richest taste, while neutral powders keep cocoa forward. Plant-based powders may absorb more liquid, so add milk sparingly to reach a moldable consistency.
- → How should I store the bites?
-
Keep chilled in an airtight container in the refrigerator for up to one week. For longer storage, freeze laid out on a tray until firm, then transfer to a sealed container for up to 3 months.
- → Can I add texture or mix-ins?
-
Yes—fold in chopped nuts, shredded coconut, or extra chocolate chips for crunch. Take care not to add too many dry mix-ins, which can affect cohesion; adjust with a teaspoon of milk if needed.
- → How do I control sweetness?
-
Use less maple syrup or swap for a lower-sugar syrup. Taste the dough before chilling and adjust with a small amount of sweetener or more cocoa to balance flavors.
