 Save to Pinterest
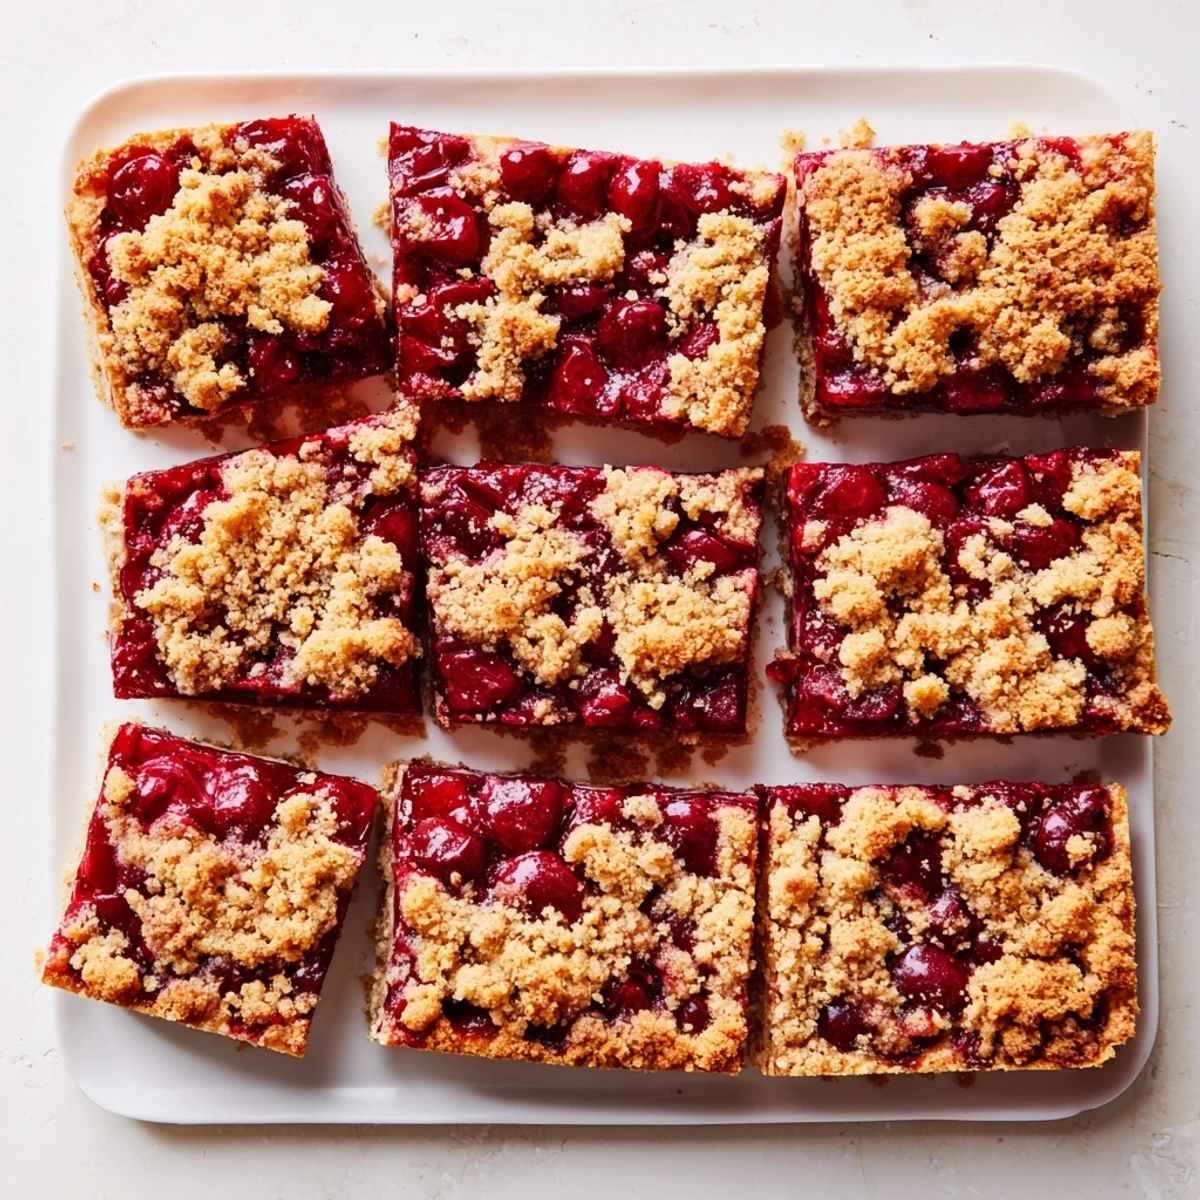
 These cherry crumble bars feature a buttery, cinnamon-spiced crust topped with a sweet-tart cherry filling. The crumble topping adds delightful texture while the vanilla-kissed cherries provide the perfect balance of sweetness and tartness. Simple to assemble with basic techniques—just mix, press, layer, and bake. The bars firm up as they cool, making them easy to cut into neat squares. Perfect for picnics, potlucks, or an afternoon treat with coffee.
Last summer, my neighbor brought over a basket of fresh cherries from her tree, and I stood in my kitchen staring at them, knowing exactly what needed to happen. These crumble bars were born that afternoon, and the whole house filled with that unmistakable buttery cinnamon scent that makes people wander into the kitchen asking "what's baking?"
I brought these to a potluck and watched them disappear in record time. Three different people asked for the recipe, and someone actually lingered by the dessert table hoping for seconds. That's when I knew these weren't just good—they were the kind of good that makes people remember you.
Ingredients
- 2 cups all-purpose flour: The foundation of that tender crumble texture we're after
- 1 cup granulated sugar: Sweetens both the crust and balances those tart cherries
- 1/2 teaspoon baking powder: Gives the crust just enough lift without becoming cakey
- 1/4 teaspoon salt: Enhances all the flavors and keeps it from tasting flat
- 1/2 teaspoon ground cinnamon: Warm spice that pairs beautifully with stone fruits
- 1 cup cold unsalted butter diced: Cold butter creates those irresistible crumbly pockets
- 1 large egg: Binds the crust together while keeping it tender
- 3 cups pitted fresh or frozen cherries halved: Fresh gives the best texture but frozen works perfectly too
- 1/2 cup granulated sugar: Sweetens the cherry filling just enough
- 2 tablespoons cornstarch: Thickens the cherry juices into that perfect jammy consistency
- 1 tablespoon lemon juice: Brightens the cherries and highlights their natural tartness
- 1/2 teaspoon vanilla extract: Rounds out the filling and adds warmth
Instructions
- Preheat your oven:
- Get it to 350°F and line a 9x9 pan with parchment letting the ends overhang like little handles
- Make the crumble base:
- Whisk together flour sugar baking powder salt and cinnamon in a large bowl until combined
- Cut in the butter:
- Add the cold butter and egg working them in with your fingers until you see coarse crumbs forming
- Press the crust:
- Firmly pack about two-thirds of the mixture into the bottom of your pan using the back of a measuring cup
- Prepare the filling:
- Toss cherries with sugar cornstarch lemon juice and vanilla until every piece is coated
- Layer it up:
- Spread those gorgeous cherries over the crust then scatter the remaining crumble on top
- Bake until golden:
- Let them bake 38 to 42 minutes until the top is browned and you see cherry bubbles bursting through
- Cool completely:
- This is the hard part—let them cool entirely before lifting them out and cutting into neat squares
 Save to Pinterest
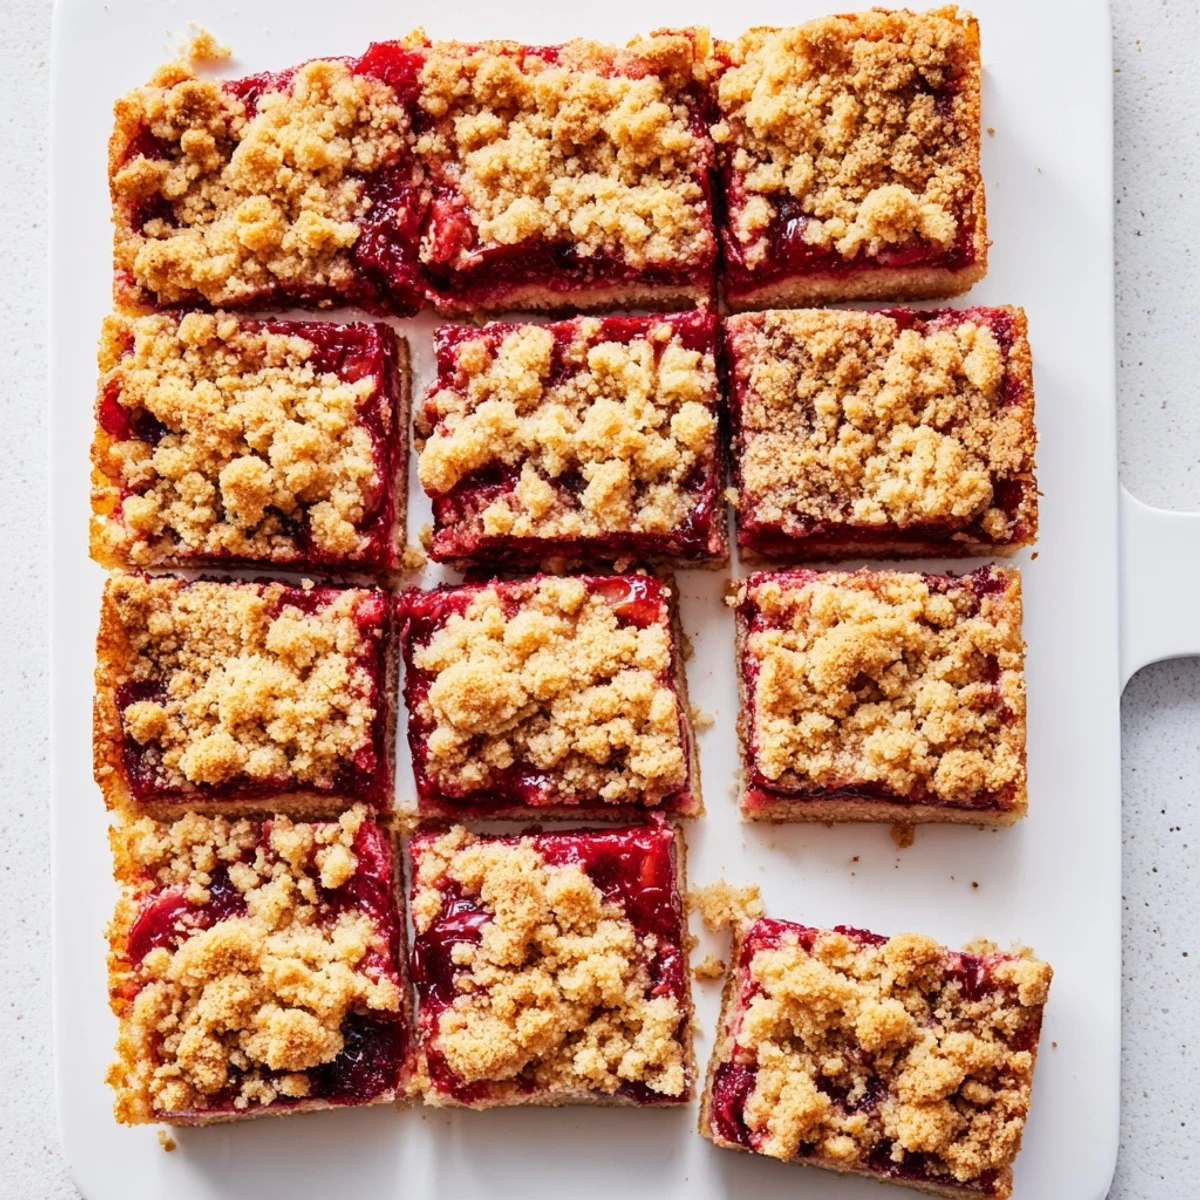
 My daughter now requests these for every school bake sale and birthday gathering. There's something about the combination of crunchy buttery topping and that jammy cherry layer that makes people close their eyes and smile after the first bite.
Making Them Your Own
Swap out the cherries for whatever fruit speaks to you—blueberries peaches or even a mix of berries work beautifully. Just keep the cornstarch amount the same and you'll get that same perfect filling consistency.
Storage Secrets
These keep at room temperature for two days but I actually think they're better on day three when the flavors have really mingled. For longer storage wrap them well and freeze—they thaw beautifully and still taste freshly made.
Serving Suggestions
A warm bar with vanilla ice cream is pretty much perfection but they're equally lovely with a cup of tea in the afternoon. For company I like to dust them with powdered sugar right before serving.
- Try serving them slightly warmed with a dollop of Greek yogurt for breakfast
- They pair wonderfully with a glass of cold milk or hot coffee
- Package them in individual squares for the perfect homemade gift
 Save to Pinterest
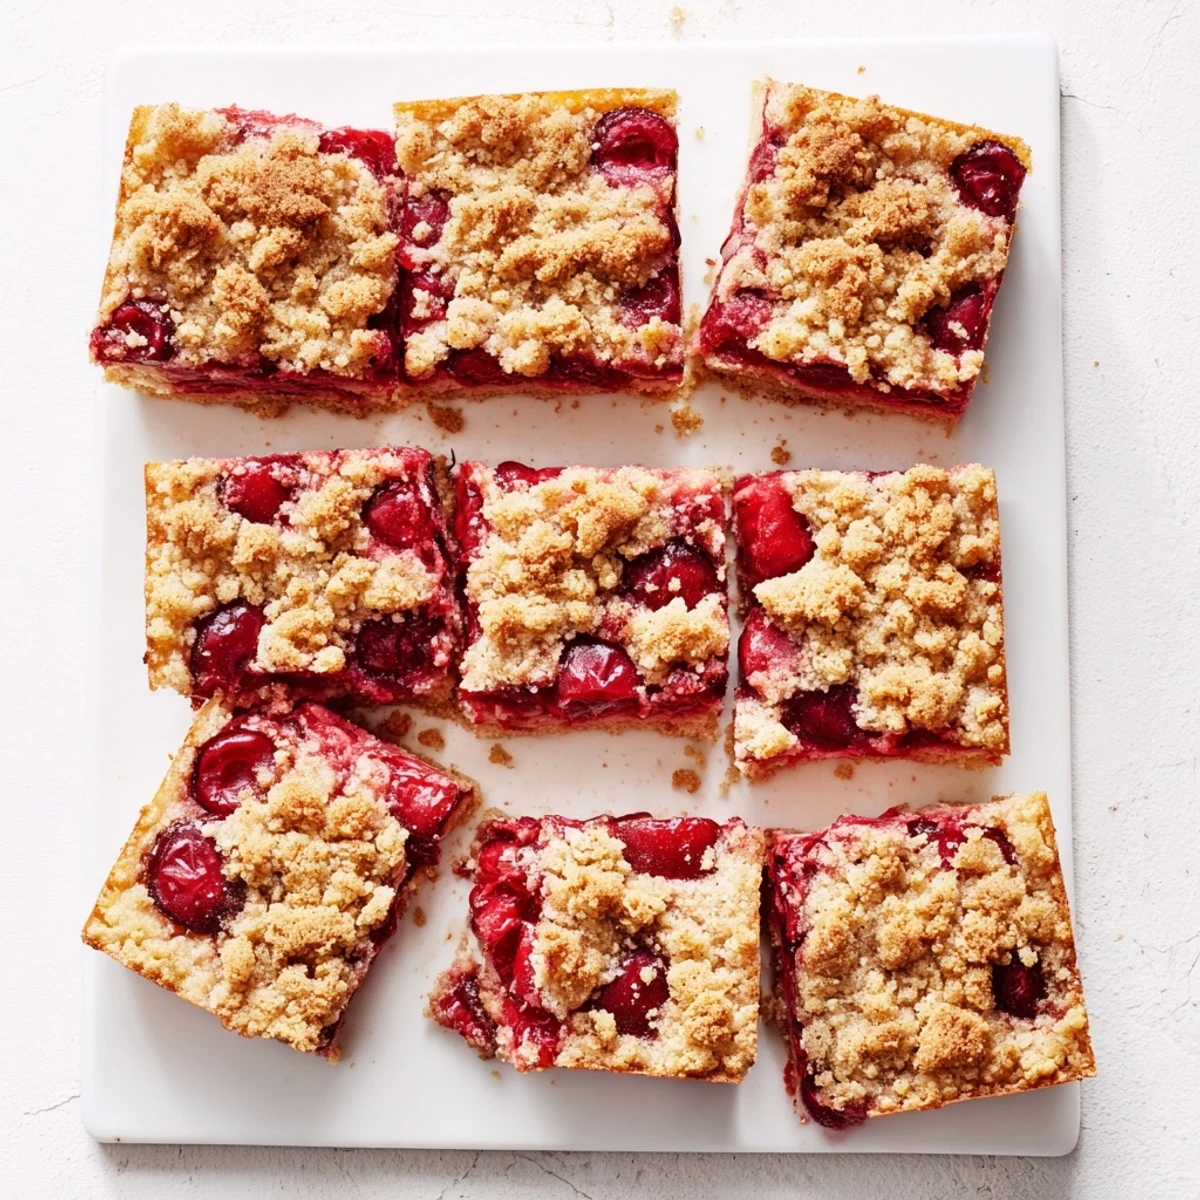
 There's something deeply satisfying about a recipe that looks impressive but comes together this easily. These bars have become my go-to for every occasion that calls for something sweet.
Frequently asked questions about this recipe
- → Can I use frozen cherries?
-
Yes, frozen cherries work perfectly. No need to thaw first—just toss them with the sugar and cornstarch mixture. They may need a few extra minutes of baking time.
- → How should I store these bars?
-
Store in an airtight container at room temperature for up to 3 days. For longer storage, refrigerate for up to a week or freeze individually wrapped bars for up to 3 months.
- → Why is my filling too runny?
-
Make sure to cool completely before cutting—the filling thickens as it cools. Using fresh cherries with more juice may require an extra teaspoon of cornstarch.
- → Can I make these gluten-free?
-
Yes, substitute the all-purpose flour with a 1:1 gluten-free baking blend. The texture and taste remain virtually identical.
- → What other fruits can I use?
-
Blueberries, raspberries, blackberries, sliced peaches, or a mix of stone fruits all work beautifully. Adjust sugar based on fruit sweetness.
