 Save to Pinterest
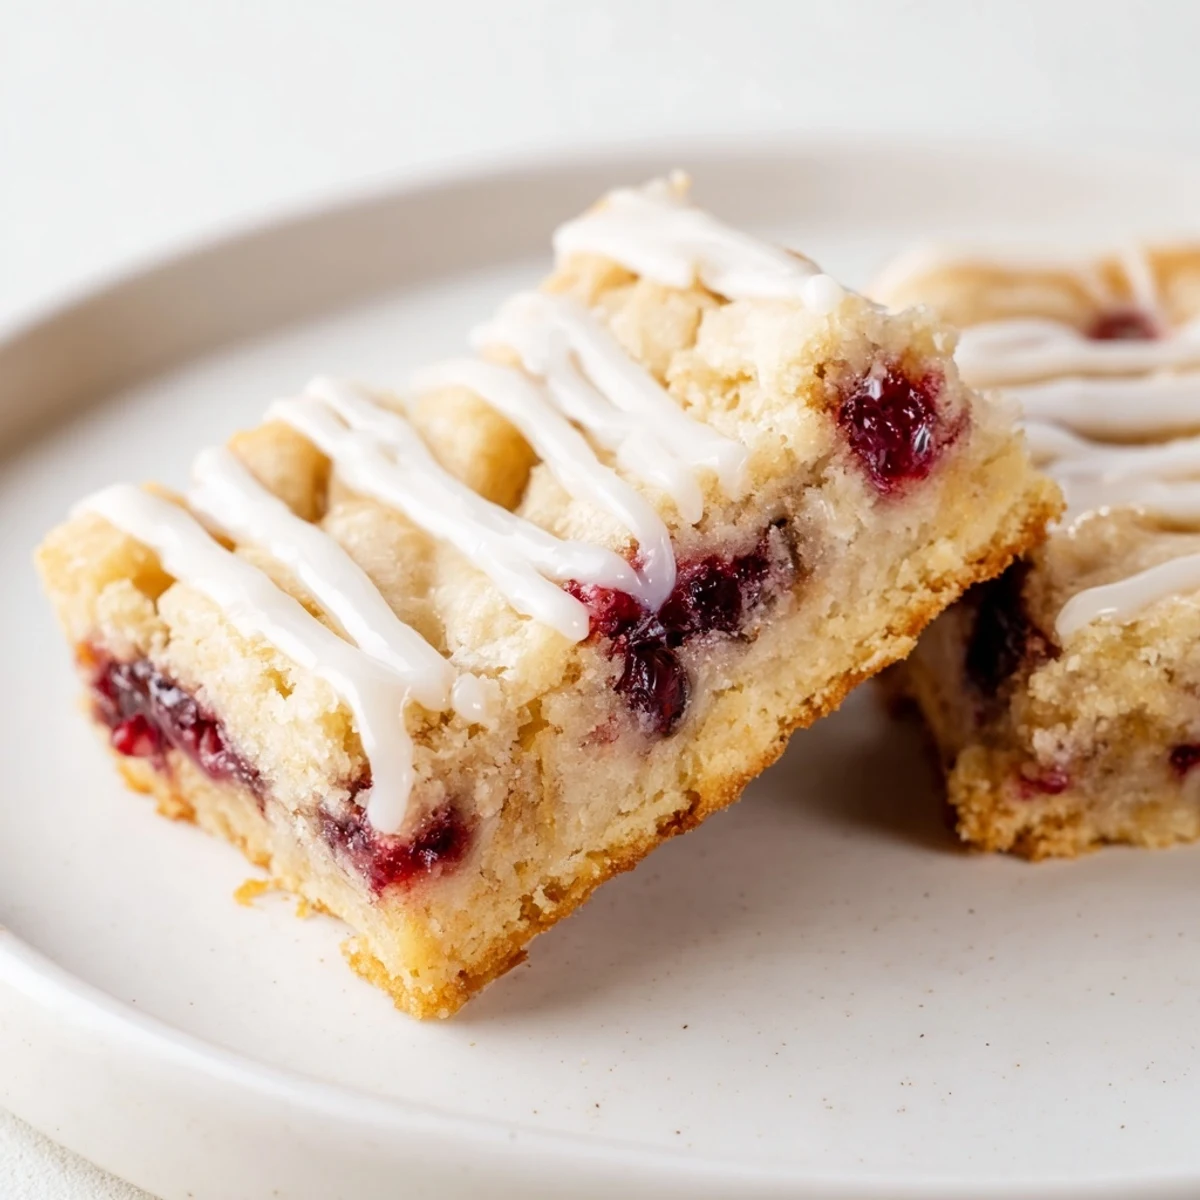
 These tender, buttery bars feature a soft vanilla-scented dough that's partially spread in the pan, topped with luscious cherry pie filling, then dotted with remaining batter before baking. The result showcases golden edges with ruby cherry pockets peeking through. A quick vanilla-milk glaze adds the finishing touch once cooled. With just 15 minutes of prep and 35 minutes in the oven, you'll have 16 handheld treats that balance sweetness with buttery richness.
The first time I made these cherry pie bars, it was actually a complete accident. I had intended to make a full cherry pie but realized halfway through that my pie dish was at a friend's house from a previous dinner party. Rather than scrap everything, I pressed the dough into a rectangular pan and discovered something magical about these bars that a pie could never quite capture.
Last summer, I brought these to a block party and watched something perfect unfold. My neighbor's teenage daughter, who I had never seen eat anything besides plain pasta, took one bite and immediately asked for the recipe. She made them the following weekend for her birthday celebration instead of cake, which felt like the highest compliment possible.
Ingredients
- Unsalted butter: I keep several sticks on the counter to soften overnight, but even 20 minutes in a warm spot works perfectly
- Granulated sugar: Cream this thoroughly with the butter until the mixture looks pale and almost fluffy, which creates that tender texture
- Large eggs: Room temperature eggs incorporate better, so set them out while you gather everything else
- Vanilla and almond extracts: The almond extract is optional but I strongly recommend it for that bakery style depth
- All purpose flour: Measure by spooning into your measuring cup and leveling off, which prevents packing too much flour in
- Salt: This tiny amount balances all the sweetness and makes the cherry flavor pop
- Cherry pie filling: Use whatever brand you like, but look for one with whole cherries rather than mostly sauce
- Powdered sugar: Sift this if there are any lumps, though most modern powdered sugar is quite smooth
- Milk: Start with two tablespoons and add more only if needed to reach a drizzling consistency
Instructions
- Getting started:
- Preheat your oven to 350°F and prepare a 9x13 inch pan by either buttering it thoroughly or lining with parchment paper, which makes lifting the bars out so much easier later.
- Making the dough:
- Cream the softened butter and sugar together until the mixture is light and fluffy, then beat in the eggs one at a time before adding both extracts. Whisk the flour and salt separately, then gradually mix it into the wet ingredients just until combined.
- Layering it up:
- Press about two thirds of the dough evenly into your prepared pan, using the back of a measuring cup to smooth it out. Spread the cherry filling over this base, then drop small spoonfuls of remaining dough across the top, leaving some cherry visible between the dough patches.
- Baking to perfection:
- Bake for 30 to 35 minutes until the top is lightly golden and the edges look set. Let the bars cool completely in the pan on a wire rack, which is essential for clean slicing.
- The finishing touch:
- Whisk together the powdered sugar, milk, and vanilla until perfectly smooth, then drizzle it over the cooled bars. Wait for the glaze to set before cutting into squares.
 Save to Pinterest
 My aunt called me recently to confess she makes these bars at least twice a month now, sometimes swapping in blueberry filling when cherries are not on sale. She told me they have become her go to for everything from office birthdays to when she just needs something sweet with afternoon coffee.
Making These Your Own
While cherry is classic, I have made these with apple pie filling in autumn and lemon curd in spring. The dough base is essentially a sugar cookie, which means it plays nicely with almost any fruit filling you can imagine. Just keep the total amount of filling roughly the same so the bars set properly.
Storage and Make Ahead Tips
These bars actually taste better on day two, after the flavors have had time to mingle and the crust softens slightly. Store them in an airtight container at room temperature for up to three days, though they rarely last that long in my house. You can also freeze the unglazed bars for up to two months and glaze them after thawing.
Serving Suggestions
A warm bar with vanilla ice cream is arguably one of the best desserts imaginable, though these are equally perfect alongside coffee at brunch. For parties, I sometimes skip the glaze and dust them with powdered sugar just before serving for a lighter finish.
- Cut them slightly smaller than you think necessary because these are quite rich
- Serve with coffee rather than tea to complement the almond notes
- Room temperature bars have the best texture and flavor
 Save to Pinterest
 There is something about bringing these bars to a gathering and watching peoples faces light up when they realize it is not just another cookie or brownie. These cherry pie bars have become my reliable crowd pleaser, the recipe I turn to when I need something that feels special but does not require fussy techniques or hard to find ingredients.
Frequently asked questions about this recipe
- → Can I use fresh cherries instead of canned filling?
-
Yes, though you'll need to cook fresh cherries with sugar and cornstarch to create a thickened filling similar to canned pie filling. This adds about 15-20 minutes to your prep time.
- → How should I store these bars?
-
Store in an airtight container at room temperature for up to 3 days, or refrigerate for up to a week. They also freeze well for up to 3 months when wrapped tightly.
- → Can I make these ahead of time?
-
Absolutely. Bake and glaze the bars up to 2 days before serving. The flavors actually develop and improve after sitting for a day. Add glaze the day you plan to serve.
- → What other fruit fillings work well?
-
Blueberry, apple, strawberry, or peach pie filling all work beautifully. The buttery vanilla dough complements any fruit filling you prefer.
- → Do I need the glaze?
-
The glaze is optional but adds a lovely sweetness and finish. If you prefer less sweetness, dust with powdered sugar or serve plain—they're delicious either way.
- → Why is part of the dough saved for the top?
-
Reserving one-third of the dough creates the signature craggy, textured topping. Dropping spoonfuls over the filling lets the cherries peek through while adding a tender, baked layer on top.
