 Save to Pinterest
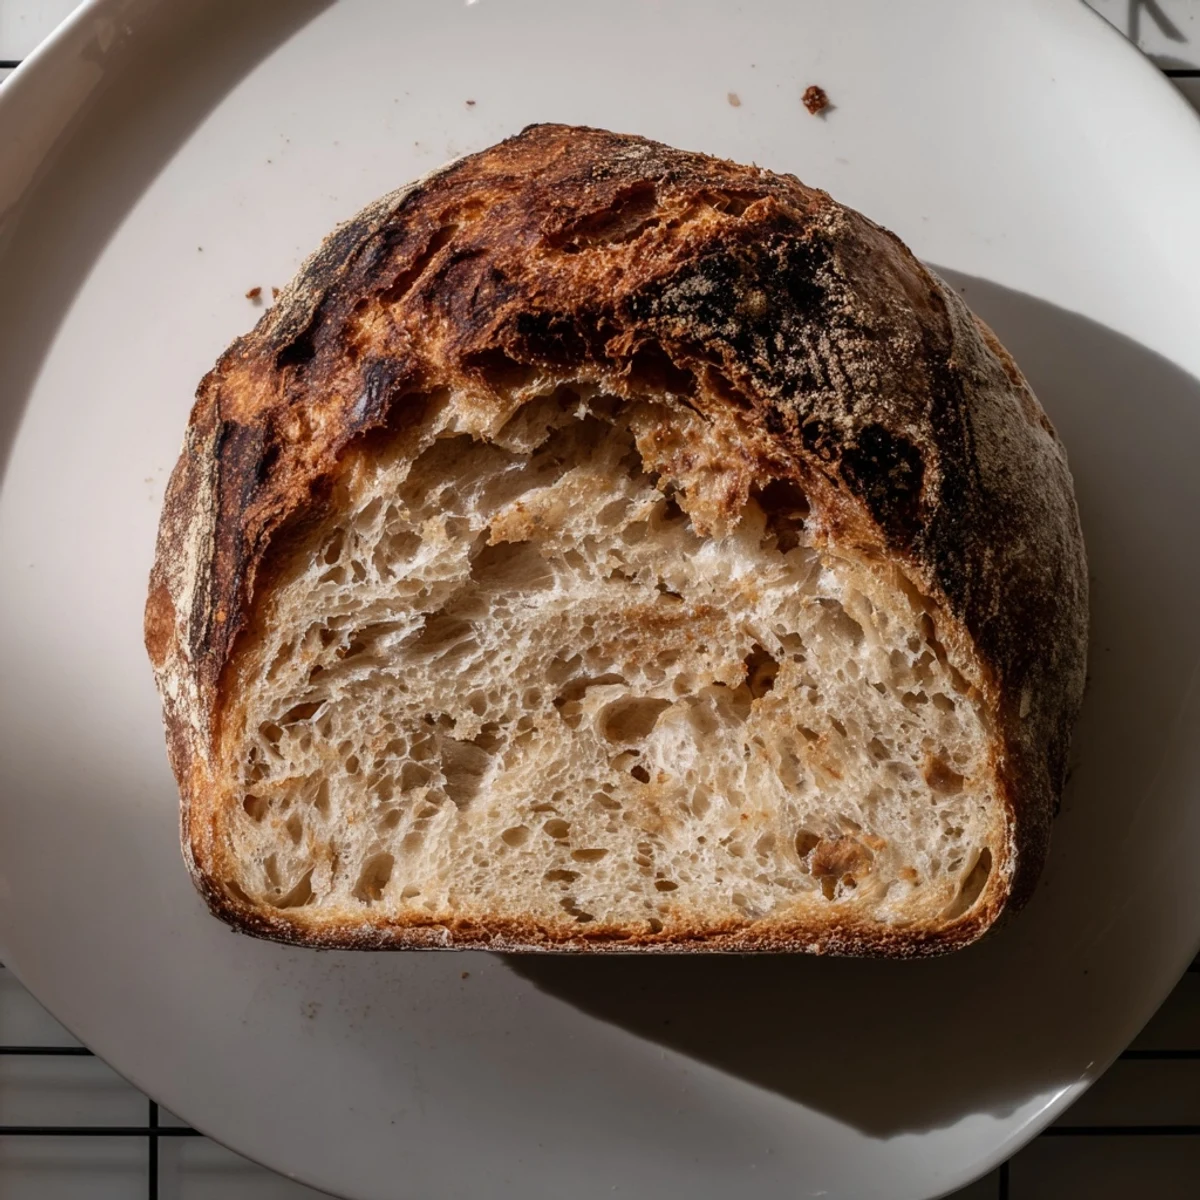
 This artisan-style bread delivers a crackling crust and tender, airy interior with almost no effort. Simply combine flour, yeast, salt, and water, let rest overnight, then bake in a preheated Dutch oven for professional bakery results. The extended fermentation develops deep flavor while the Dutch oven creates steam for that signature crust.
The smell of baking bread has a way of stopping time in our house. My youngest started hovering around the oven at hour twelve of the first rise, asking if it was ready yet. That anticipation is half the magic of this recipe.
I discovered no knead bread during a particularly chaotic winter when I needed something grounding. The ritual of stirring together flour and water before bed, then waking to find bubbling dough waiting, became my favorite morning surprise.
Ingredients
- Bread flour: Higher protein content gives better structure but all purpose works perfectly fine too
- Salt: Do not reduce this amount as it controls fermentation and develops flavor
- Instant yeast: No need to proof it first, just mix it directly into the flour
- Lukewarm water: Think bath temperature, about 100°F, anything hotter might kill the yeast
- Extra flour or cornmeal: Keeps the dough from sticking and adds a nice texture to the bottom crust
Instructions
- Mix the dough:
- Whisk flour, salt, and yeast in a large bowl, then stir in water until you have a shaggy, sticky dough that looks like a messy overnight.
- Let it rest:
- Cover tightly and walk away for 12 to 18 hours until bubbles dot the surface and the dough has beautifully doubled.
- Shape the loaf:
- Turn the dough onto a floured surface, fold the edges toward the center to create tension, then form into a rough ball.
- Second rise:
- Place the dough seam side down on parchment paper, cover with a towel, and let it relax for 30 to 60 minutes while your oven heats.
- Get things hot:
- Put your Dutch oven in the oven and crank it to 450°F, letting everything get screaming hot for at least 30 minutes.
- Bake with steam:
- Carefully lift the dough into the hot pot, cover with the lid, and bake for 30 minutes to create steam and oven spring.
- Finish the crust:
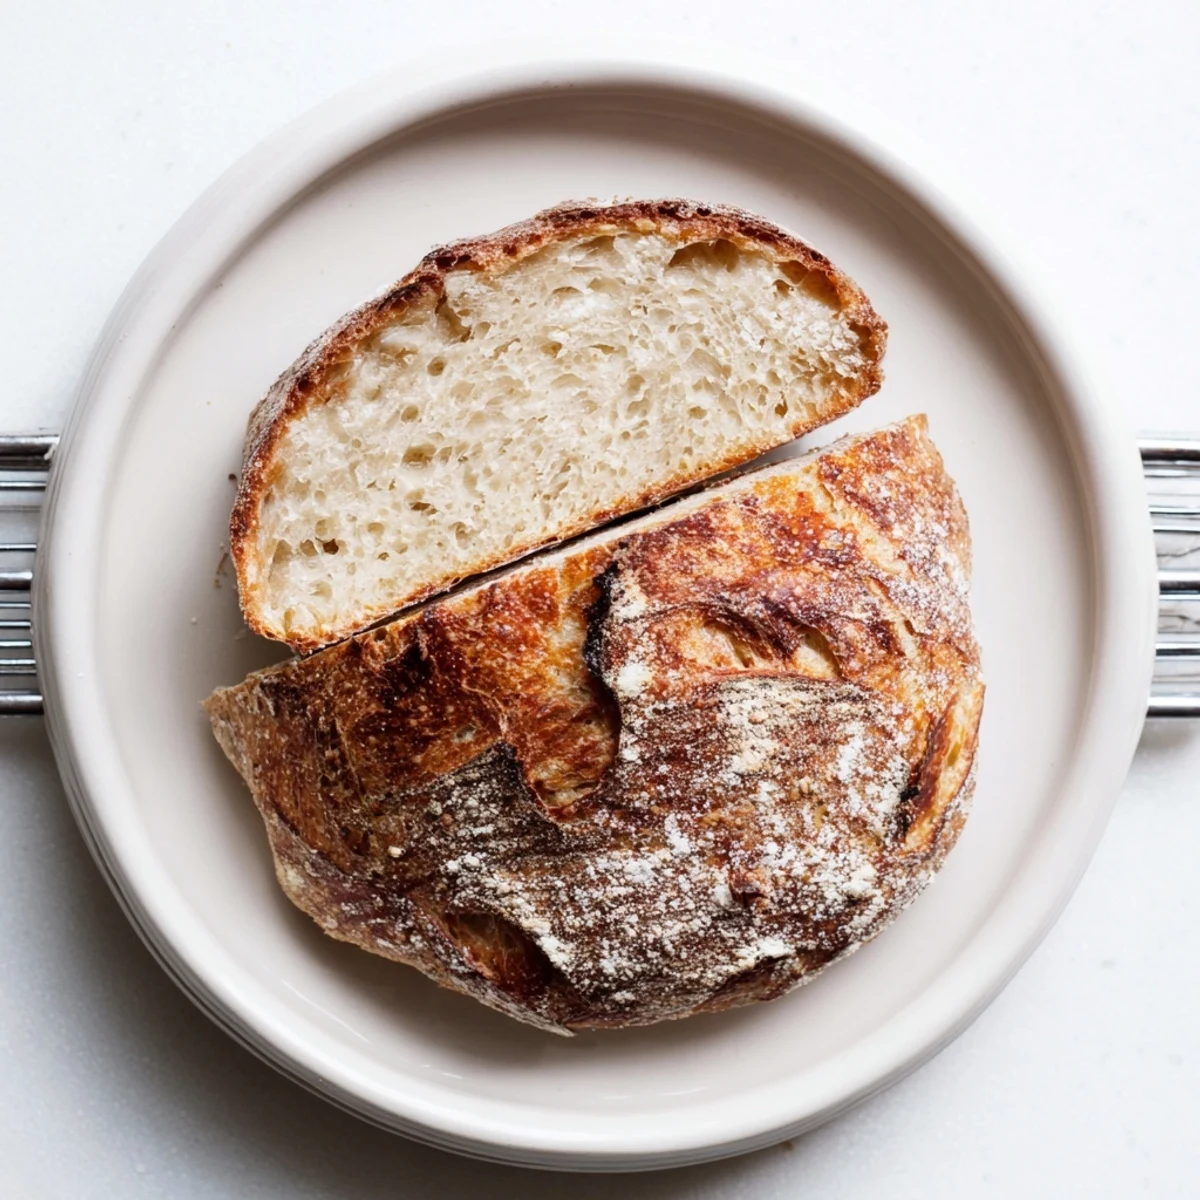
- Remove the lid and bake another 12 to 15 minutes until the loaf is deeply golden and sounds hollow when tapped.
- Cool completely:
- Let the bread rest on a wire rack for at least an hour before slicing or the interior will be gummy.
 Save to Pinterest
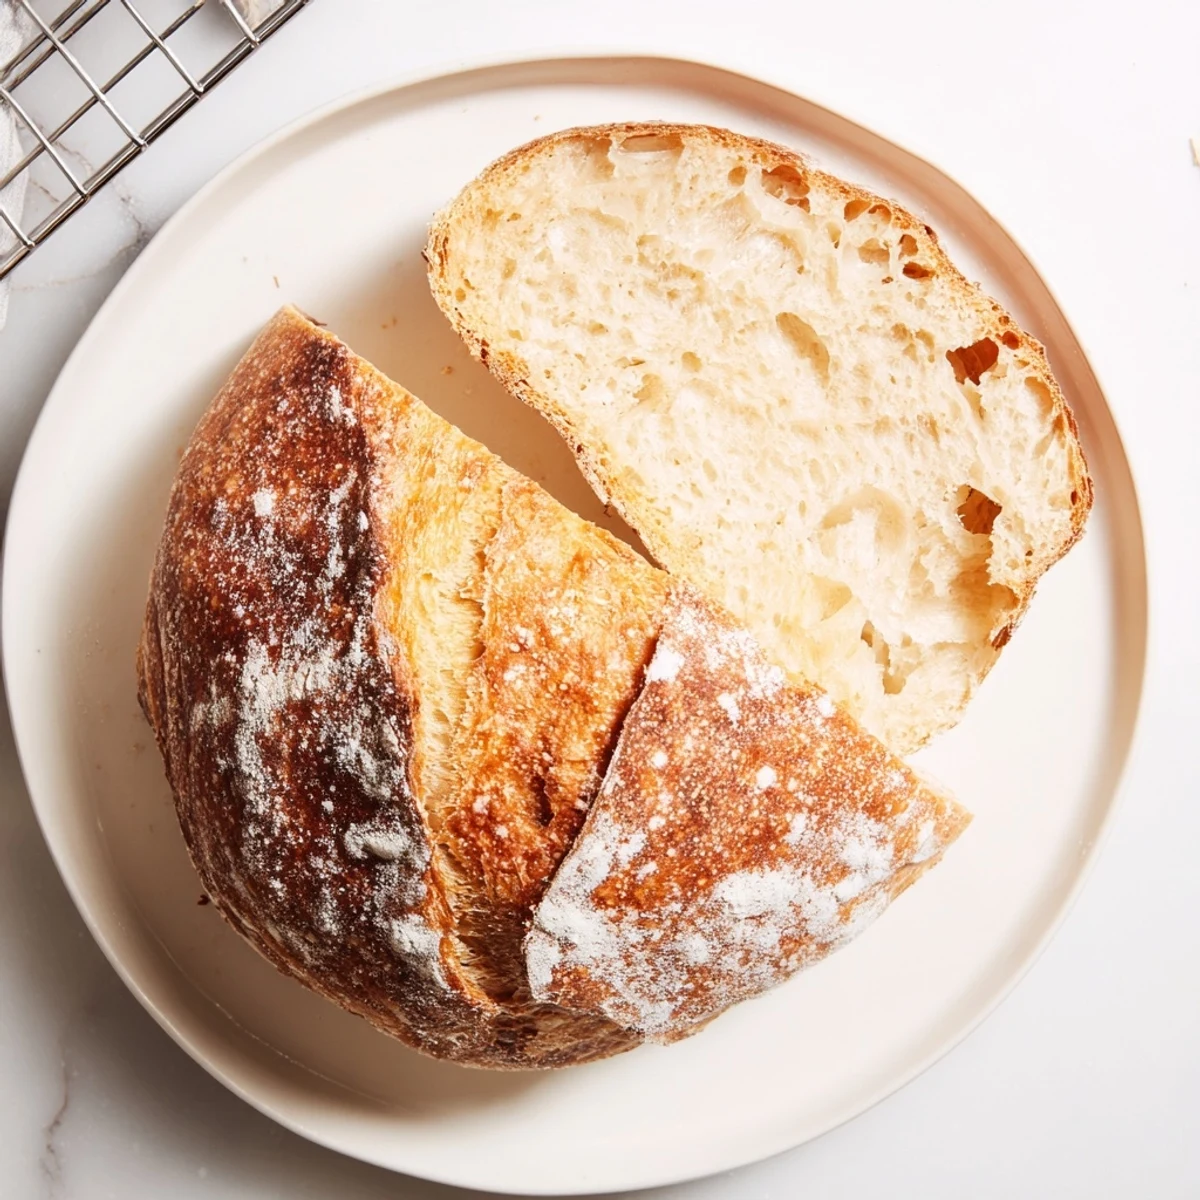
 This bread has become our Sunday tradition. The kids fight over the end pieces with extra crust, and I love slicing it while still slightly warm for dinner.
The Secret Behind No Knead
Long fermentation does the work that kneading usually does, developing gluten strands and complex flavors without any effort from you. The yeast has time to break down starches and create those gorgeous air pockets that make artisan bread so irresistible.
Temperature Timing
Cooler kitchens might need the full 18 hours for the first rise, while warm kitchens could be done in 12. You will know it is ready when the surface looks dotted with bubbles and the dough has a loose, jiggly consistency.
Making It Your Own
Once you master the basic loaf, the variations are endless. Add chopped rosemary and roasted garlic, or fold in walnuts and dried cranberries for a holiday version.
- Try replacing half the water with beer for extra depth
- Knead in a cup of shredded cheese after the first rise
- Sprinkle the top with everything bagel seasoning before baking
 Save to Pinterest
 There is something profoundly satisfying about pulling a crusty, golden loaf from your own oven. This bread turns anyone into a baker.
Frequently asked questions about this recipe
- → Why does this bread need to rise for 12-18 hours?
-
The long fermentation allows natural enzymes to break down starches, developing complex flavor and creating the bread's characteristic open crumb structure with irregular air pockets.
- → Can I speed up the rising process?
-
You can reduce the rise to 8-10 hours by placing the dough in a slightly warmer spot (around 80°F), though the flavor won't develop as fully. The long, slow rise is what creates that authentic artisan taste.
- → Why use a Dutch oven instead of a regular baking sheet?
-
The Dutch oven traps steam from the dough, creating a humid environment that allows the bread to expand fully before the crust sets. This produces a thick, crackly crust and excellent oven spring.
- → How do I know when the bread is done baking?
-
The loaf should be deep golden brown with a firm, crackly crust. You can also tap the bottom—if it sounds hollow, it's fully baked. An instant thermometer should read 200-205°F at the center.
- → Can I freeze this bread?
-
Absolutely. Cool completely, wrap tightly in plastic, then foil, and freeze for up to 3 months. Thaw at room temperature, then refresh in a 350°F oven for 10 minutes to restore the crust.
- → What if I don't have a Dutch oven?
-
You can use a heavy oven-safe pot with a tight-fitting lid, or place a metal baking pan on the lower rack filled with ice to create steam. The crust may be slightly less dramatic but still delicious.
