
 Save to Pinterest
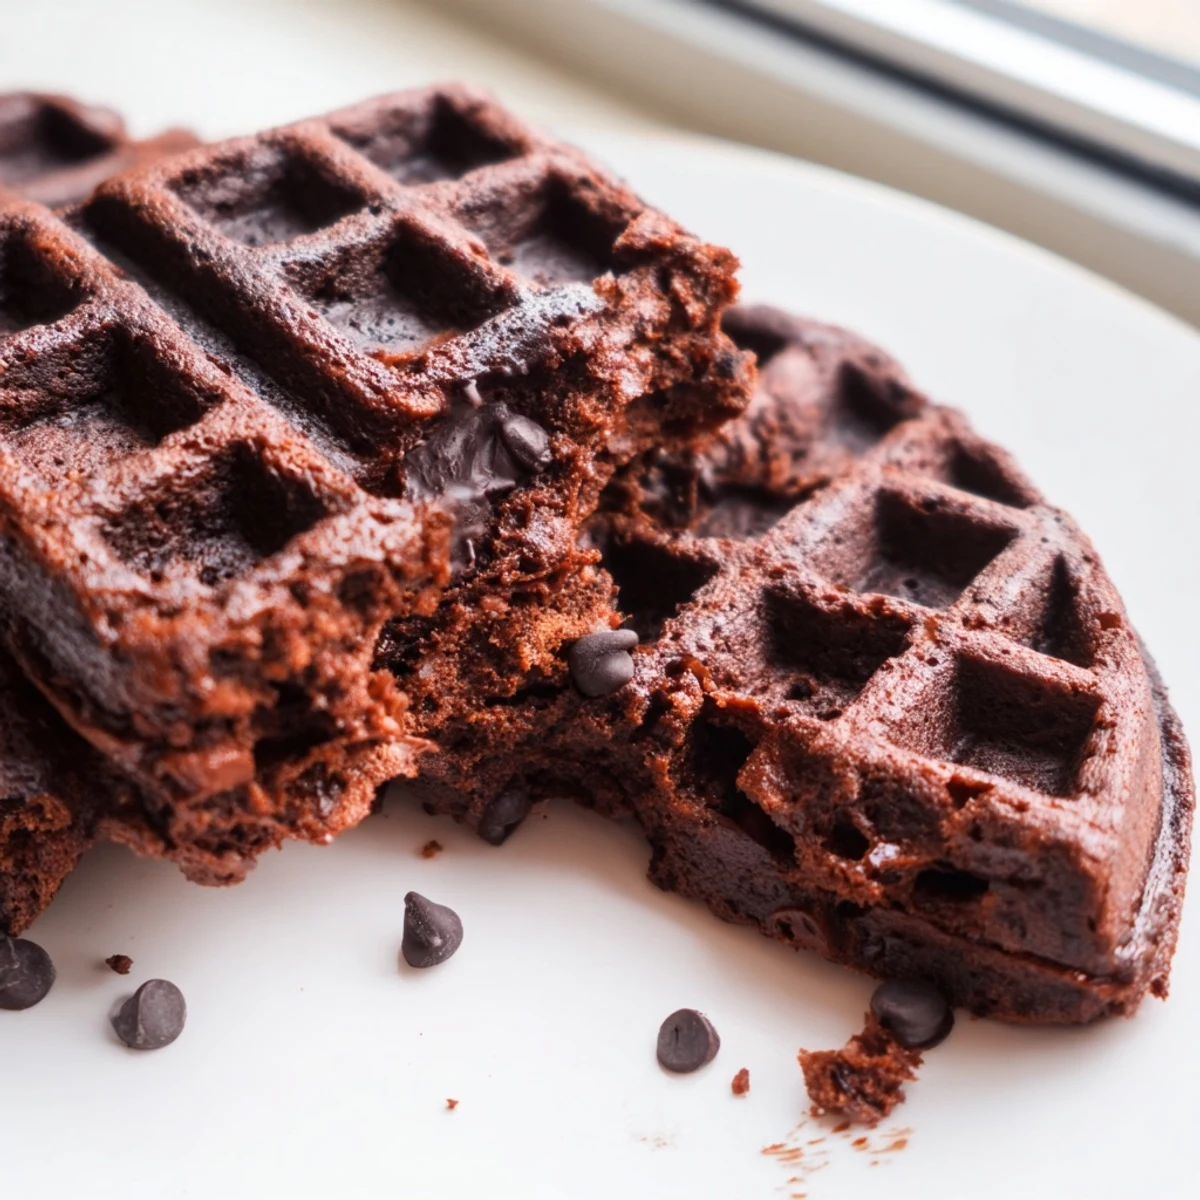
 These fudgy brownie waffles combine the best of both worlds—a crisp, golden waffle exterior with a rich, dense brownie-like center. Made with melted butter, cocoa powder, and studded with semisweet chocolate chips, they come together in just 30 minutes.
Simply whisk wet ingredients, fold in the dry mixture, and cook in your waffle iron for 3–4 minutes. Serve warm with whipped cream, fresh berries, or a scoop of vanilla ice cream for an unforgettable treat.
My waffle iron sat collecting dust for two years until a rainy Sunday experiment changed everything. I had brownie batter ready but no patience for waiting on the oven, so I poured it straight onto the hot iron and crossed my fingers. What came out four minutes later was something between a brownie and a waffle, crisp on the outside and almost molten within. That accident became a weekend ritual I now crave more than any traditional breakfast.
I served a stack of these at a brunch potluck last spring and watched three grown adults abandon their forks to eat them by hand, still warm, chocolate smearing across their smiles.
Ingredients
- Unsalted butter (100 g, melted): Melted butter keeps the batter rich and pourable without needing to cream anything, and using unsalted lets you control the salt level precisely.
- Whole milk (120 ml): Whole milk adds the right amount of fat for a tender crumb, and lower fat milks leave the center slightly rubbery.
- Large eggs (2): Eggs bind everything together and give the interior that classic brownie chew, so make sure they are at room temperature for even mixing.
- Vanilla extract (1 tsp): A small amount rounds out the chocolate flavor and makes it taste more complex than the ingredient list suggests.
- Granulated sugar (150 g): Sugar creates the slight crust on the waffle exterior while keeping the inside soft, so do not reduce it thinking you are being cautious.
- Unsweetened cocoa powder (60 g): This is where all the chocolate depth comes from, and sifting it is nonnegotiable unless you enjoy swallowing bitter lumps.
- All-purpose flour (120 g): Just enough flour to give structure without turning these into cake, so measure by weight if you can.
- Baking powder (1/2 tsp): A tiny lift keeps them from turning into dense hockey pucks while still maintaining that fudgy personality.
- Salt (1/4 tsp): Salt wakes up every other ingredient and makes the chocolate taste more like itself.
- Semisweet chocolate chips (100 g): These melt into little pockets of goo throughout the waffle, and semisweet strikes the perfect balance against the sweet batter.
Instructions
- Warm up the iron:
- Plug in your waffle iron and let it get fully hot while you mix, because a properly preheated iron is what creates that instant sizzle and crisp edge when the batter hits the plates.
- Blend the wet ingredients:
- Pour the melted butter, milk, eggs, and vanilla into a large bowl and whisk until smooth and slightly frothy, taking a moment to appreciate how glossy the mixture looks.
- Sift the dry ingredients:
- In a separate bowl, sift together the sugar, cocoa powder, flour, baking powder, and salt, catching any stubborn cocoa clumps and breaking them up with your fingers.
- Combine wet and dry:
- Pour the dry mixture into the wet in two or three additions, stirring gently with a spatula until you see no more dry streaks, then stop immediately because overmixing builds gluten and kills the fudgy texture.
- Fold in the chips:
- Toss in the chocolate chips and fold them through with just a few confident strokes, distributing them without overworking the batter.
- Cook the waffles:
- Lightly grease your waffle iron, pour about half a cup of batter into the center, close the lid, and cook for three to four minutes until the outside is lightly crisp but the center still feels soft when you press gently.
- Serve immediately:
- Carefully remove each waffle with a fork or tongs and either serve them right away or keep them in a low oven on a wire rack so they do not steam themselves soggy.
 Save to Pinterest
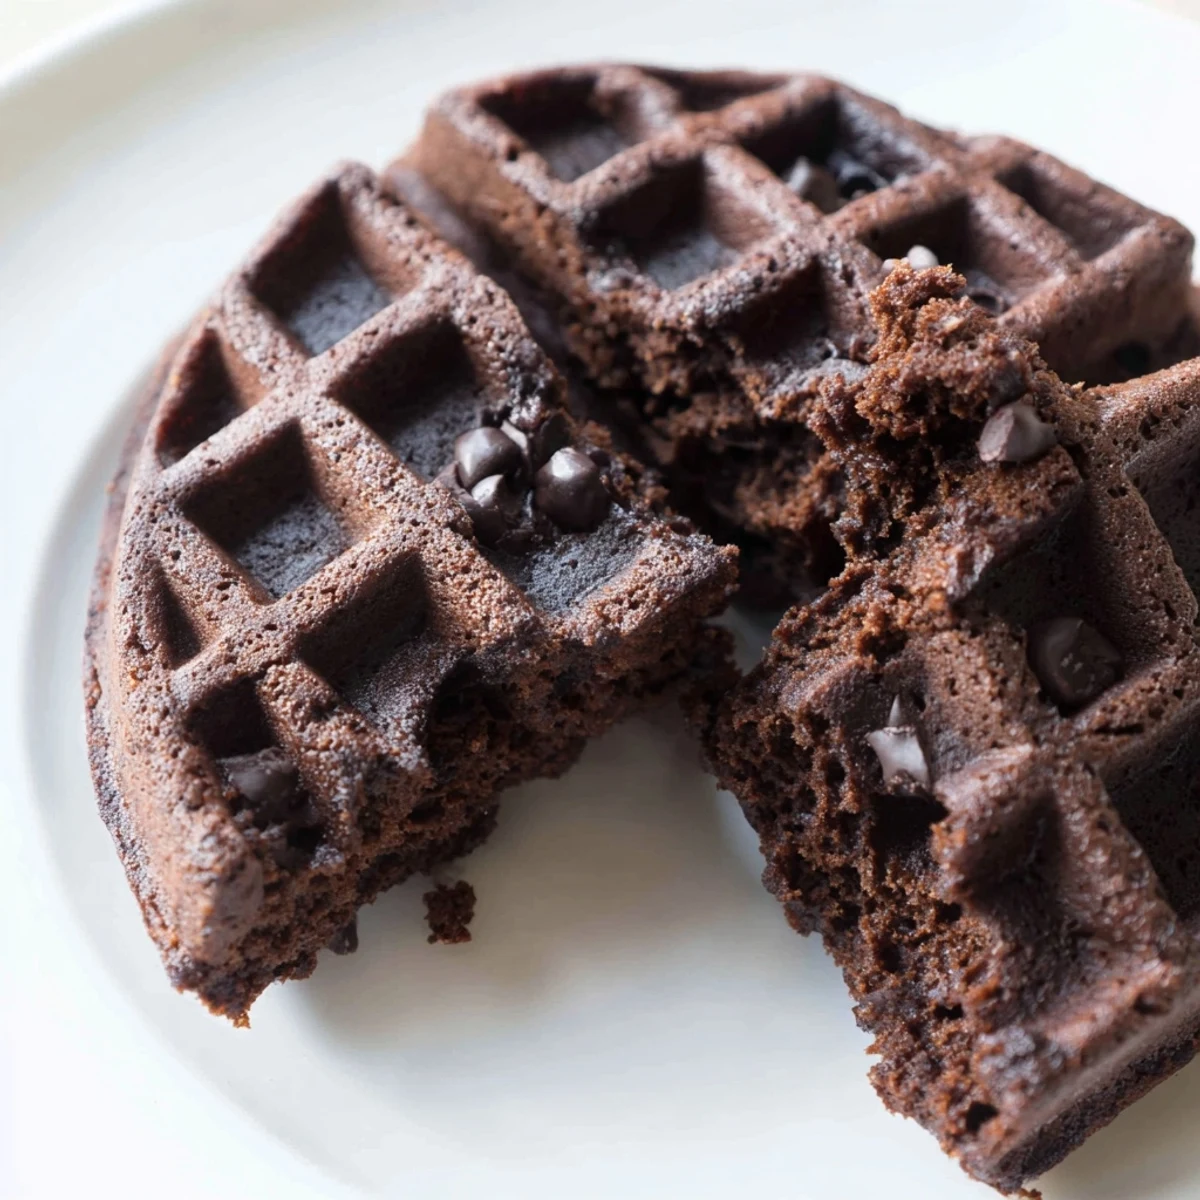
 There is something deeply satisfying about watching someone bite into one of these for the first time, their eyebrows rising in surprise at the brownie center hiding inside a waffle shape.
Serving Ideas Worth Trying
A plain fudgy waffle is a complete joy on its own, but a scoop of vanilla ice cream melting on top turns it into a full dessert situation. Fresh berries cut through the richness beautifully, and a drizzle of warm chocolate sauce pushes everything over the top in the best way. A strong cup of coffee or a tall glass of cold milk alongside is genuinely the perfect pairing.
Making Them Your Own
Chopped walnuts or pecans folded in with the chips add a welcome crunch that contrasts the soft center. You can swap the all-purpose flour for a one-to-one gluten-free blend and the results stay nearly identical. A pinch of espresso powder in the dry mix intensifies the chocolate without making them taste like coffee.
Storage and Reheating
Leftovers keep well in an airtight container in the refrigerator for up to three days, though they rarely last that long in my house. Reheat them in a toaster or back in the waffle iron for a minute to bring back the crispy edges, since the microwave makes them soft all the way through.
- Freeze cooled waffles in a single layer on a baking sheet before transferring to a freezer bag for up to two months.
- Toast frozen waffles straight from the freezer, no thawing needed, just like store-bought but infinitely better.
- Always store them separated by parchment paper so they do not fuse together into a giant chocolate brick.
 Save to Pinterest
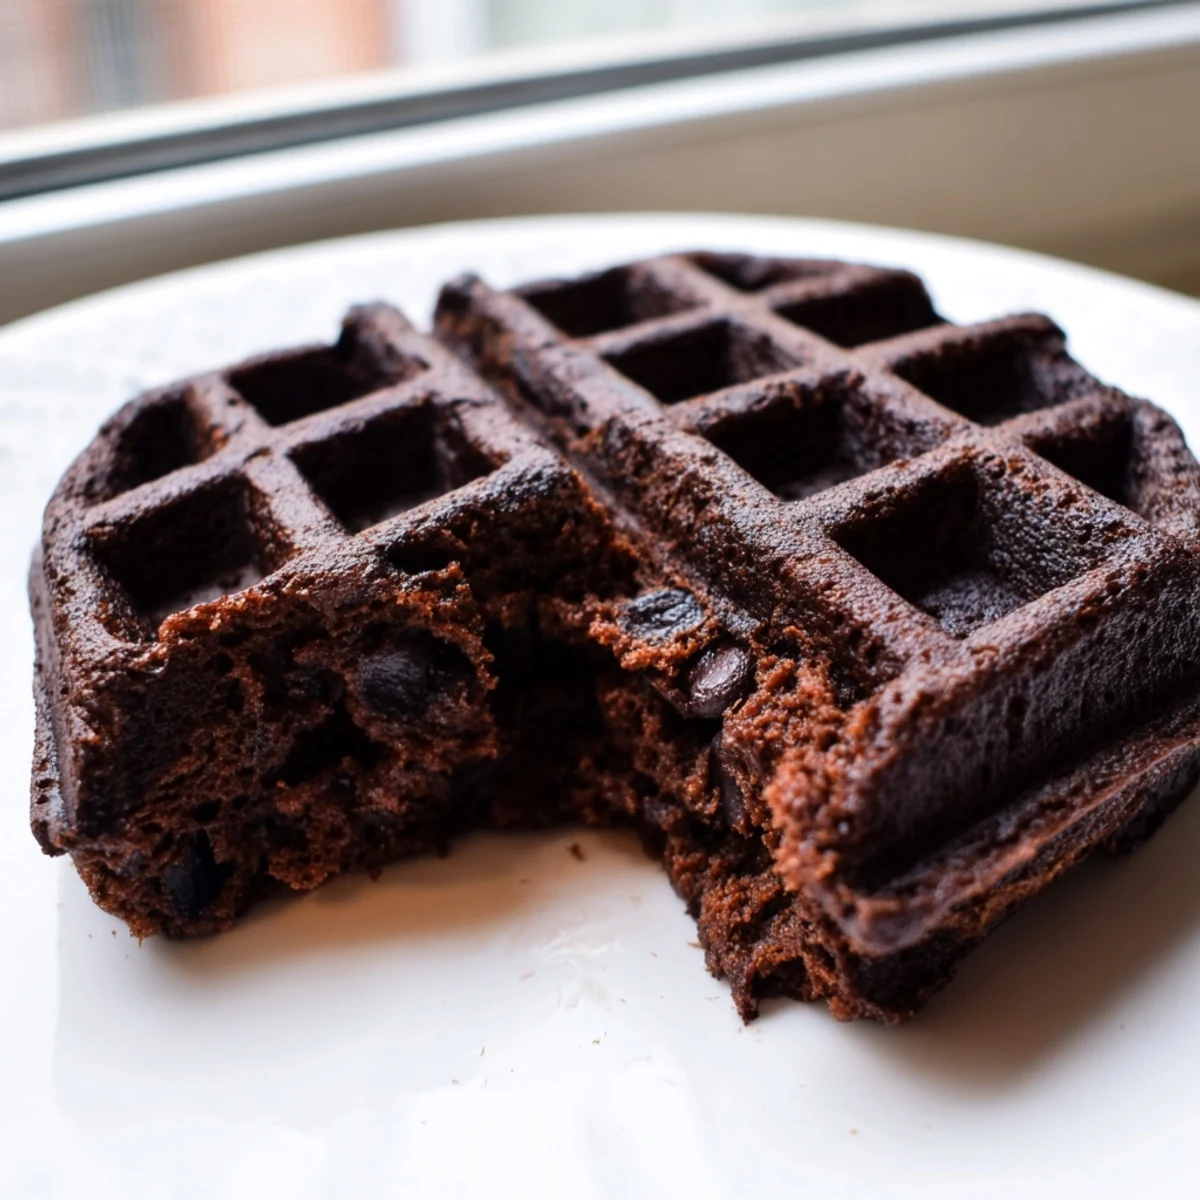
 Keep it simple, trust the batter, and enjoy the kind of kitchen accident that turns into a permanent favorite. These waffles are proof that the best recipes happen when curiosity meets a hot waffle iron.
Frequently asked questions about this recipe
- → Can I make the batter ahead of time?
-
Yes, you can prepare the batter up to 24 hours in advance. Store it covered in the refrigerator and give it a gentle stir before cooking. The batter may thicken slightly, so you can add a splash of milk to loosen it if needed.
- → Why are my waffles not fudgy inside?
-
Overcooking is the most common cause. Aim for 3–4 minutes and remove the waffles when the exterior is crisp but the center still feels slightly soft. Also, avoid overmixing the batter, which can make the texture cakey rather than dense and fudgy.
- → Can I use a different type of chocolate chips?
-
Absolutely. Dark chocolate chips, white chocolate chips, or even chopped chocolate bars all work well. You can also mix in chopped nuts, toffee bits, or dried cherries for added flavor and texture.
- → How do I store leftover waffles?
-
Let the waffles cool completely, then store them in an airtight container in the refrigerator for up to 3 days. To reheat, pop them back in the waffle iron for a minute or use a toaster to restore the crisp exterior.
- → Can I freeze these waffles?
-
Yes, they freeze beautifully. Place cooled waffles in a single layer on a baking sheet until frozen, then transfer to a freezer-safe bag for up to 2 months. Reheat directly from frozen in a toaster or waffle iron.
- → Is there a gluten-free version?
-
You can substitute the all-purpose flour with a 1:1 gluten-free flour blend with good results. Make sure your blend contains xanthan gum for the best texture, and always check that your other ingredients, especially chocolate chips, are certified gluten-free.