 Save to Pinterest
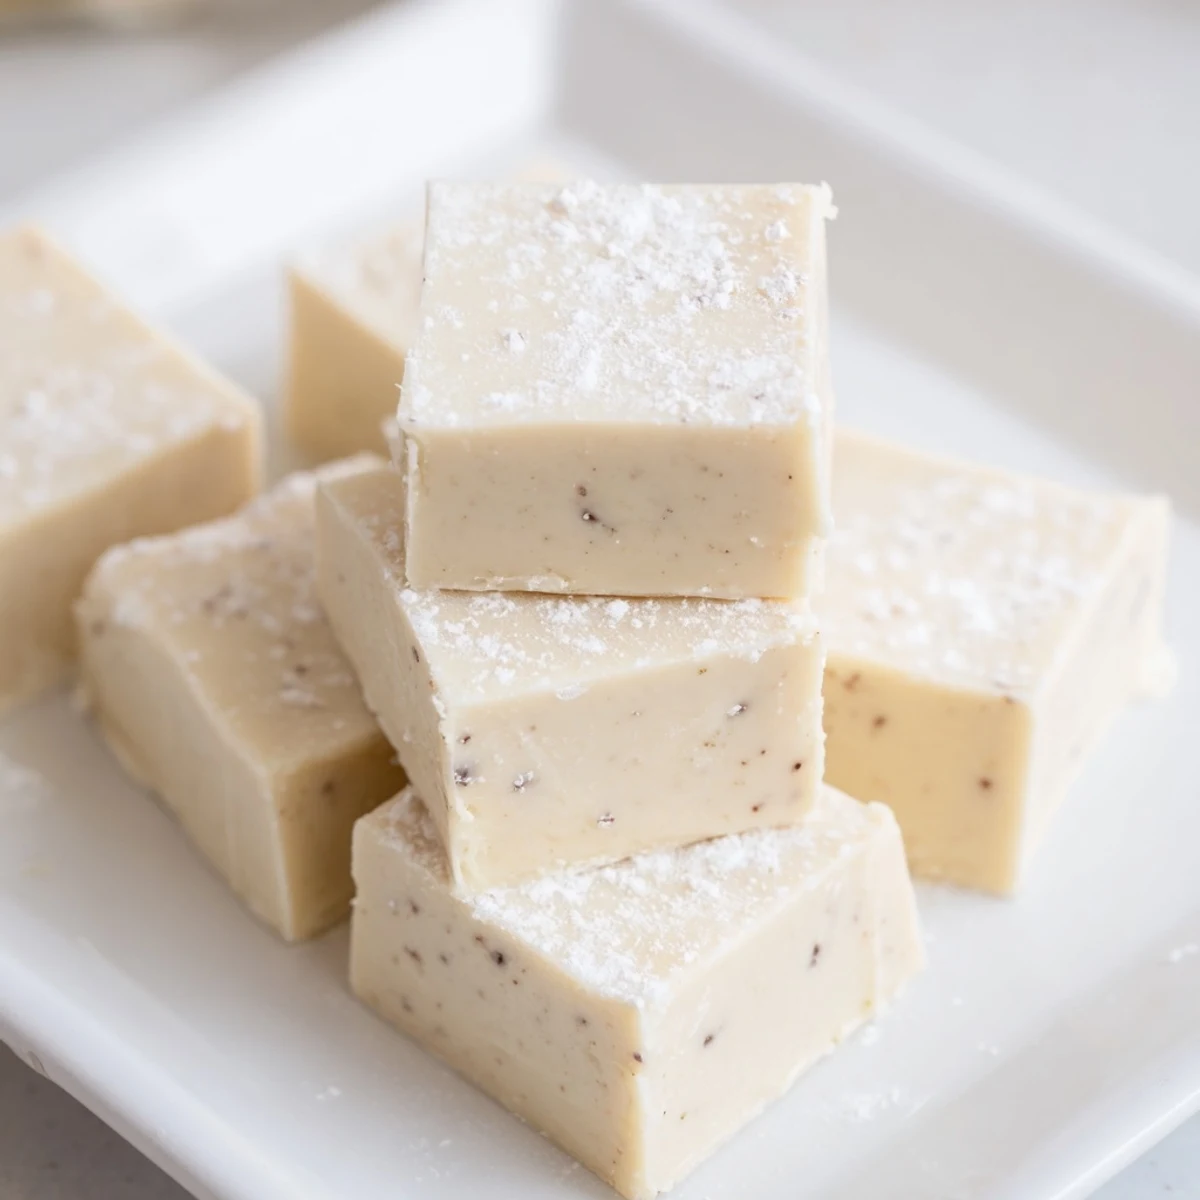
 This Irish cream-inspired fudge combines white chocolate, sweetened condensed milk, and a non-alcoholic creamer for a smooth, creamy texture that melts in your mouth. With simple stovetop preparation and a chilling step, it yields rich, sweet squares fragrant with vanilla and espresso accents. Ideal as a festive treat or gift, the fudge can be customized with toasted nuts or dairy-free options for different preferences. Store chilled to maintain freshness.
Last Christmas, my cousin who doesn't drink mentioned how much she missed having Irish cream treats during the holidays. That casual comment stuck with me, and I spent a snowy weekend experimenting until this fudge happened. The first batch disappeared so fast at our family gathering that I barely got to taste a piece myself. Now it's become the one sweet everyone asks for before they even walk through the door.
I brought a batch to my office potluck last month and watched three different people ask for the recipe within five minutes of each other. What makes me smile is that most people assume there's real Irish cream in it until I tell them otherwise. My daughter now requests this for her birthday instead of cake, which I honestly didn't see coming but absolutely adore.
Ingredients
- 2 cups white chocolate chips: I've learned that good quality white chocolate makes all the difference here since it's the main flavor carrier, so grab something you'd happily eat plain
- 1 cup sweetened condensed milk: This creates that signature fudge texture and sweetness we're looking for, plus it helps bind everything together beautifully
- 1/4 cup unsalted butter: Using cubed butter helps it melt evenly and prevents any little lumps in your finished fudge
- 1/4 cup heavy cream: This adds just enough richness to make the fudge feel premium without making it too soft to hold its shape
- 2 tbsp Irish cream flavored coffee creamer: The secret weapon that gives us all those lovely vanilla and caramel notes without any alcohol
- 1 tsp vanilla extract: Pure vanilla extract amplifies all the creamy flavors and makes everything taste more rounded
- 1/2 tsp instant espresso powder: Totally optional, but I love how a tiny pinch deepens the flavor without making it taste like coffee
- 1/4 cup powdered sugar: This helps stabilize the mixture and gives the fudge that perfect meltaway consistency
- Pinch of salt: Just enough to brighten all the sweetness and make the vanilla really pop
Instructions
- Prep your pan like a pro:
- Line an 8-inch square baking pan with parchment paper, letting the paper hang over two opposite sides so you can lift the whole thing out later like a little fudge sling
- Melt together the base:
- Combine the white chocolate chips, sweetened condensed milk, and cubed butter in a medium saucepan over low heat, stirring constantly and gently until everything melts into a smooth, glossy pool
- Whisk in the flavor magic:
- Remove from heat and stir in the heavy cream, Irish cream coffee creamer, vanilla, espresso powder if you're using it, powdered sugar, and salt until the mixture is completely silky and uniform
- Smooth and set:
- Pour the beautiful mixture into your prepared pan, use a spatula to smooth the top into an even layer, then refrigerate for at least 2 hours until completely firm
- Cut into perfect squares:
- Lift the fudge out using those handy parchment overhangs, then use a sharp knife to cut it into 36 neat little squares that look impossibly tempting
 Save to Pinterest
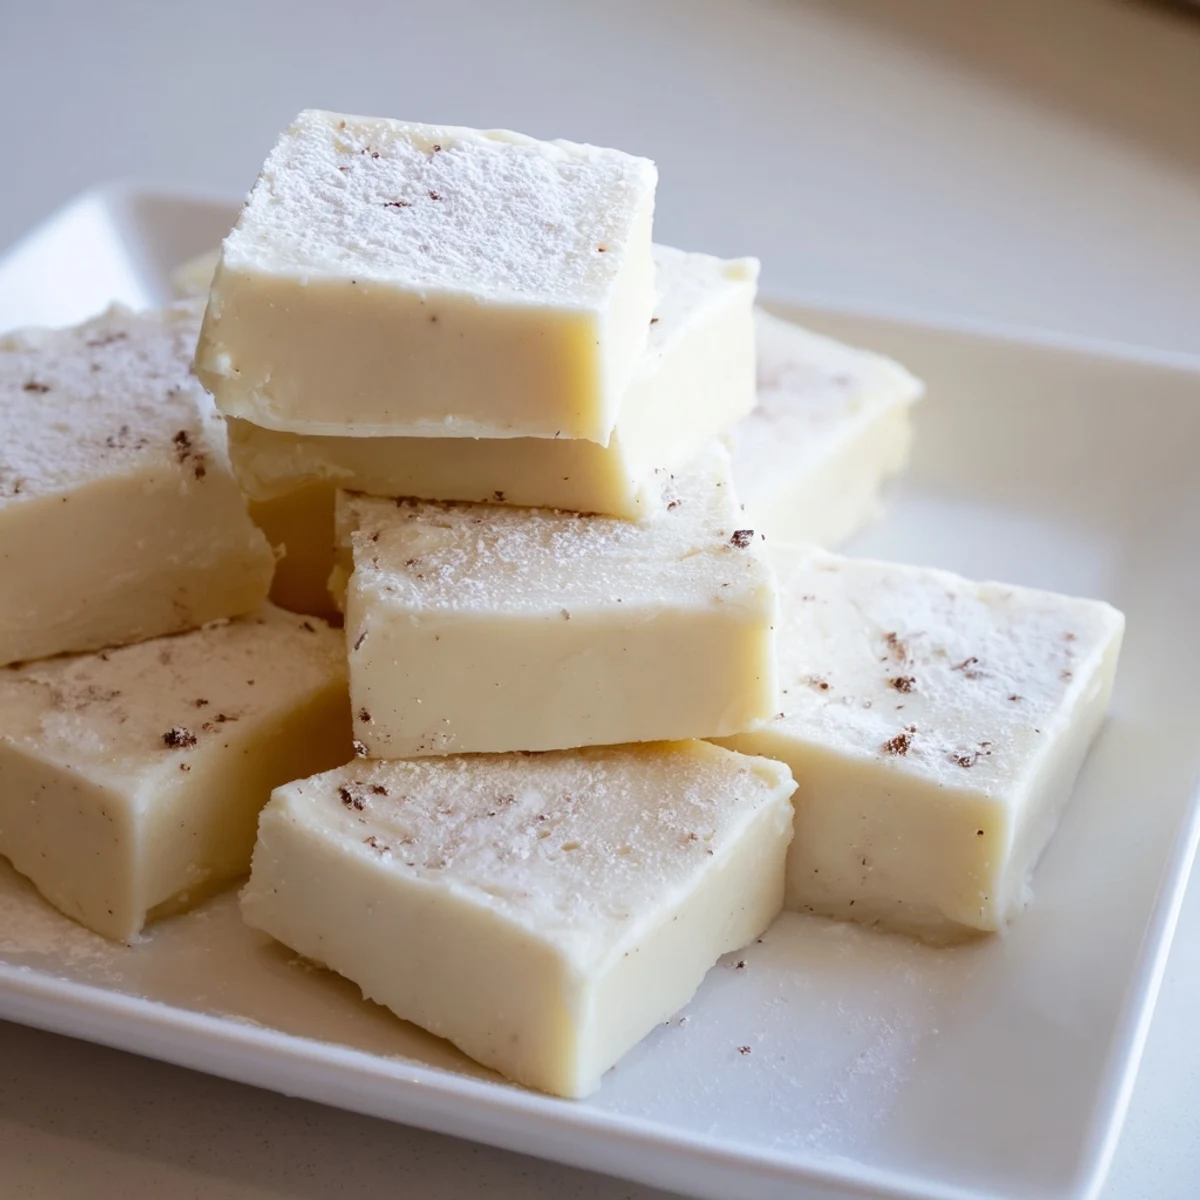
 What started as a solution for my non-drinking cousin has become one of my favorite recipes to make just for the joy of it. There's something meditative about stirring that glossy mixture and knowing such a simple process creates something that brings so much happiness to people.
Getting The Texture Just Right
The difference between good fudge and great fudge comes down to how you handle the melting process. I keep my heat on the lowest setting and stir in slow, gentle circles, watching as the white chocolate transforms from stiff chips into liquid velvet. Patience is your best friend here, and rushing this step is almost always why fudge recipes fail.
Customization Ideas That Work
While the original recipe is perfect as written, I've discovered some lovely variations through happy accidents. Sometimes I'll fold in crushed candy canes during December, or add a handful of toasted pecans for crunch. Just remember that any mix-ins should be folded in gently after you remove the mixture from heat.
Storage And Gifting Tips
This fudge keeps beautifully in the refrigerator for up to two weeks, though it rarely lasts that long in my house. For gifting, I like to place squares in little paper candy cups inside a cute tin or box. The parchment overhang trick becomes extra useful when you're making multiple batches for holiday giving.
- Wrap individual pieces in wax paper if you're planning to ship them to friends
- Let the fudge come to room temperature for about 10 minutes before serving for the softest texture
- A light dusting of cocoa powder on top makes these look extra fancy with almost no effort
 Save to Pinterest
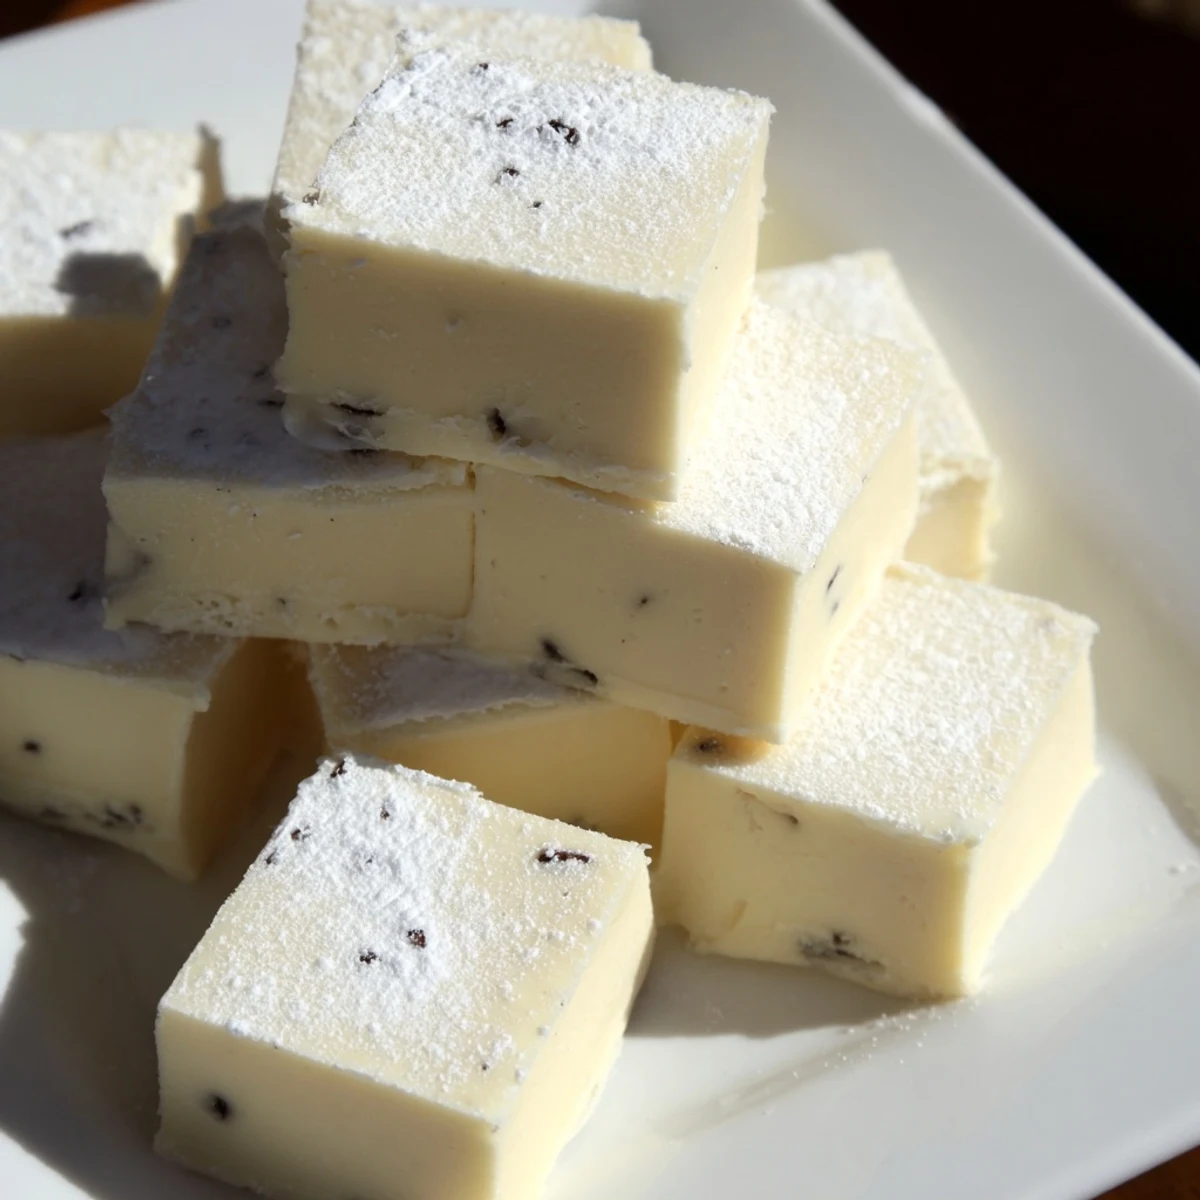
 Every time I make this fudge, I'm reminded that the best recipes often come from wanting to include everyone at the table. There's something wonderful about watching someone who usually has to skip certain treats light up when they realize they can fully enjoy this one.
Frequently asked questions about this recipe
- → Can I add nuts to this fudge?
-
Yes, finely chopped toasted hazelnuts or walnuts can be sprinkled on top before chilling for a nutty texture.
- → How long should I chill the fudge?
-
Refrigerate the fudge for at least 2 hours or until it is completely set for clean cutting.
- → Can I make this dairy-free?
-
By substituting dairy-free chocolate chips, margarine, and plant-based creamer, you can prepare a dairy-free version.
- → Is instant espresso powder necessary?
-
Instant espresso powder adds depth to the flavor but is optional. Omit for a milder taste.
- → What tools are best for making this fudge?
-
Use an 8-inch square baking pan lined with parchment, a medium saucepan, spatula, and mixing spoon for best results.
