 Save to Pinterest
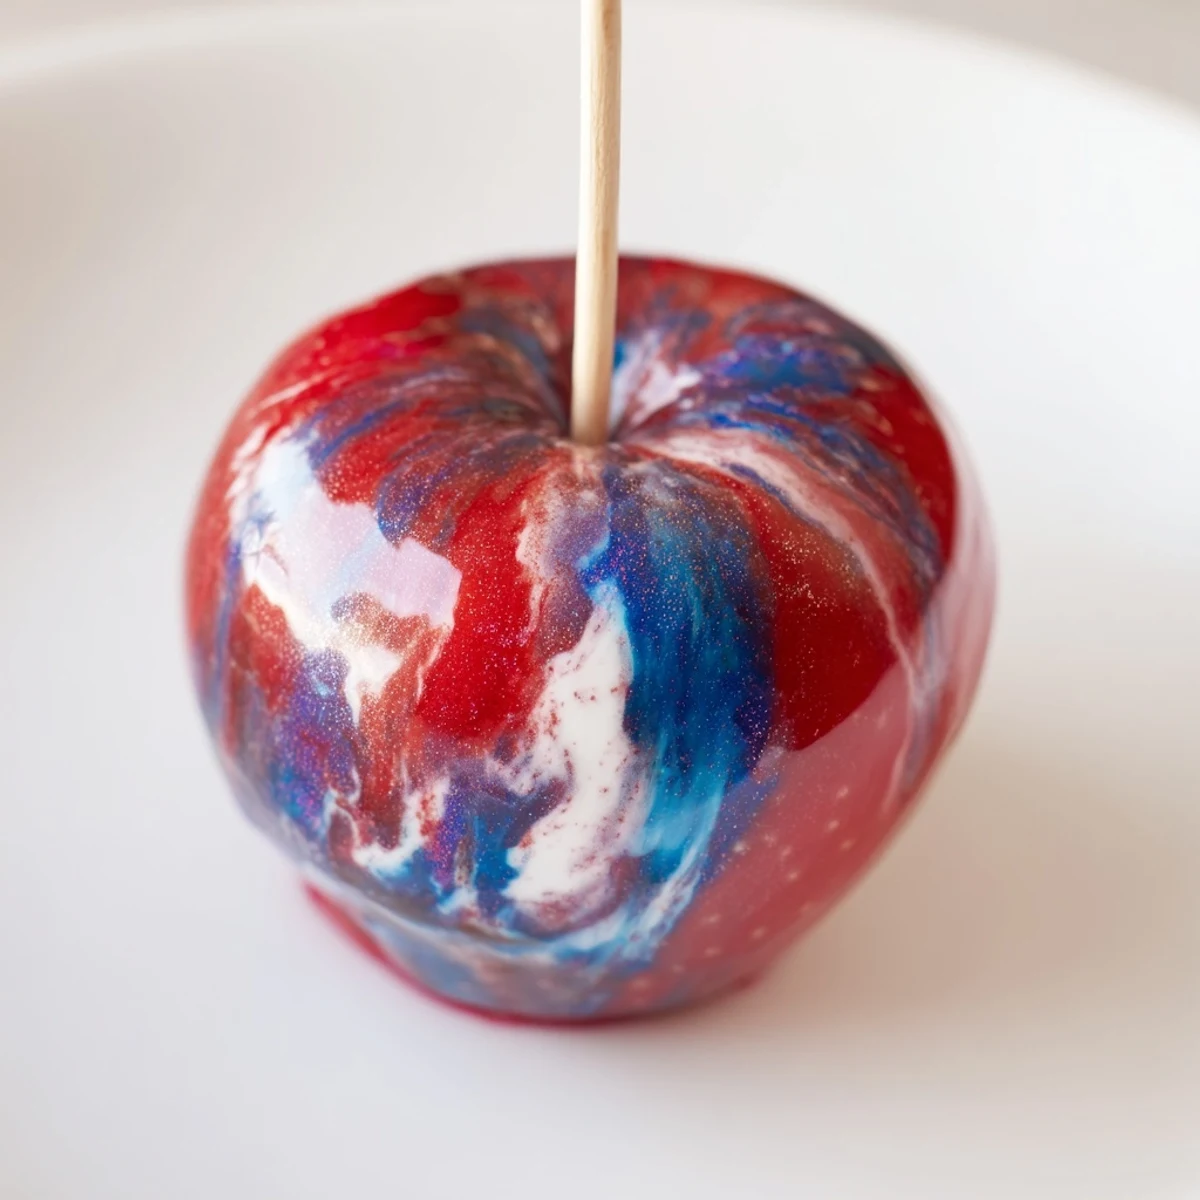
 Create striking marbled candy apples by dipping crisp apples into a hot, glossy sugar syrup swirled with red, blue, and white gel colors. The candy shell hardens to a shiny, vibrant coating perfect for parties or special occasions. Using a candy thermometer ensures the syrup reaches the ideal hard crack stage, while gentle swirling preserves the marbled effect. Let the coated apples cool completely before serving to enjoy a sweet, crunchy treat with vivid colors.
The first time I attempted marbled candy apples, I stood in my kitchen with three bottles of gel coloring and absolutely no idea what I was doing. My daughter wanted something more magical than plain red apples for her birthday, and I'd seen those gorgeous swirl designs on Pinterest. That afternoon taught me that patience isn't just a virtue—it's the secret ingredient that separates sticky disasters from glossy, jewel-like creations that make people gasp when they see them.
Last Halloween, I made a batch with purple and orange swirls that disappeared faster than the store-bought candy bowls. My neighbor's kids actually begged their parents to come back just to see if I had more. Something about that glossy, swirled coating turns a simple apple into a tiny work of art that feels special and whimsical all at once.
Ingredients
- 8 medium apples: Granny Smith provides the perfect tart contrast to all that sugar, but Fuji works beautifully if you prefer a sweeter bite—just make sure they're completely dry or the candy won't stick properly
- 8 sturdy wooden sticks: I learned the hard way that flimsy skewers snap when you're trying to dip a heavy apple into hot syrup
- 2 cups granulated sugar: Don't try substituting other sweeteners here—this creates the crystal-clear glass effect you want
- 3/4 cup water: Just enough to dissolve everything before the real chemistry happens
- 1/2 cup light corn syrup: This prevents crystallization and keeps your coating smooth and glossy
- 1/2 tsp vanilla extract: Optional, but I think it adds that professional candy-shop flavor
- Red, blue, and white gel food coloring: Gel coloring is absolutely crucial here—liquid coloring will make your syrup seize up and turn cloudy
Instructions
- Prep your station:
- Line a baking sheet with parchment paper or a silicone mat and push the sticks firmly into the stem end of each apple—wiggle them a bit to make sure they're secure
- Make the candy base:
- Combine sugar, water, and corn syrup in a heavy-bottomed saucepan over medium heat, stirring constantly until the sugar dissolves completely and the mixture is crystal clear
- Reach the hard crack stage:
- Crank up the heat to high and stop stirring—let it boil undisturbed until your candy thermometer hits 300°F exactly, then remove from heat immediately
- Create the marble magic:
- Stir in vanilla if using, then drop in small amounts of each gel color and drag a wooden skewer through just once or twice—you want distinct streaks, not a muddy mix
- Dip and swirl:
- Working quickly but carefully, dip each apple into the syrup while holding the stick, rotate it to catch the colored swirls, and let the excess drip off for a moment
- Set and admire:
- Place each apple on your prepared sheet and let them cool completely—at least 15 minutes—until that satisfying hard shell forms
 Save to Pinterest
 My friend Sarah tried making these with liquid food coloring because that's what she had in her pantry. She called me in a panic when her syrup turned into a grainy, seized mess. Now she keeps a stash of gel colors specifically for candy apple season. There's a reason old-fashioned candy makers stuck to their methods so faithfully.
Getting The Most Stunning Swirls
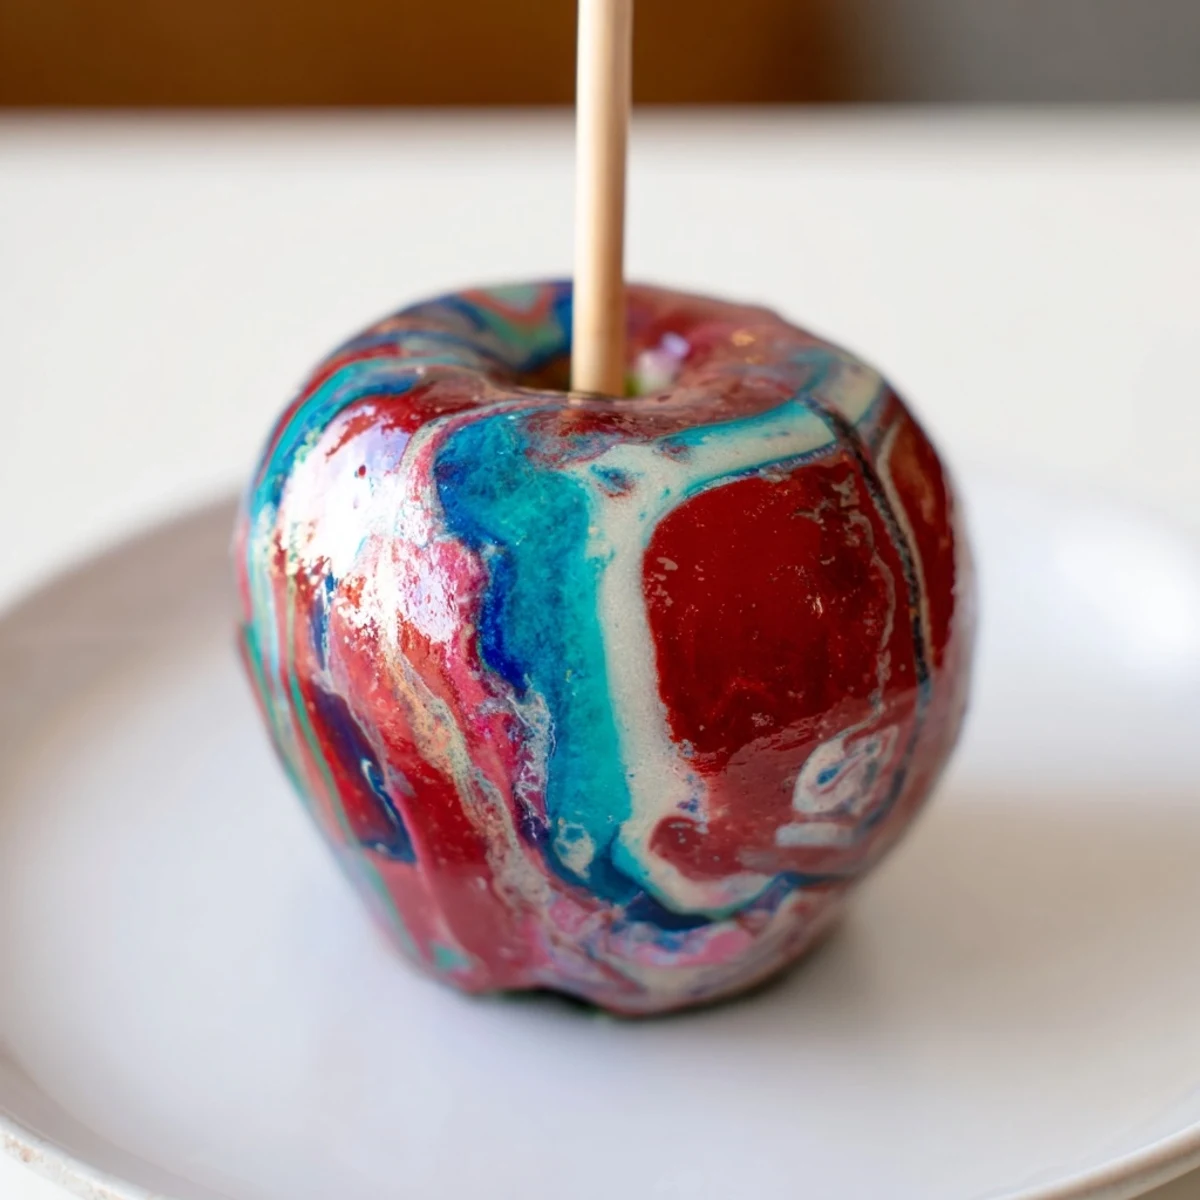
The trick I discovered after dozens of batches is to add your colors in a pattern, not randomly. I drop my colors in a loose triangle formation on the syrup's surface before dragging my skewer through. This creates those gorgeous ribbons that look intentional rather than chaotic. Less swirling always looks more sophisticated than you'd expect.
Temperature Control Secrets
Invest in a quality candy thermometer—the clip-on kind that stays attached to your pot. I've tried the instant-read method, and there's too much room for error. Once you hit 285°F, remove the thermometer from the hot syrup or it will continue rising even off the heat. Trust me, burnt sugar has a smell that lingers in your kitchen for days.
Make Ahead Strategy
Candy apples are best eaten within 24 hours, but I've learned to prep everything except the dipping the night before. Wash and thoroughly dry your apples, cut your parchment paper, and set out your sticks. When you're ready to make them, the process feels effortless rather than frantic.
- Wrap each apple individually in clear cellophane bags if you need to transport them
- Store them in a cool, dry place away from direct sunlight
- Avoid refrigeration unless absolutely necessary—moisture will ruin that perfect shine
 Save to Pinterest
 There's something deeply satisfying about making something so whimsical and lovely with your own hands. These marbled candy apples might just become your most requested treat.
Frequently asked questions about this recipe
- → What type of apples work best?
-
Firm, crisp apples like Granny Smith or Fuji hold up well and provide a nice balance of tartness and sweetness under the candy shell.
- → How is the marbled effect achieved?
-
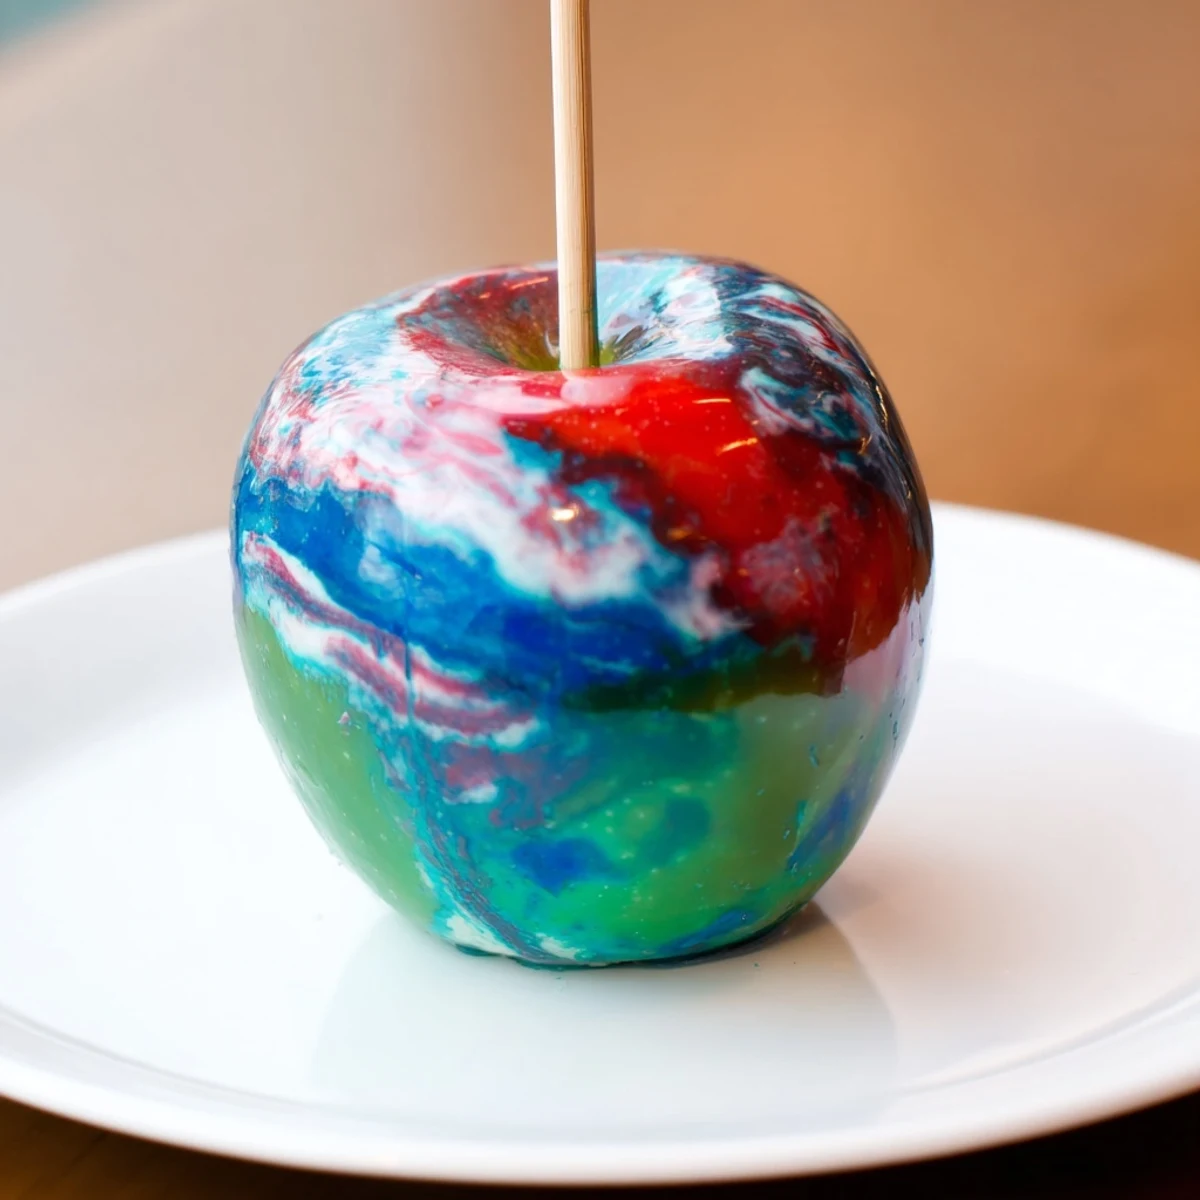
By adding small amounts of red, blue, and white gel food coloring into the hot sugar syrup and gently swirling the colors with a skewer, distinct marbled streaks form on the candy coating.
- → What temperature should the candy syrup reach?
-
The syrup should be cooked to the hard crack stage at about 300°F (150°C) to create a firm, shiny coating that sets quickly.
- → Can the candy coating be reheated if it thickens?
-
Yes, gently rewarm the syrup over low heat to restore a smooth consistency before dipping more apples.
- → How should finished apples be stored?
-
Keep them at room temperature for up to 24 hours; avoid refrigeration to maintain the crisp candy shell.
