 Save to Pinterest
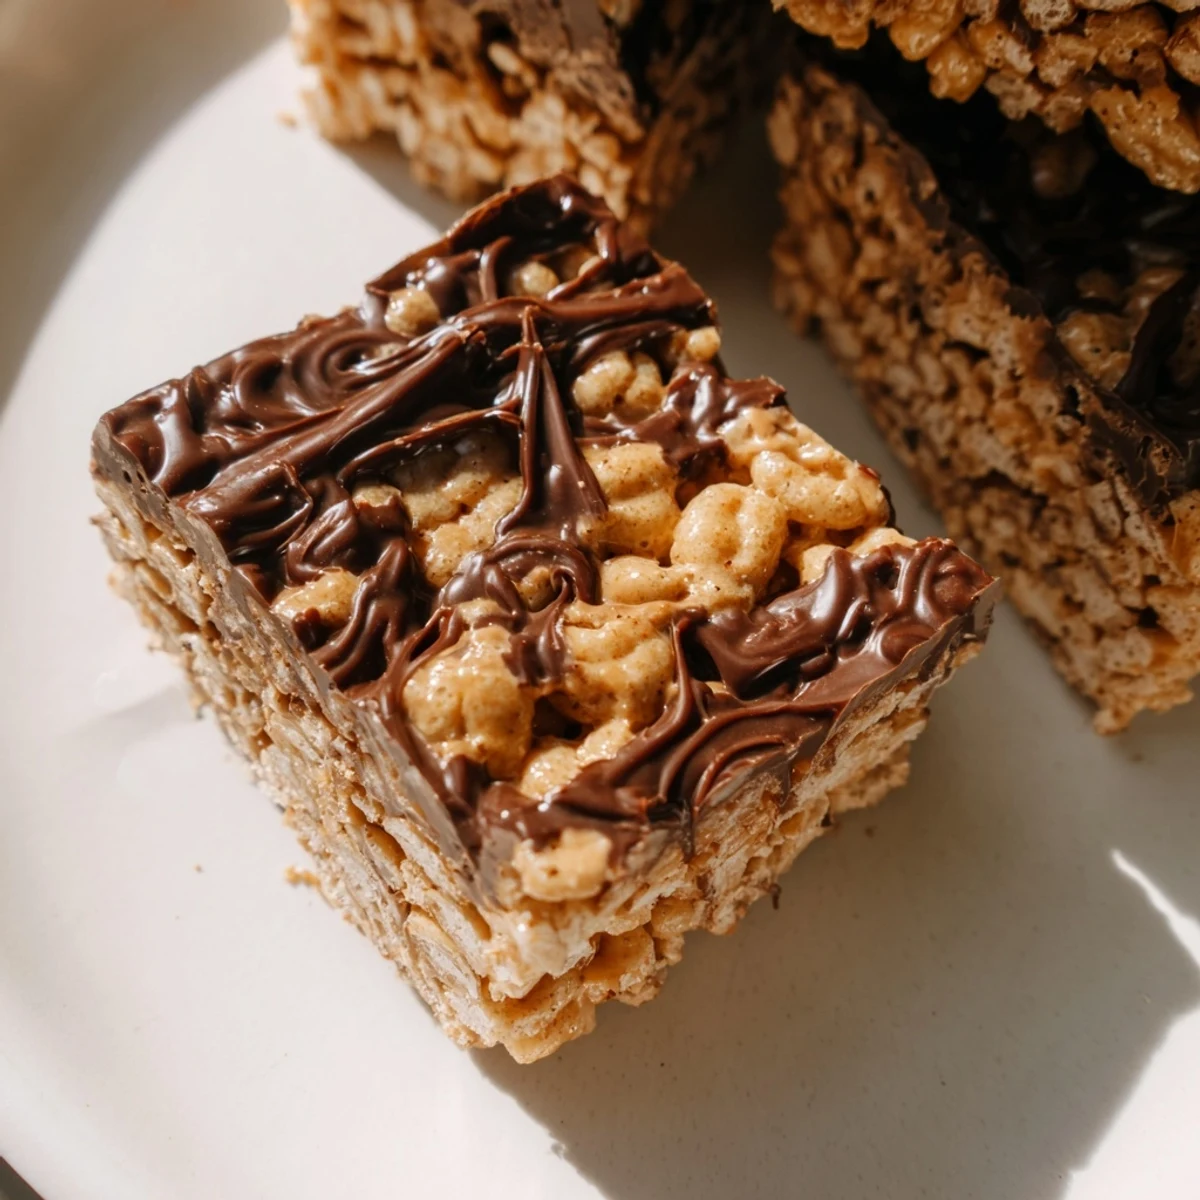
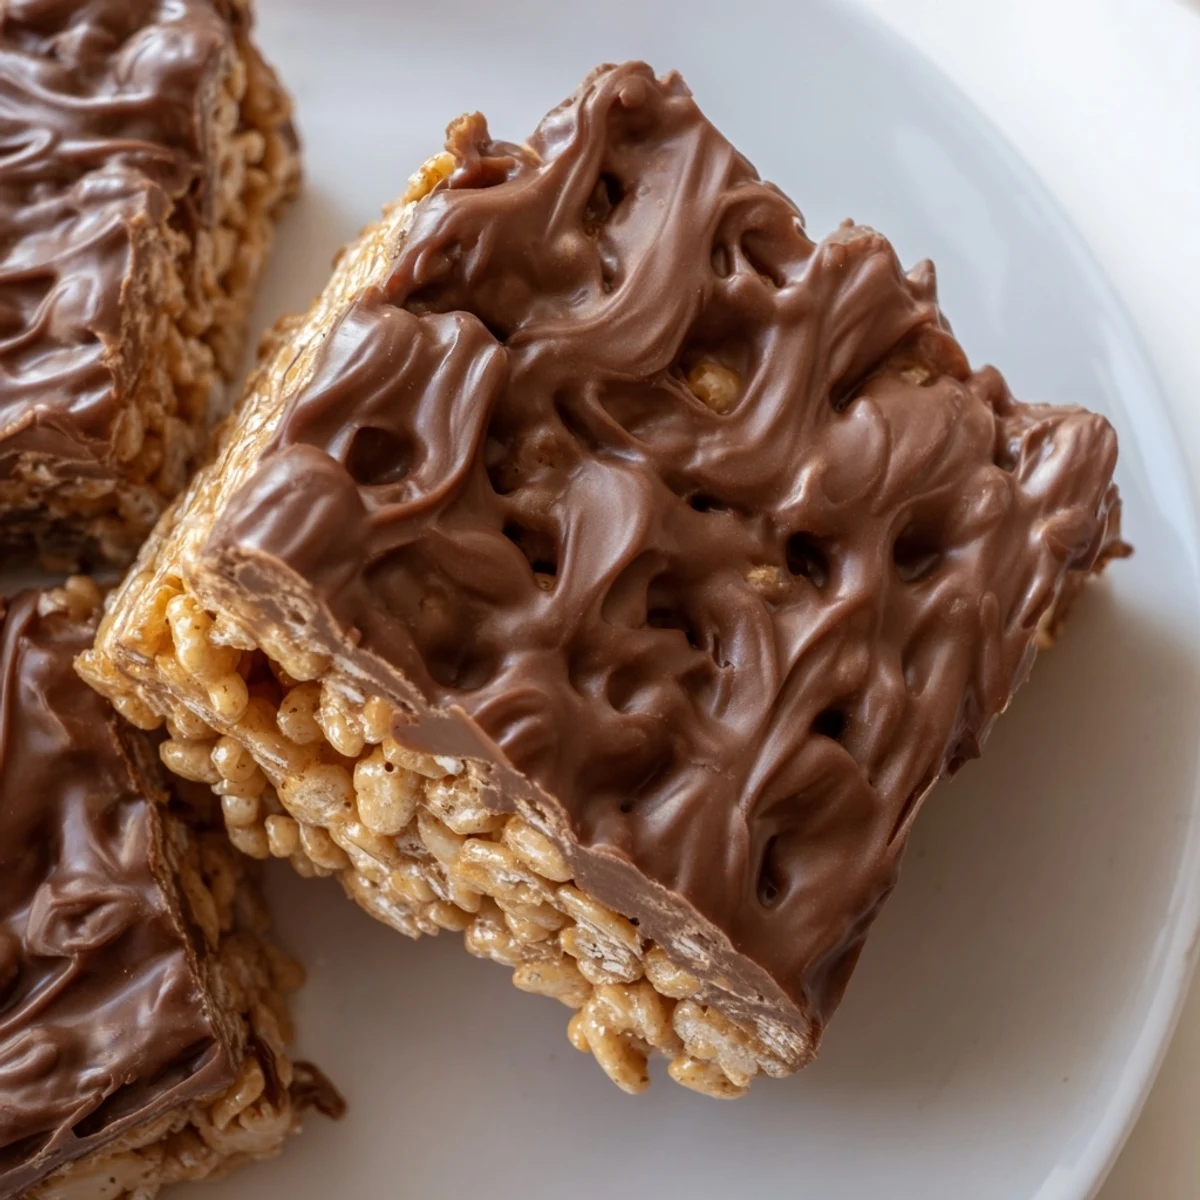
 These sweet and crunchy bars combine gluten-free Honey Chex cereal with a creamy peanut butter-honey mixture, all topped with a smooth chocolate layer. The entire process takes just 15 minutes of active preparation, followed by an hour of chilling to set. Perfect for busy households, potluck gatherings, or whenever a sweet craving strikes. The combination of textures—from crispy cereal to silky chocolate—creates an irresistible treat that happens to be gluten-free and vegetarian.
The rainy Saturday I discovered these bars, I was craving something sweet but refused to turn on my oven. My kitchen felt cozy with rain tapping against the windows, and I wanted a treat that matched that lazy, comforting mood. I spotted a box of Honey Chex in my pantry and decided to experiment with melting things together instead of baking them. Sometimes the best recipes come from not wanting to do the dishes afterwards.
My friend Sarah stopped by unexpectedly while I was pressing the cereal mixture into the pan. She watched me skeptically as I poured the melted chocolate on top, asking if I was sure this would actually work. We ended up sitting on the kitchen floor waiting for them to chill, talking about everything and nothing. When we finally cut into them an hour later, she took one bite and immediately asked for the recipe.
Ingredients
- 4 cups gluten-free Honey Chex cereal: The honey-flavored variety adds extra depth that regular Chex cannot match, so do not swap this out
- 1 cup creamy peanut butter: Use a brand that is just peanuts and salt, avoiding added oils or sugars for the best texture
- 1/2 cup honey: A lighter amber honey works beautifully here because it does not overpower the other flavors
- 1/4 cup unsalted butter: This helps the mixture set properly while adding richness that oil cannot provide
- 1 cup semisweet chocolate chips: Make sure these are certified gluten-free since cross-contamination is common with chocolate
- 2 tablespoons creamy peanut butter: Adding this to the chocolate makes the topping more fudge-like and less prone to cracking
Instructions
- Prep your pan:
- Line an 8x8-inch baking pan with parchment paper, letting the edges hang over the sides like a little sling for easy lifting later.
- Melt the base mixture:
- Combine the peanut butter, honey, and butter in a saucepan over medium-low heat, stirring until everything melts into a smooth, glossy mixture.
- Coat the cereal:
- Pour in the Honey Chex and fold gently until every piece is covered in the sticky mixture, being careful not to crush the cereal.
- Press it down:
- Transfer the mixture to your prepared pan and press firmly with the back of a spoon or spatula until it is evenly packed.
- Make the chocolate topping:
- Microwave the chocolate chips and remaining peanut butter together in thirty-second bursts, stirring between each until completely smooth.
- Spread the chocolate:
- Pour the melted chocolate over the cereal base and tilt the pan to spread it evenly without disturbing the layer underneath.
- Chill until set:
- Refrigerate for at least one hour, though I often let them go a bit longer for cleaner cuts when slicing.
- Slice and serve:
- Use the parchment paper overhang to lift the whole block out, then cut into sixteen squares with a sharp knife.
 Save to Pinterest
 Last summer I brought a batch to a neighborhood potluck, and they disappeared in under ten minutes. Three different people asked me if I had spent hours making them, which made me laugh considering how quickly they came together. Now they are my go-to whenever I need to bring something that looks impressive but barely requires effort.
Getting the Right Texture
The key to perfectly chewy bars is in how firmly you pack the cereal base. I have learned that pressing too lightly results in crumbly pieces, while pressing too hard makes them dense and tough. Use a flat-bottomed measuring cup or glass to apply even pressure across the entire surface, and you will get that ideal combination of crunchy and chewy in every bite.
Customization Ideas
While the classic version is hard to beat, I have experimented with some fun variations over the years. A sprinkle of flaky sea salt on the chocolate topping adds a sophisticated sweet-and-salty contrast that guests always comment on. During the holidays, I sometimes add crushed peppermint candies to the chocolate layer for a festive twist.
Storage and Make-Ahead Tips
These bars actually taste better after sitting overnight, so they are perfect for making ahead of parties or gatherings. The flavors meld together beautifully, and the cereal softens slightly for a more cohesive texture. I keep them stacked between sheets of parchment paper in an airtight container.
- Let the bars sit at room temperature for five minutes before serving for the best texture
- Wrap individual bars in plastic wrap for quick grab-and-go snacks throughout the week
- These freeze well for up to a month if you separate layers with wax paper
 Save to Pinterest
 Every time I make these, I am reminded that the simplest recipes are often the ones that bring the most joy to a kitchen. There is something satisfying about turning humble ingredients into something that feels like a special treat.
Frequently asked questions about this recipe
- → Can I make these bars nut-free?
-
Yes, substitute sunflower seed butter for the peanut butter in both the base and chocolate topping. The texture and flavor will remain similar while making them safe for those with nut allergies.
- → How should I store these bars?
-
Store in an airtight container in the refrigerator for up to 1 week. The cold helps maintain their shape and keeps the chocolate topping firm. They can also be frozen for longer storage.
- → Do I need to use Honey Chex specifically?
-
While Honey Chex adds a nice sweetness, you can use plain or other flavored gluten-free Chex varieties. Adjust the honey slightly if using a pre-sweetened cereal to balance the flavors.
- → Can I make these dairy-free?
-
Use dairy-free chocolate chips and substitute coconut oil or vegan butter for the unsalted butter. The texture may vary slightly but will still be delicious.
- → Why must I press the mixture firmly?
-
Pressing firmly ensures the bars hold together when cut. The mixture needs to be compact enough that the peanut butter-honey mixture binds all the cereal pieces together for solid, cohesive bars.
- → Can I double this recipe?
-
Yes, simply double all ingredients and use a 9x13-inch pan instead of 8x8. The chilling time may increase slightly due to the larger volume.
