 Save to Pinterest
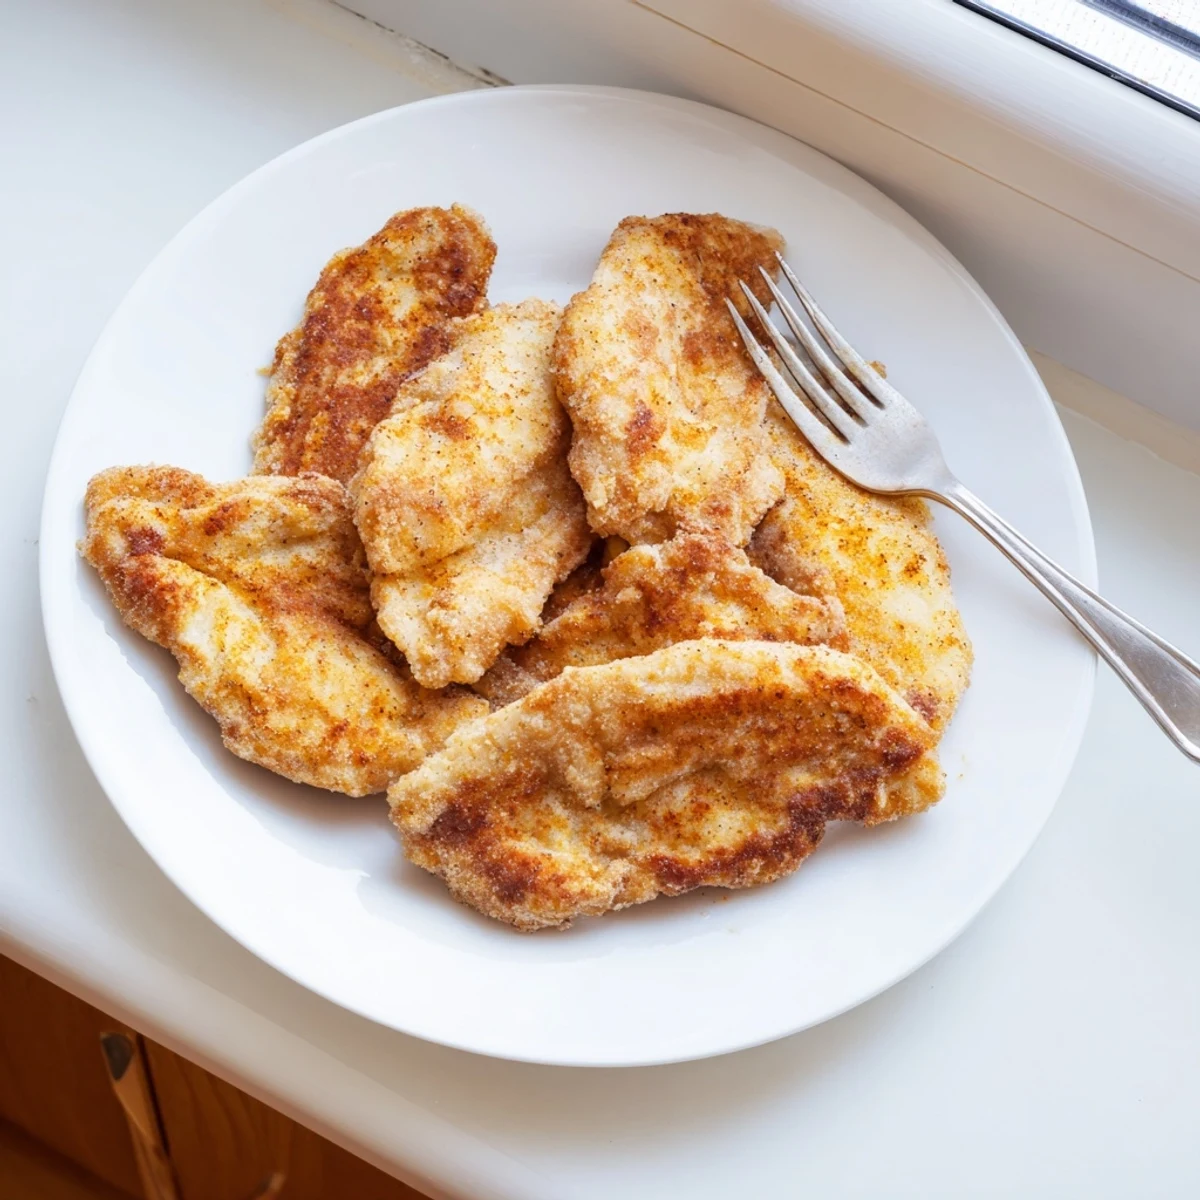
 Create restaurant-quality fried chicken breasts at home with this simple technique. The buttermilk marinade ensures tender, juicy meat while the seasoned flour coating creates that irresistible golden crunch. Perfect for family dinners, this classic American main dish comes together in just 30 minutes and serves four generously.
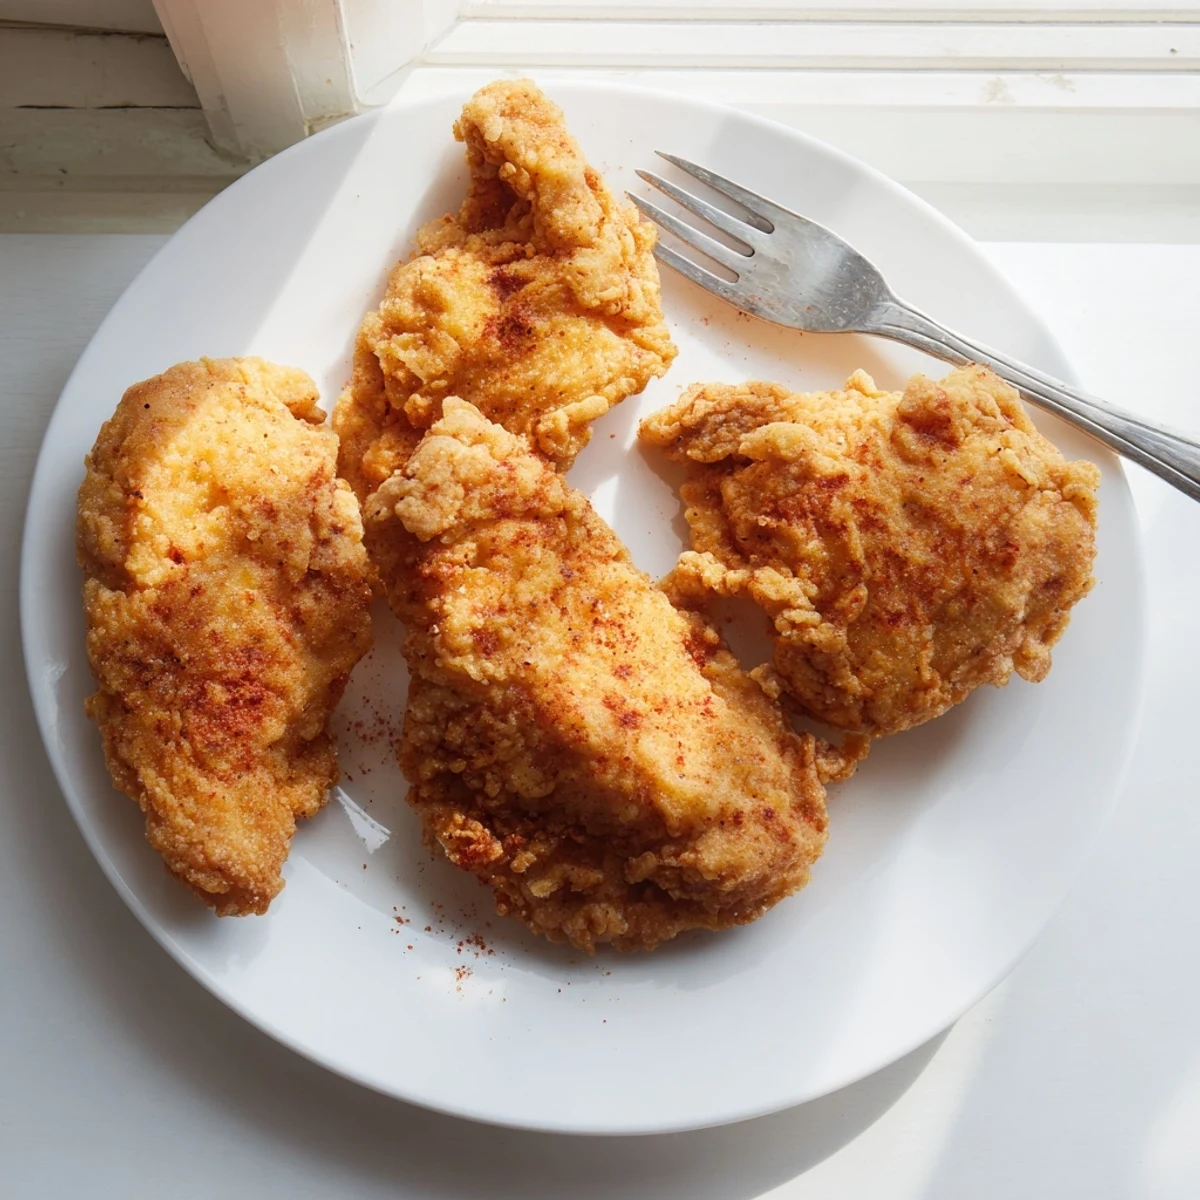
The sound of oil popping in a cast iron skillet on a Sunday afternoon is, in my opinion, one of the most honest sounds in any kitchen. It means somebody cares enough to stand there, tongs in hand, watching and waiting. Fried chicken breast was never a fancy affair in my house, just a reliable, noisy, golden reward for patience.
One rainy Tuesday I decided frying chicken would fix my mood, and honestly it did. I ate it standing over the stove, straight from the rack, juice running down my wrist.
Ingredients
- 4 boneless, skinless chicken breasts: Pounding them even is the single step most people skip and it matters more than any seasoning trick.
- 1 cup buttermilk: This is what keeps the breast meat tender through high heat frying, so do not skip it.
- 1 teaspoon salt, 1/2 teaspoon black pepper, 1/2 teaspoon garlic powder (for marinade): These dissolve into the buttermilk and flavor the meat from the inside out.
- 1 1/2 cups all-purpose flour: The foundation of your crust, and you want it seasoned generously.
- 1 teaspoon paprika, 1/2 teaspoon cayenne pepper, 1 teaspoon onion powder, 1 teaspoon salt, 1/2 teaspoon black pepper (for breading): This blend gives the coating its color and a slow, building warmth.
- Vegetable oil (about 2 cups for frying): Use a neutral oil with a high smoke point so nothing burns before the chicken cooks through.
Instructions
- Flatten the chicken:
- Sandwich each breast between two sheets of plastic wrap and pound gently with a mallet or rolling pin until about half an inch thick. You want an even thickness so every piece finishes cooking at the same time.
- Make the buttermilk bath:
- Whisk together the buttermilk, salt, pepper, and garlic powder in a bowl big enough to hold all four breasts. Drop the chicken in, turn to coat, and let it soak for at least thirty minutes, or cover and refrigerate overnight if you are the planning type.
- Season the flour:
- In a shallow dish, combine the flour with paprika, cayenne, onion powder, salt, and black pepper. Whisk it so you do not end up with pockets of raw flour on your chicken.
- Heat the oil:
- Pour oil into a large skillet to about a quarter inch depth and set it over medium high heat until it reaches 350 degrees. A quick test: drop a tiny pinch of flour in and if it sizzles immediately, you are ready.
- Bread the chicken:
- Remove each breast from the buttermilk, let the excess drip off for a second, then press it firmly into the seasoned flour on both sides. Really press it in so the coating grabs hold.
- Fry to golden perfection:
- Lower the chicken carefully into the hot oil, working in batches so the pan is not crowded. Fry six to seven minutes per side until the crust is a deep amber and the internal temperature hits 165 degrees.
- Rest and serve:
- Transfer the chicken to a wire rack or paper towel lined plate and let it rest for five minutes. This locks in the juices before you slice.
 Save to Pinterest
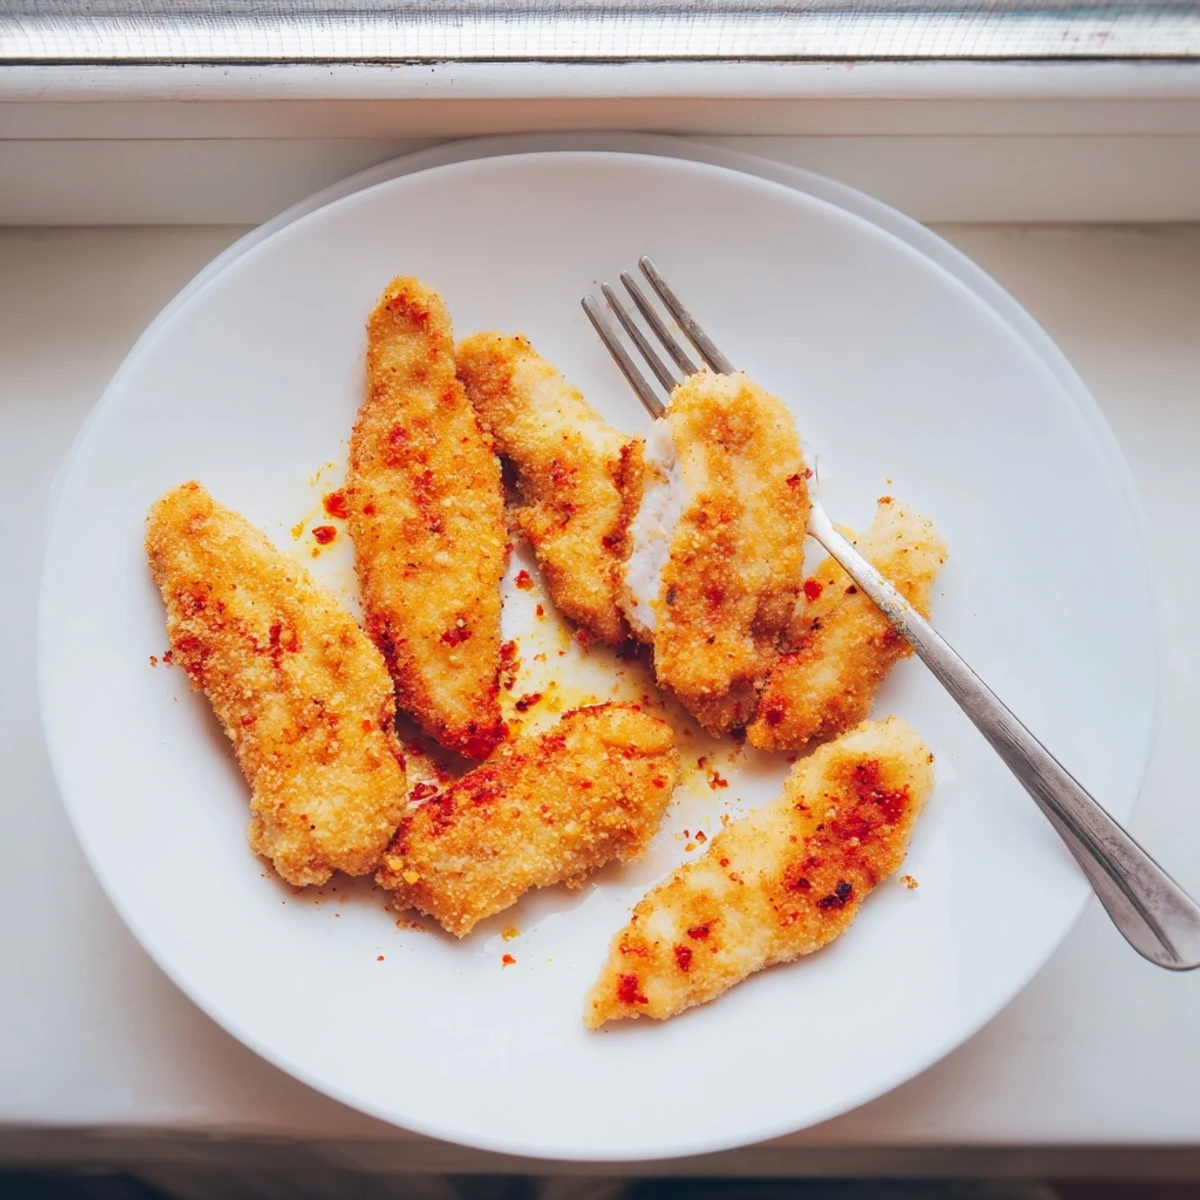
 The first time I made this for my neighbor, she stood in my kitchen door holding a piece in a paper towel and said nothing for a full minute, just ate.
Serving Suggestions That Actually Work
Mashed potatoes and a vinegar based coleslaw are the classic pairings for a reason, because the creaminess and the crunch balance everything on the plate.
Making It Gluten Free
A one to one gluten free flour blend works well here, though the crust color will be slightly paler. Add an extra pinch of paprika to compensate and nobody at the table will notice the swap.
Leftovers and Reheating
Cold fried chicken from the fridge at midnight needs no improvement, but if you want to reheat it properly, use an oven or air fryer at 375 degrees for about ten minutes.
- Microwaving makes the crust soft and sad, so avoid it unless texture means nothing to you.
- Leftover chicken slices beautifully over a salad the next day with a honey mustard dressing.
- Always store leftovers in the fridge and eat them within three days.
 Save to Pinterest
 Fried chicken is never going to be elegant, and that is exactly the point. It is loud, messy, golden comfort that asks nothing of you but an appetite.
Frequently asked questions about this recipe
- → How do I know when the chicken is fully cooked?
-
Use a meat thermometer to check the internal temperature reaches 165°F (74°C). The coating should be golden brown and the juices should run clear when pierced.
- → Can I use chicken thighs instead of breasts?
-
Absolutely. Thighs work well and tend to be more forgiving due to their higher fat content. Adjust cooking time to 8-10 minutes per side depending on thickness.
- → Why buttermilk for the marinade?
-
Buttermilk's acidity tenderizes the meat proteins while creating a tangy flavor profile. The natural sugars and proteins in buttermilk also help the breading adhere better.
- → What's the best oil temperature for frying?
-
Maintain oil at 350°F (175°C). Too cool and the chicken becomes greasy; too hot and the coating burns before the meat cooks through.
- → How can I make this gluten-free?
-
Substitute the all-purpose flour with a 1:1 gluten-free flour blend containing xanthan gum. Replace buttermilk with a dairy-free alternative mixed with vinegar.
- → Can I bake instead of fry?
-
Yes. Place coated chicken on a wire rack over a baking sheet. Spray with oil and bake at 400°F for 25-30 minutes, flipping halfway until golden and cooked through.
